Banana Bread Brownies bake up with the best parts of two favorites in one pan: the dense, fudgy bite of a brownie and the soft, fragrant comfort of banana bread. The top sets with a light crackle, the middle stays moist without turning gummy, and the chocolate chips melt into little pockets that keep each square from tasting one-note.
The trick here is browned butter. It gives the bananas a deeper, almost caramelized edge that plain melted butter can’t match. I also like using just enough flour to hold the bars together without drying them out, then stopping the mixing the moment the flour disappears. That’s what keeps the texture tender instead of cakey.
Below, I’ve included the detail that makes the glaze worth the extra five minutes, plus a few swaps and fixes for when your bananas are extra ripe or you want these a little more dessert-like than breakfast-y.
The browned butter made these taste like banana bread and a coffee shop brownie had a baby. I baked them for 28 minutes and the center was set but still perfectly fudgy.
Like these banana bread brownies? Save them to Pinterest for the days when you want fudgy banana bars with brown butter glaze and melted chocolate in every bite.
The Trick to Keeping Banana Bars Fudgy Instead of Cake-Like
Most banana bar recipes go wrong the same way: too much flour, too much mixing, or too much baking time. Once you stir flour into banana batter, the texture changes fast. If you keep working it, the bars tighten up and start leaning toward banana cake instead of the dense, brownie-style crumb you want here.
The other place people lose the texture is the oven. These should come out when the center is set but still soft in the middle, because carryover heat finishes the job as they cool. If the top looks deeply browned before the middle is done, your oven runs hot and the pan belongs on the middle rack, not near the top element.
- Browned butter — This is the flavor engine. It gives the bars a nutty, toasted note that makes the bananas taste fuller. Melted butter works in a pinch, but you lose that caramel depth.
- Very ripe bananas — The darker and softer they are, the better the flavor and moisture. If yours still have a lot of yellow, the bars will taste flatter and need a touch more sweetness.
- Chocolate chips — They break up the banana flavor and keep the bars from reading like plain quick bread. Mini chips disperse better, but standard chips give bigger pockets of chocolate.
- All-purpose flour — This gives enough structure for clean slices without making the bars dry. A 1:1 gluten-free baking blend can work, but use one that already includes xanthan gum so the bars don’t crumble.
What Each Ingredient Is Doing in the Batter and Glaze
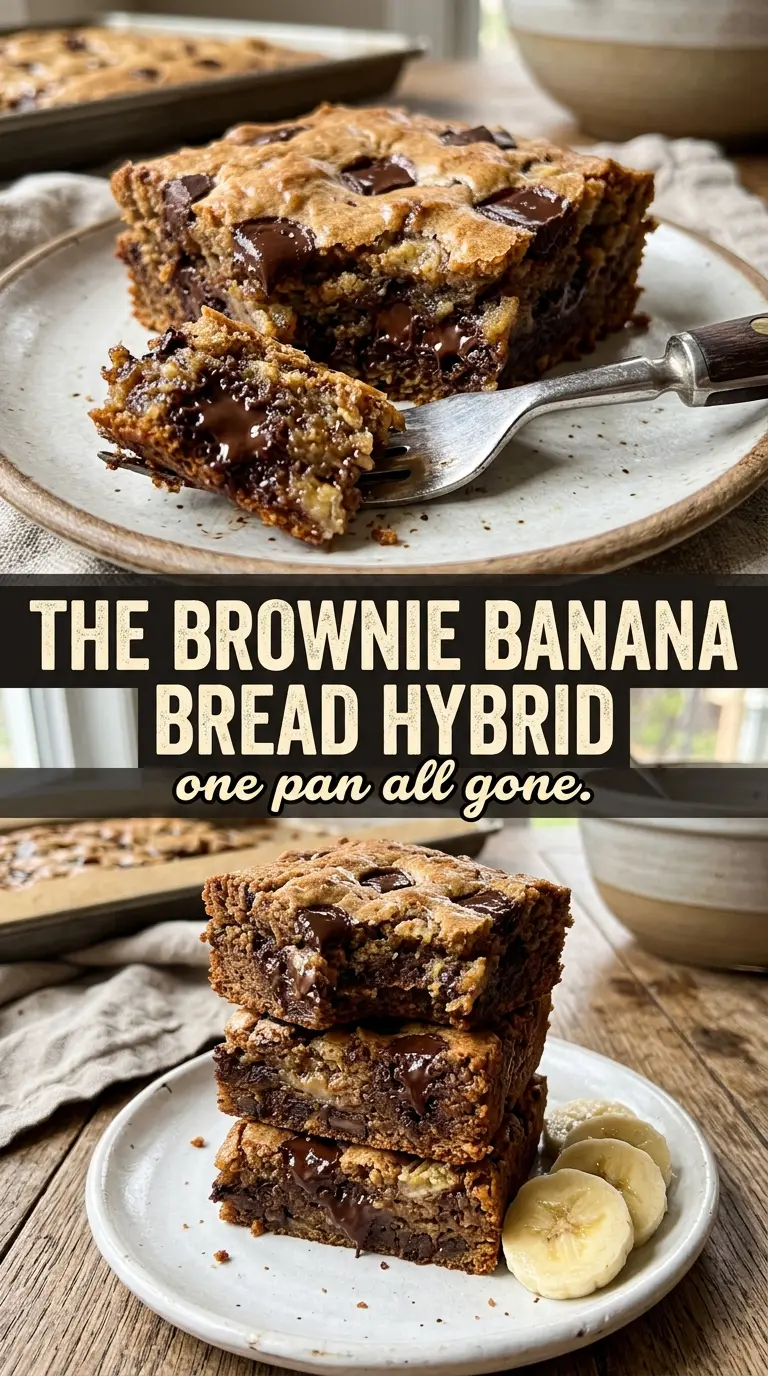
The bananas add moisture, but they also bring natural sweetness and that familiar banana bread aroma. Mash them until mostly smooth with a few small bits left behind; a completely puree-like texture can make the bars feel a little too wet and heavy.
The browned butter is worth the extra pan and the extra minute of attention. Once it turns golden and smells nutty, pull it off the heat right away. If you let it keep cooking, it shifts from toasted to bitter fast, and that bitterness will show up in the finished bars.
The glaze is simple, but it changes the whole dessert. Browned butter in the glaze echoes the batter and gives the top a glossy finish that tastes more intentional than a plain powdered sugar drizzle. Add the milk a teaspoon at a time if needed; if it gets too thin, it slides off instead of sitting in that pretty ribbon across the top.
Building the Bars So They Stay Dense, Moist, and Slice Cleanly
Brown the Butter First
Start by melting the butter in a saucepan over medium heat and keep stirring as the foam subsides. You’re looking for golden specks at the bottom and a smell that turns nutty, not burnt. Pour it into a large bowl as soon as it reaches that point, then let it cool for a few minutes so it doesn’t scramble the eggs or steam the bananas.
Mix the Wet Ingredients Without Overworking Them
Whisk the mashed bananas, brown sugar, eggs, and vanilla into the cooled browned butter until the mixture looks smooth and glossy. The batter should feel loose and a little thick, not whipped. If the eggs go in while the butter is still piping hot, you’ll get little cooked bits in the bowl, and that changes the texture before the flour even gets involved.
Fold the Dry Ingredients in Just Until Combined
Add the flour, baking soda, cinnamon, and salt, then fold gently with a spatula until the last streaks of flour disappear. Stop there. The batter should look thick and scoopable, and a few small flour streaks are better than overmixing. Stir in the chocolate chips at the end so they stay intact instead of smearing through the batter.
Bake Until the Center Is Set but Soft
Spread the batter evenly in a greased 9×13 pan and bake at 350°F for 25 to 30 minutes. The edges should look set and lightly golden, and the center should no longer jiggle when you tap the pan. If a toothpick comes out with wet batter, give it a few more minutes; if it comes out completely clean, you may have gone a little too far for that fudgy middle.
Glaze After Cooling
Let the bars cool all the way before drizzling the glaze, or it will melt into the top and disappear. Brown the butter for the glaze, whisk in powdered sugar, milk, and vanilla until smooth, then spoon or drizzle it over the bars. A cooled surface keeps the glaze sitting in clean lines instead of soaking in.
How to Adapt These Banana Bread Brownies Without Losing the Texture
Make Them Gluten-Free
Swap in a good 1:1 gluten-free flour blend that includes xanthan gum. The bars will still be soft and moist, but they may need the full bake time to set properly because GF flours hold onto moisture differently.
Skip the Glaze for a Less Sweet Bar
Leave the glaze off and the bars read more like banana breakfast blondies. The chocolate chips still bring enough richness, and you’ll get a cleaner banana flavor without the extra sugar on top.
Add Walnuts for More Crunch
Fold in up to 1/2 cup chopped walnuts along with the chocolate chips. They add a toasty crunch that plays nicely with the brown butter, but don’t overload the batter or the bars can turn crumbly when sliced.
Dairy-Free Version
Use a plant-based butter that browns well, or use melted dairy-free butter substitute if browning isn’t possible. You’ll lose some of the nutty depth from real browned butter, but the bars will still bake up moist and sliceable.
Storage and Reheating
- Refrigerator: Store covered for up to 5 days. The texture stays moist, though the glaze will soften a bit on top.
- Freezer: Freeze cut bars without glaze for up to 2 months. Wrap each piece well, then thaw at room temperature before glazing.
- Reheating: Warm a slice for 10 to 15 seconds in the microwave if you want the chocolate chips soft again. Don’t overheat it or the bars lose that dense, fudgy texture.
Answers to the Questions Worth Asking
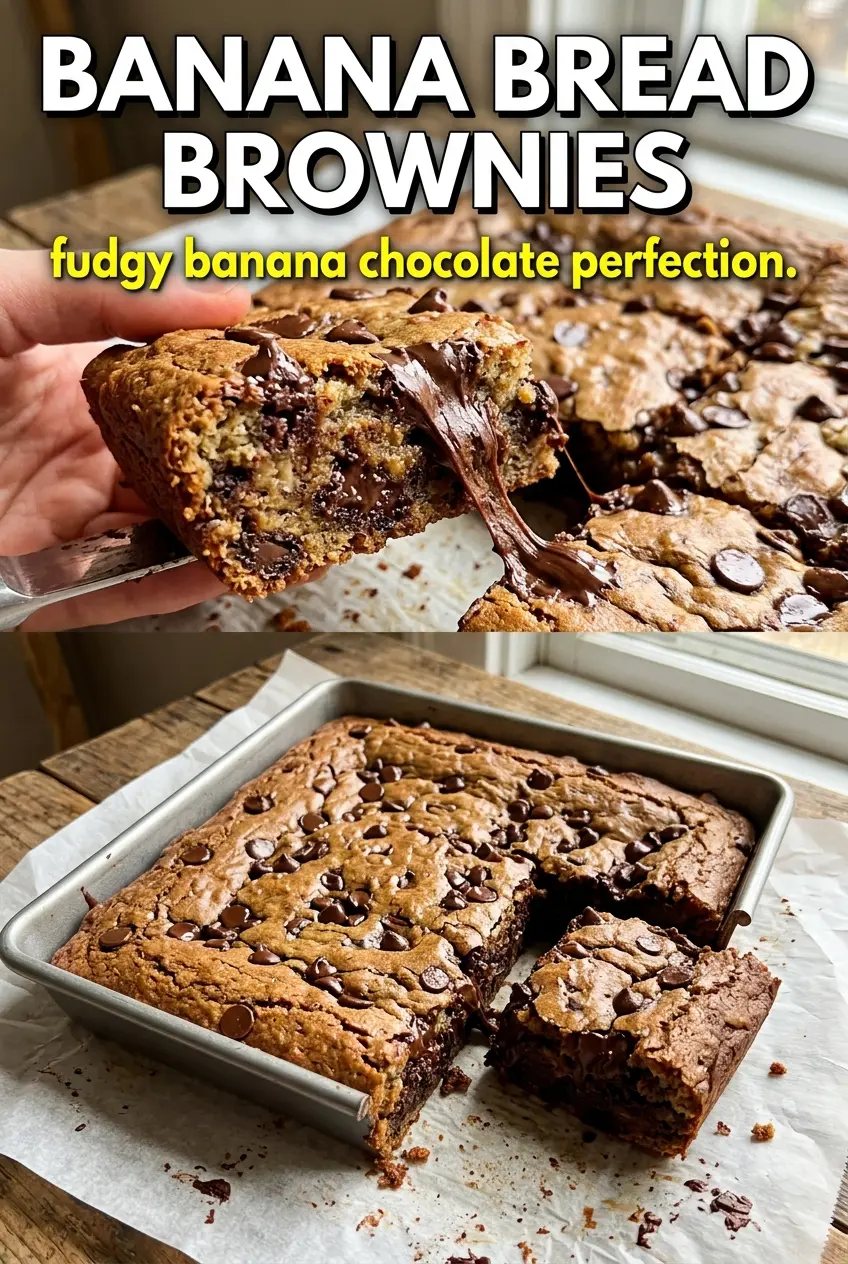
Banana Bread Brownies
Ingredients
Equipment
Method
- Preheat the oven to 350°F and grease a 9x13 pan. This helps the batter release cleanly after baking.
- Brown the unsalted butter in a saucepan over medium heat until golden and nutty smelling, then pour into a large bowl and cool slightly. Look for a deep golden color and a toasted aroma before removing it from the heat.
- Whisk the bananas, brown sugar, eggs, and vanilla extract into the browned butter. Mix until smooth and glossy, with no dry sugar pockets.
- Fold in the all-purpose flour, baking soda, cinnamon, and salt until just combined, then stir in the chocolate chips. Stop mixing when you no longer see flour to keep the center dense and moist.
- Spread the batter evenly in the pan and bake for 25–30 minutes until set and golden. Watch for the edges to firm up and the top to look crinkly, then cool completely before glazing.
- Brown the butter for the glaze in a saucepan, then whisk it with powdered sugar, milk, and vanilla until smooth. The glaze should be pourable enough to drizzle.
- Drizzle the brown butter glaze over the cooled bars and slice. Use a clean cut for visible chocolate chips and a dense interior.