Juicy baked chicken breasts come down to two things: even thickness and a hot enough oven to set the outside before the interior dries out. When the seasoning crust turns fragrant and lightly crisp, the chicken underneath stays tender instead of chalky, which is exactly why this version earns repeat status at my house.
The trick is to flatten the thicker parts just enough so the breasts cook at the same pace. That keeps the thin ends from drying out while you wait for the center to hit temperature. A light coat of oil helps the spice mixture cling and gives the top that deep golden finish instead of a dusty layer of seasoning.
Below, I’ll walk you through the small details that matter most: how to season for maximum browning, how to tell when the chicken is done without cutting it open too soon, and a few smart ways to adapt the method when you want different flavors or need to plan ahead.
I followed the 3/4-inch thickness tip and the chicken cooked evenly all the way through. The seasoning made a great crust, and the juices stayed in the meat instead of running all over the plate.
These baked chicken breasts stay juicy, slice cleanly, and make an easy dinner you can use for meal prep all week.
The Part That Keeps Chicken Breasts From Drying Out
Most baked chicken goes wrong before it even hits the oven. Uneven thickness is what creates dry edges and underdone centers, and once that happens, you end up overcooking the whole piece just to be safe. Pounding the breasts to an even 3/4-inch thickness solves that problem at the root.
The other thing that matters here is oven heat. A 425°F oven gives the outside enough energy to brown before the meat loses too much moisture, which is why this method works better than a lower-temperature bake for lean chicken breasts. If your oven runs hot, start checking early; if it runs cool, the top should still look golden and the juices should run clear when you cut into the thickest part.
What Each Seasoning Is Actually Doing Here
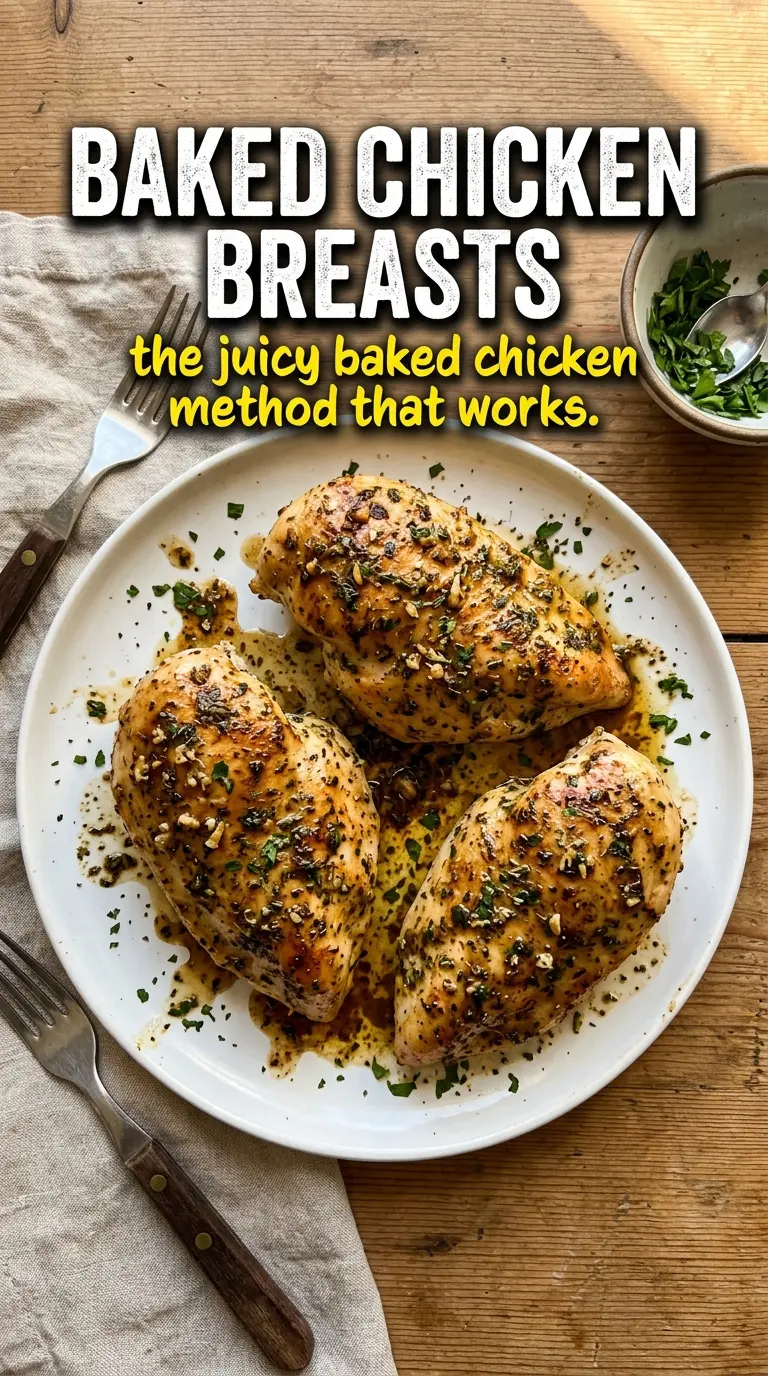
- Olive oil — This is what helps the spices stick and brown instead of drying into a powdery coating. A neutral oil works in a pinch, but olive oil brings a little more flavor and a better finish.
- Garlic powder and onion powder — These give the chicken a round, savory base without burning the way fresh garlic can in a hot oven. Don’t swap in minced garlic unless you’re willing to watch the top closely, because it can go bitter fast.
- Smoked paprika — This adds color and a little warmth, and it’s one of the reasons the crust looks deeply browned even before you slice into the chicken. Regular paprika will work, but the smoky version gives you more payoff.
- Italian seasoning — This is the herb note that makes the chicken taste finished instead of just salted. If you’re out, use a mix of dried oregano, basil, and thyme.
- Chicken breasts — Buy them as close in size as you can. Huge variation between pieces means one breast will dry out while another is still catching up.
How to Get a Golden Crust Without Overcooking the Middle
Evening Out the Thickness
Lay the chicken between sheets of parchment or plastic and pound the thicker end until the whole breast is about 3/4-inch thick. Stop once it looks even; smashing it too thin turns the edges stringy and makes the bake time too short to develop any real browning.
Coating the Chicken Properly
Brush the chicken with oil first, then rub on the seasoning mix so the surface looks evenly coated and a little glossy. If the spices clump in dry patches, they’ll bake on in spots and leave bare areas that taste flat. Press the seasoning in gently with your hands for better coverage.
Watching the Oven Window
Bake until the tops are golden and the thickest part reaches 165°F. Start checking at 18 minutes, because thin breasts can finish fast in a hot oven. If you slice immediately, the juices will run out onto the cutting board; let the chicken rest for 5 minutes so they settle back into the meat.
How to Adapt These Baked Chicken Breasts Without Losing the Juicy Texture
Dairy-Free and Naturally Gluten-Free
This recipe already fits both diets as written, which is one reason it’s such a reliable weeknight main. Just double-check that your seasoning blends don’t contain added starches or anti-caking fillers if you’re cooking for someone with a sensitivity.
Cajun-Style Swap
Replace the Italian seasoning with Cajun seasoning and keep the oil the same. You’ll get a spicier crust and a little more salt, so taste the blend first if yours runs heavy on sodium.
Herb-Lemon Version
Add finely grated lemon zest to the seasoning mix and serve with extra lemon wedges. The zest lifts the whole dish without adding moisture to the surface, which keeps the crust from softening before it reaches the table.
Meal Prep for the Week
Bake the chicken a minute or two shy of done, then let carryover heat finish it while it rests. That keeps the slices juicier when you reheat them later, especially if you plan to use them for salads, rice bowls, or sandwiches.
Storage and Reheating
- Refrigerator: Store in an airtight container for up to 4 days. The crust softens a bit, but the chicken stays useful for lunches and quick dinners.
- Freezer: It freezes well for up to 2 months. Wrap the cooked breasts tightly before freezing so they don’t pick up freezer flavor and lose too much moisture.
- Reheating: Warm covered in a 325°F oven with a spoonful of broth or a splash of water in the pan. The biggest mistake is blasting chicken in the microwave until it turns tough and stringy.
Answers to the Questions Worth Asking
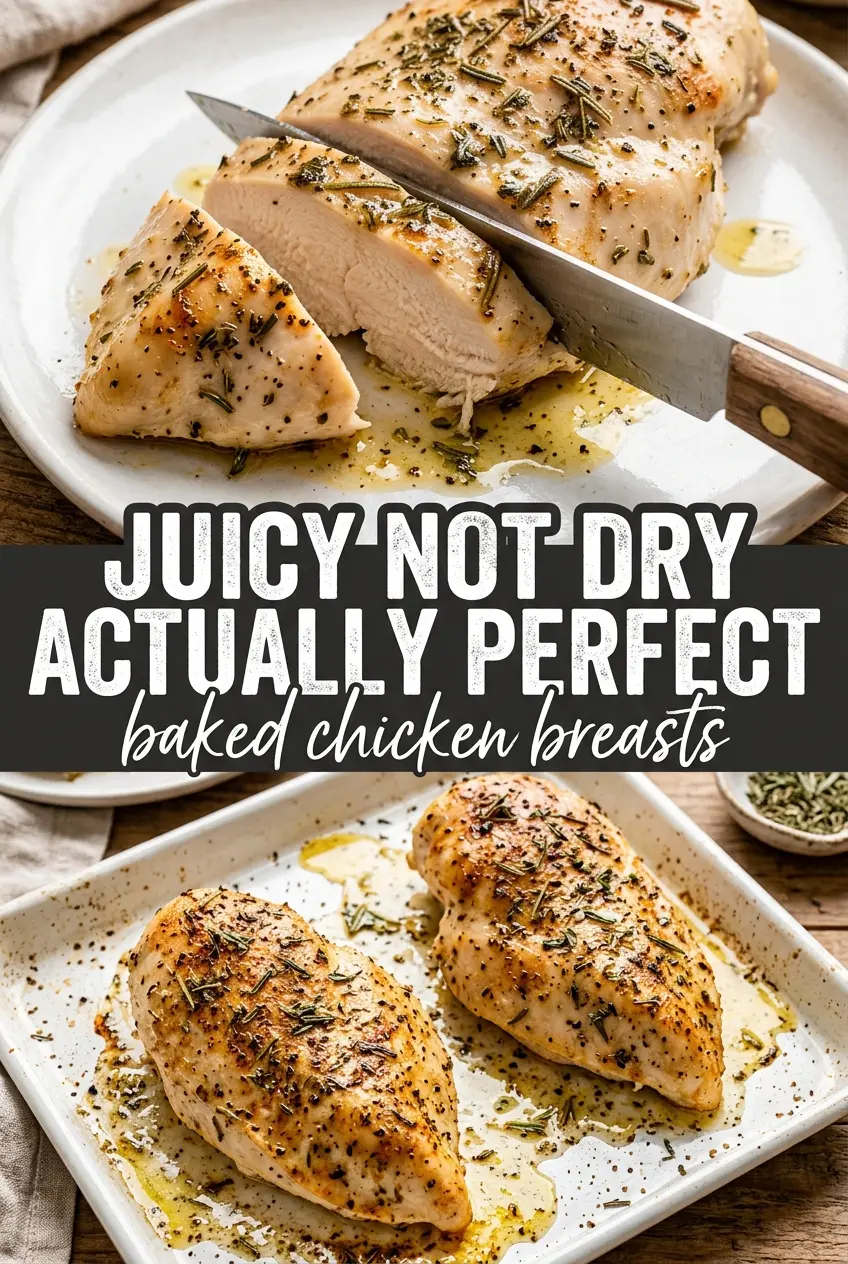
Baked Chicken Breasts
Ingredients
Equipment
Method
- Preheat oven to 425°F and lightly grease a baking dish so the chicken browns evenly.
- Pound chicken breasts to an even 3/4-inch thickness if they vary in size for consistent cooking.
- Brush both sides of each chicken breast with olive oil to help the surface caramelize.
- Mix together garlic powder, onion powder, smoked paprika, Italian seasoning, salt, and cracked black pepper, then rub the mixture evenly over both sides.
- Bake at 425°F for 18-22 minutes until the internal temperature reaches 165°F and the tops are golden; do not overbake.
- Rest for 5 minutes before slicing so juices redistribute, then garnish with fresh parsley and lemon wedges.