Golden, savory baked Caesar chicken lands on the plate with a crust that crackles at the edges and a center that stays juicy. The Caesar dressing does more than season the chicken; it tenderizes it while the Parmesan and panko bake into a salty, fragrant cap that tastes a little like your favorite salad and a lot like dinner worth repeating.
The trick is letting the chicken sit in the Caesar mixture long enough to pick up flavor without going so long that the texture turns soft on the outside. A short marinating window, a hot oven, and a panko-Parmesan topping give you that browned crust instead of a soggy layer. Freshly grated Parmesan matters here, because the pre-shredded kind doesn’t melt and cling the same way.
Below, I’ll walk through the small details that keep the coating crisp and the chicken from drying out, plus a few easy variations if you want to change the finish without losing the Caesar character.
The Parmesan crust browned beautifully and the chicken stayed juicy all the way through. I was worried the dressing would make it heavy, but it baked up with a really clean Caesar flavor and my kids ate every bite.
Love that golden Parmesan Caesar crust? Save this baked Caesar chicken for the nights when you want something crisp on top, juicy in the middle, and fast enough for a weeknight.
The One Place Baked Chicken Gets Dry Before It Gets Brown
Baked chicken breasts dry out when people chase color too slowly. By the time the top is finally browned, the meat underneath has been in the oven long enough to lose its juices. This recipe avoids that by using a hot 400°F oven and a coating that browns efficiently, so the chicken can reach 165°F without hanging around for extra minutes it doesn’t need.
The other failure point is a topping that slides off. The solution is twofold: a brief marinate to help the dressing cling to the chicken, then a panko-Parmesan layer pressed firmly over the top before baking. That creates a dry, textured surface that turns crisp instead of pasty.
- The Caesar dressing brings fat, acid, salt, and seasoning in one move, which means you’re not trying to build flavor from scratch with a dozen extra ingredients.
- Parmesan does the heavy lifting for the crust. Freshly grated melts and bonds better than the shelf-stable shreds, which can stay dusty and separate.
- Panko is worth using here because it stays lighter and crisper than regular breadcrumbs. It gives the top that crackled, toasted finish.
- Lemon zest wakes up the dressing without making it taste lemony. It sharpens the cheese and keeps the chicken from reading heavy.
What Each Ingredient Is Actually Doing in This Dish
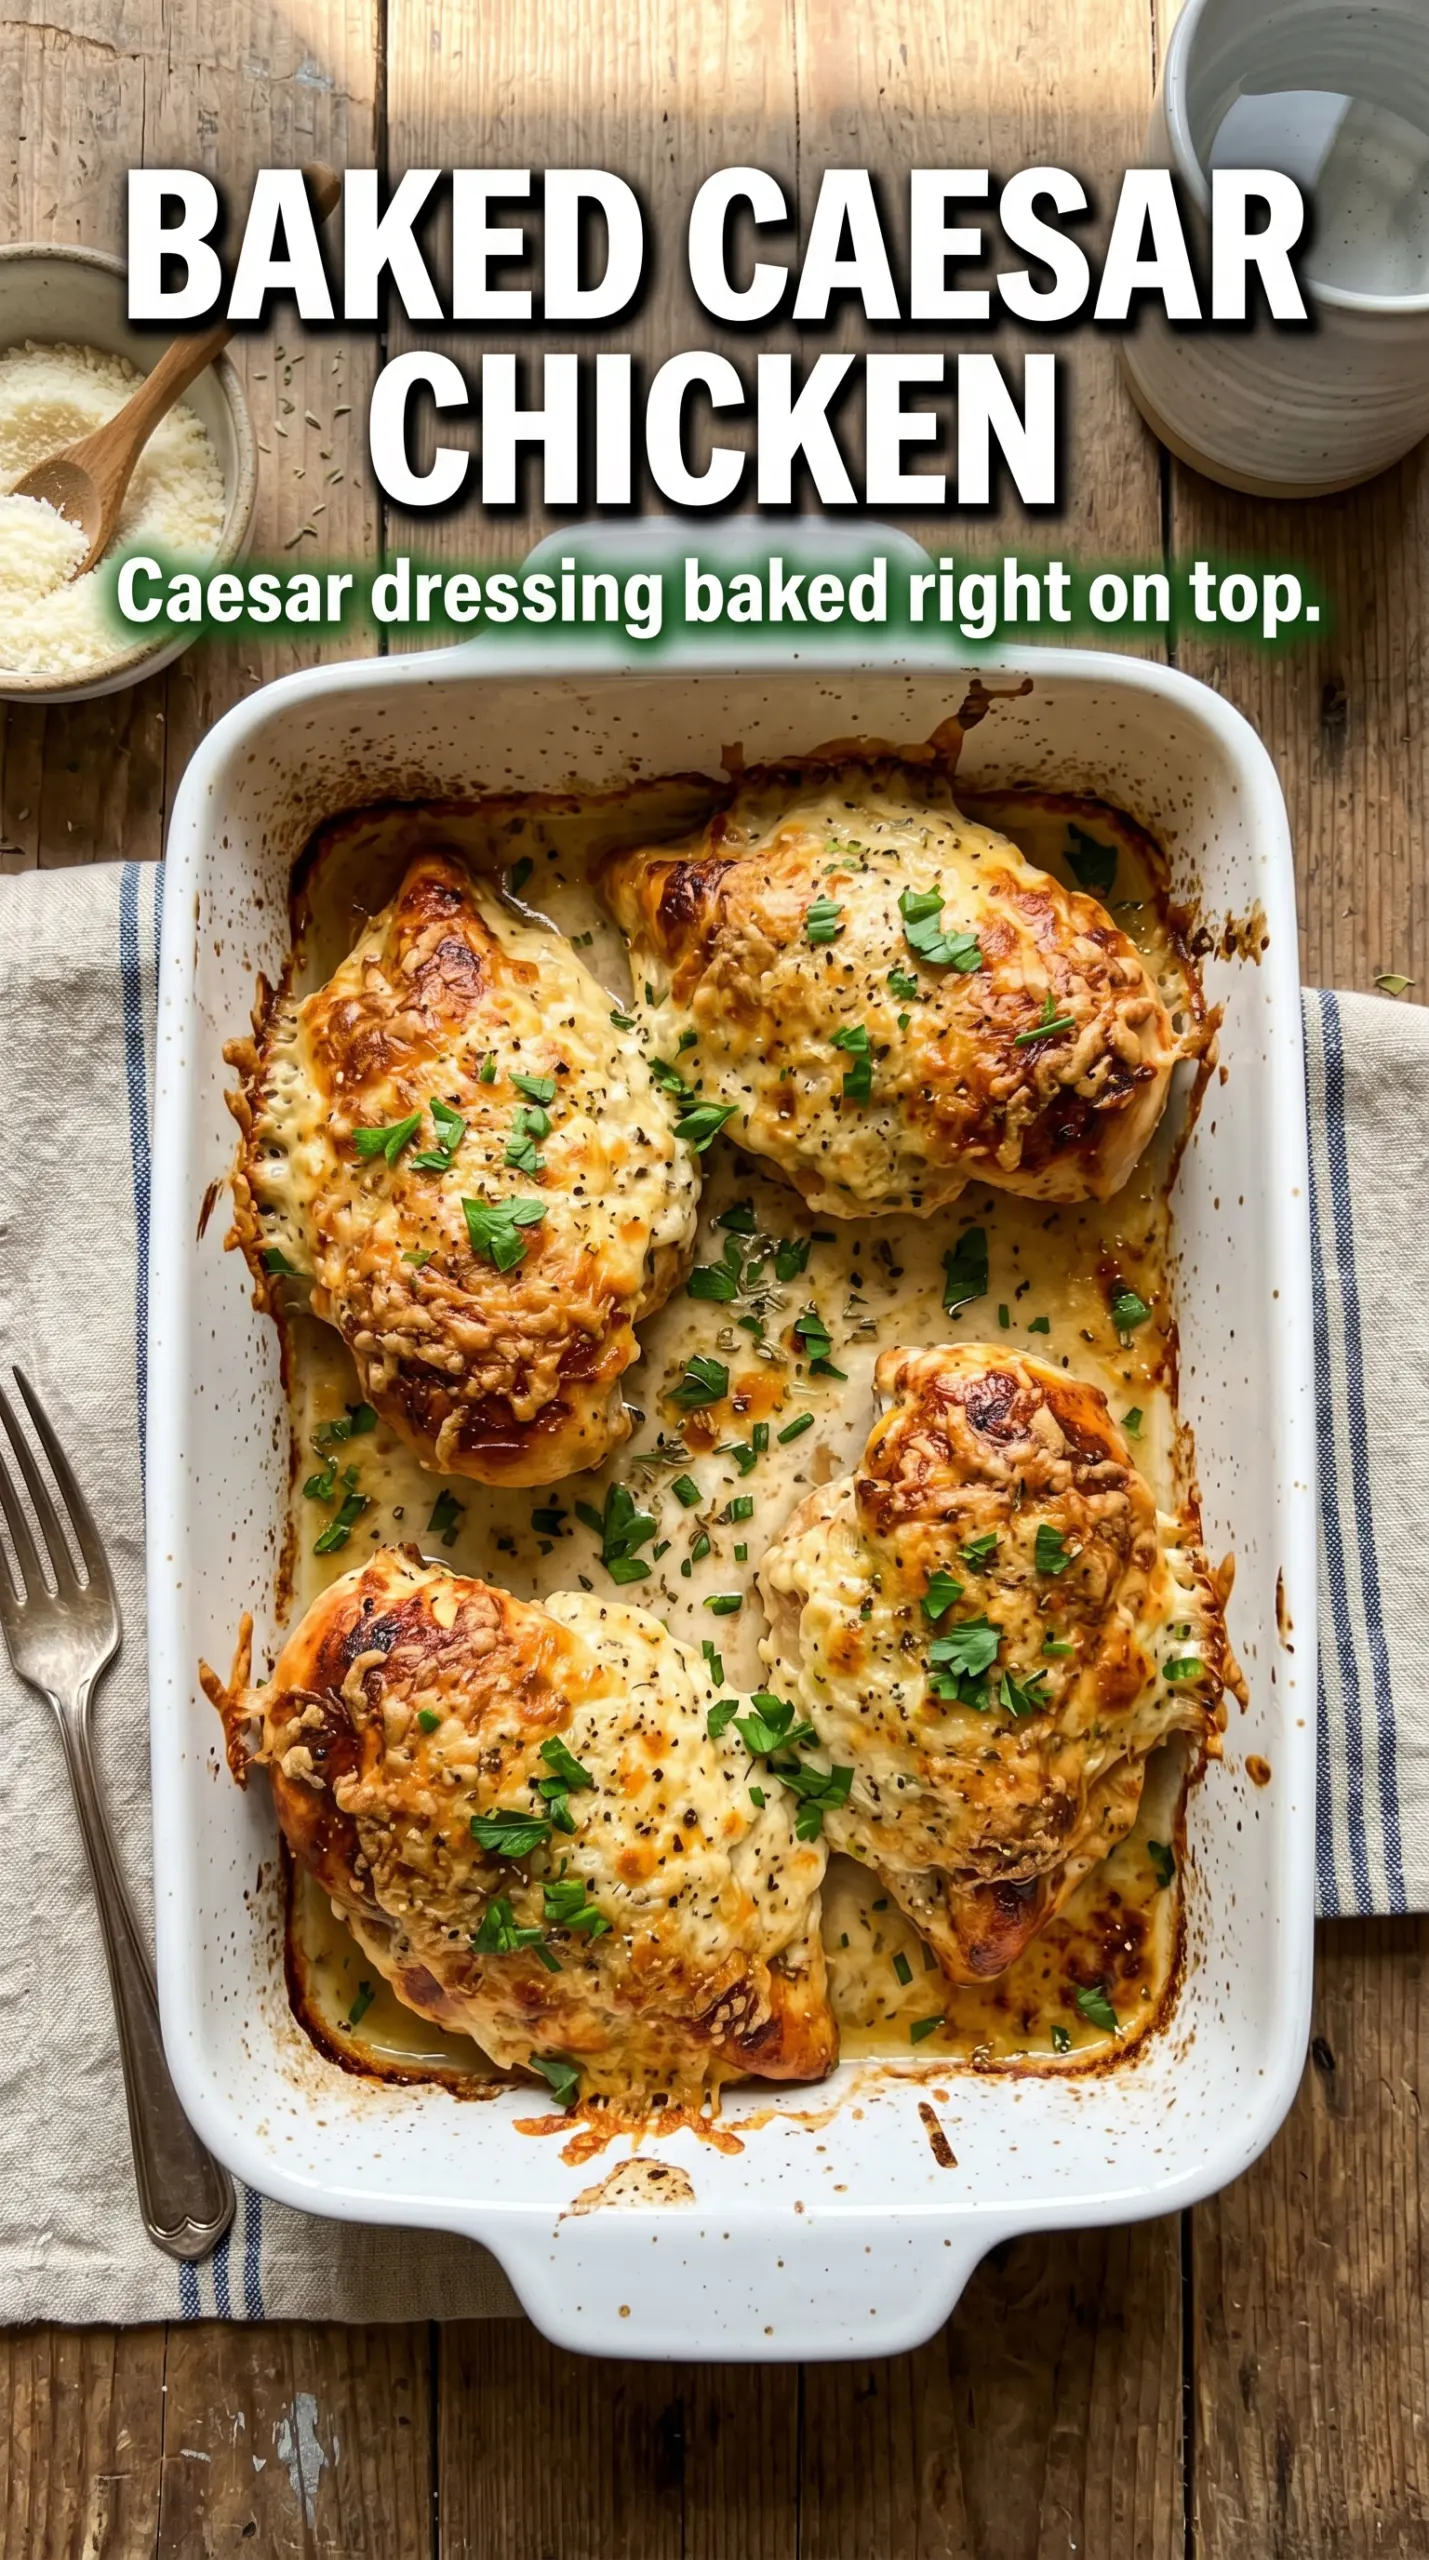
- Caesar dressing — This is the marinade and the seasoning base. Store-bought works fine, but use one you already like eating straight from the spoon, because its flavor concentrates as it bakes.
- Parmesan cheese — This gives the crust its salty depth and helps the topping brown. Grate it fresh if you can; the pre-grated kind won’t melt as smoothly and can stay grainy.
- Panko breadcrumbs — These add the light, crisp layer on top. If you only have regular breadcrumbs, use them, but expect a denser crust with less crunch.
- Chicken breasts — Even thickness matters more than anything else here. If one end is much thicker, pound it lightly so the whole piece finishes at the same time instead of drying out at the thin end.
- Lemon zest — This gives the dressing a brighter edge and keeps the cheese from tasting flat. Fresh zest matters; bottled lemon juice won’t do the same job.
Pressing on the Crust Without Smothering the Chicken
Building the Caesar Marinade
Mix the Caesar dressing with half the Parmesan, garlic powder, and lemon zest until it looks thick and evenly speckled. Coat the chicken well and let it sit for 20 minutes, not much longer. That short rest gives the chicken flavor without breaking down the surface so much that the topping turns wet later. If the marinade pools at the bottom, stir the chicken once halfway through.
Setting Up for Browning
Heat the oven to 400°F and grease the baking dish before the chicken goes in. You want the chicken to start cooking right away once it hits the pan, because a cold dish slows browning and encourages the coating to steam. Arrange the breasts in a single layer with a little space between them so the tops can dry and color instead of trapping moisture.
Making the Crust Stick
Combine the remaining Parmesan with the panko, then press that mixture firmly onto the top of each breast. Don’t sprinkle it loosely; it needs contact to bake into a true crust. A light press with your fingers is enough. If the topping looks bare in spots, add a little more and press again. What you want is an even, shaggy layer that will toast into a rough, golden cap.
Knowing When It’s Done
Bake for 22 to 25 minutes until the crust is deep golden and the thickest part of the chicken reads 165°F. The topping should look crisp, not pale, and the juices around the chicken should run clear. If the crust browns too fast before the chicken is done, lay a loose piece of foil over the top for the last few minutes. Let the chicken rest briefly before serving so the juices settle back into the meat.
How to Adapt This When You Need a Different Finish
Gluten-Free Version
Swap the panko for gluten-free breadcrumbs or crushed gluten-free crackers. You’ll still get a browned top, but the texture may be a little tighter and less airy. If your crumbs are coarse, press them down lightly so they hold together during baking.
Dairy-Free Approach
Use a dairy-free Caesar dressing and a Parmesan-style alternative that melts reasonably well. The flavor will be a little less sharp and nutty, but the dressing still brings the salty, tangy base that makes the chicken work. Check the dressing label carefully, since many Caesar dressings contain anchovy or cheese.
Chicken Thigh Swap
Boneless skinless thighs work if you want more forgiveness and a richer bite. They’ll stay juicy even if they go a minute long, but they won’t give you the same clean, thick-breast presentation. Bake until they reach 165°F, and expect a little more rendered fat around the edges.
How to Make It a Full Meal
Serve the chicken over chopped romaine with croutons and extra dressing, or pair it with roasted potatoes and a simple vegetable. The Caesar crust already carries a lot of flavor, so the side dish can stay plain and still feel complete.
Storage and Reheating
- Refrigerator: Store leftovers in an airtight container for up to 3 days. The crust softens a bit, but the chicken stays good for lunches.
- Freezer: It freezes, though the topping loses some crunch. Wrap portions tightly and freeze for up to 2 months for best texture.
- Reheating: Warm in a 350°F oven until heated through. The oven brings back some of the crust; the microwave makes the topping soggy and pushes the chicken into dry territory.
Questions I Get Asked About This Recipe
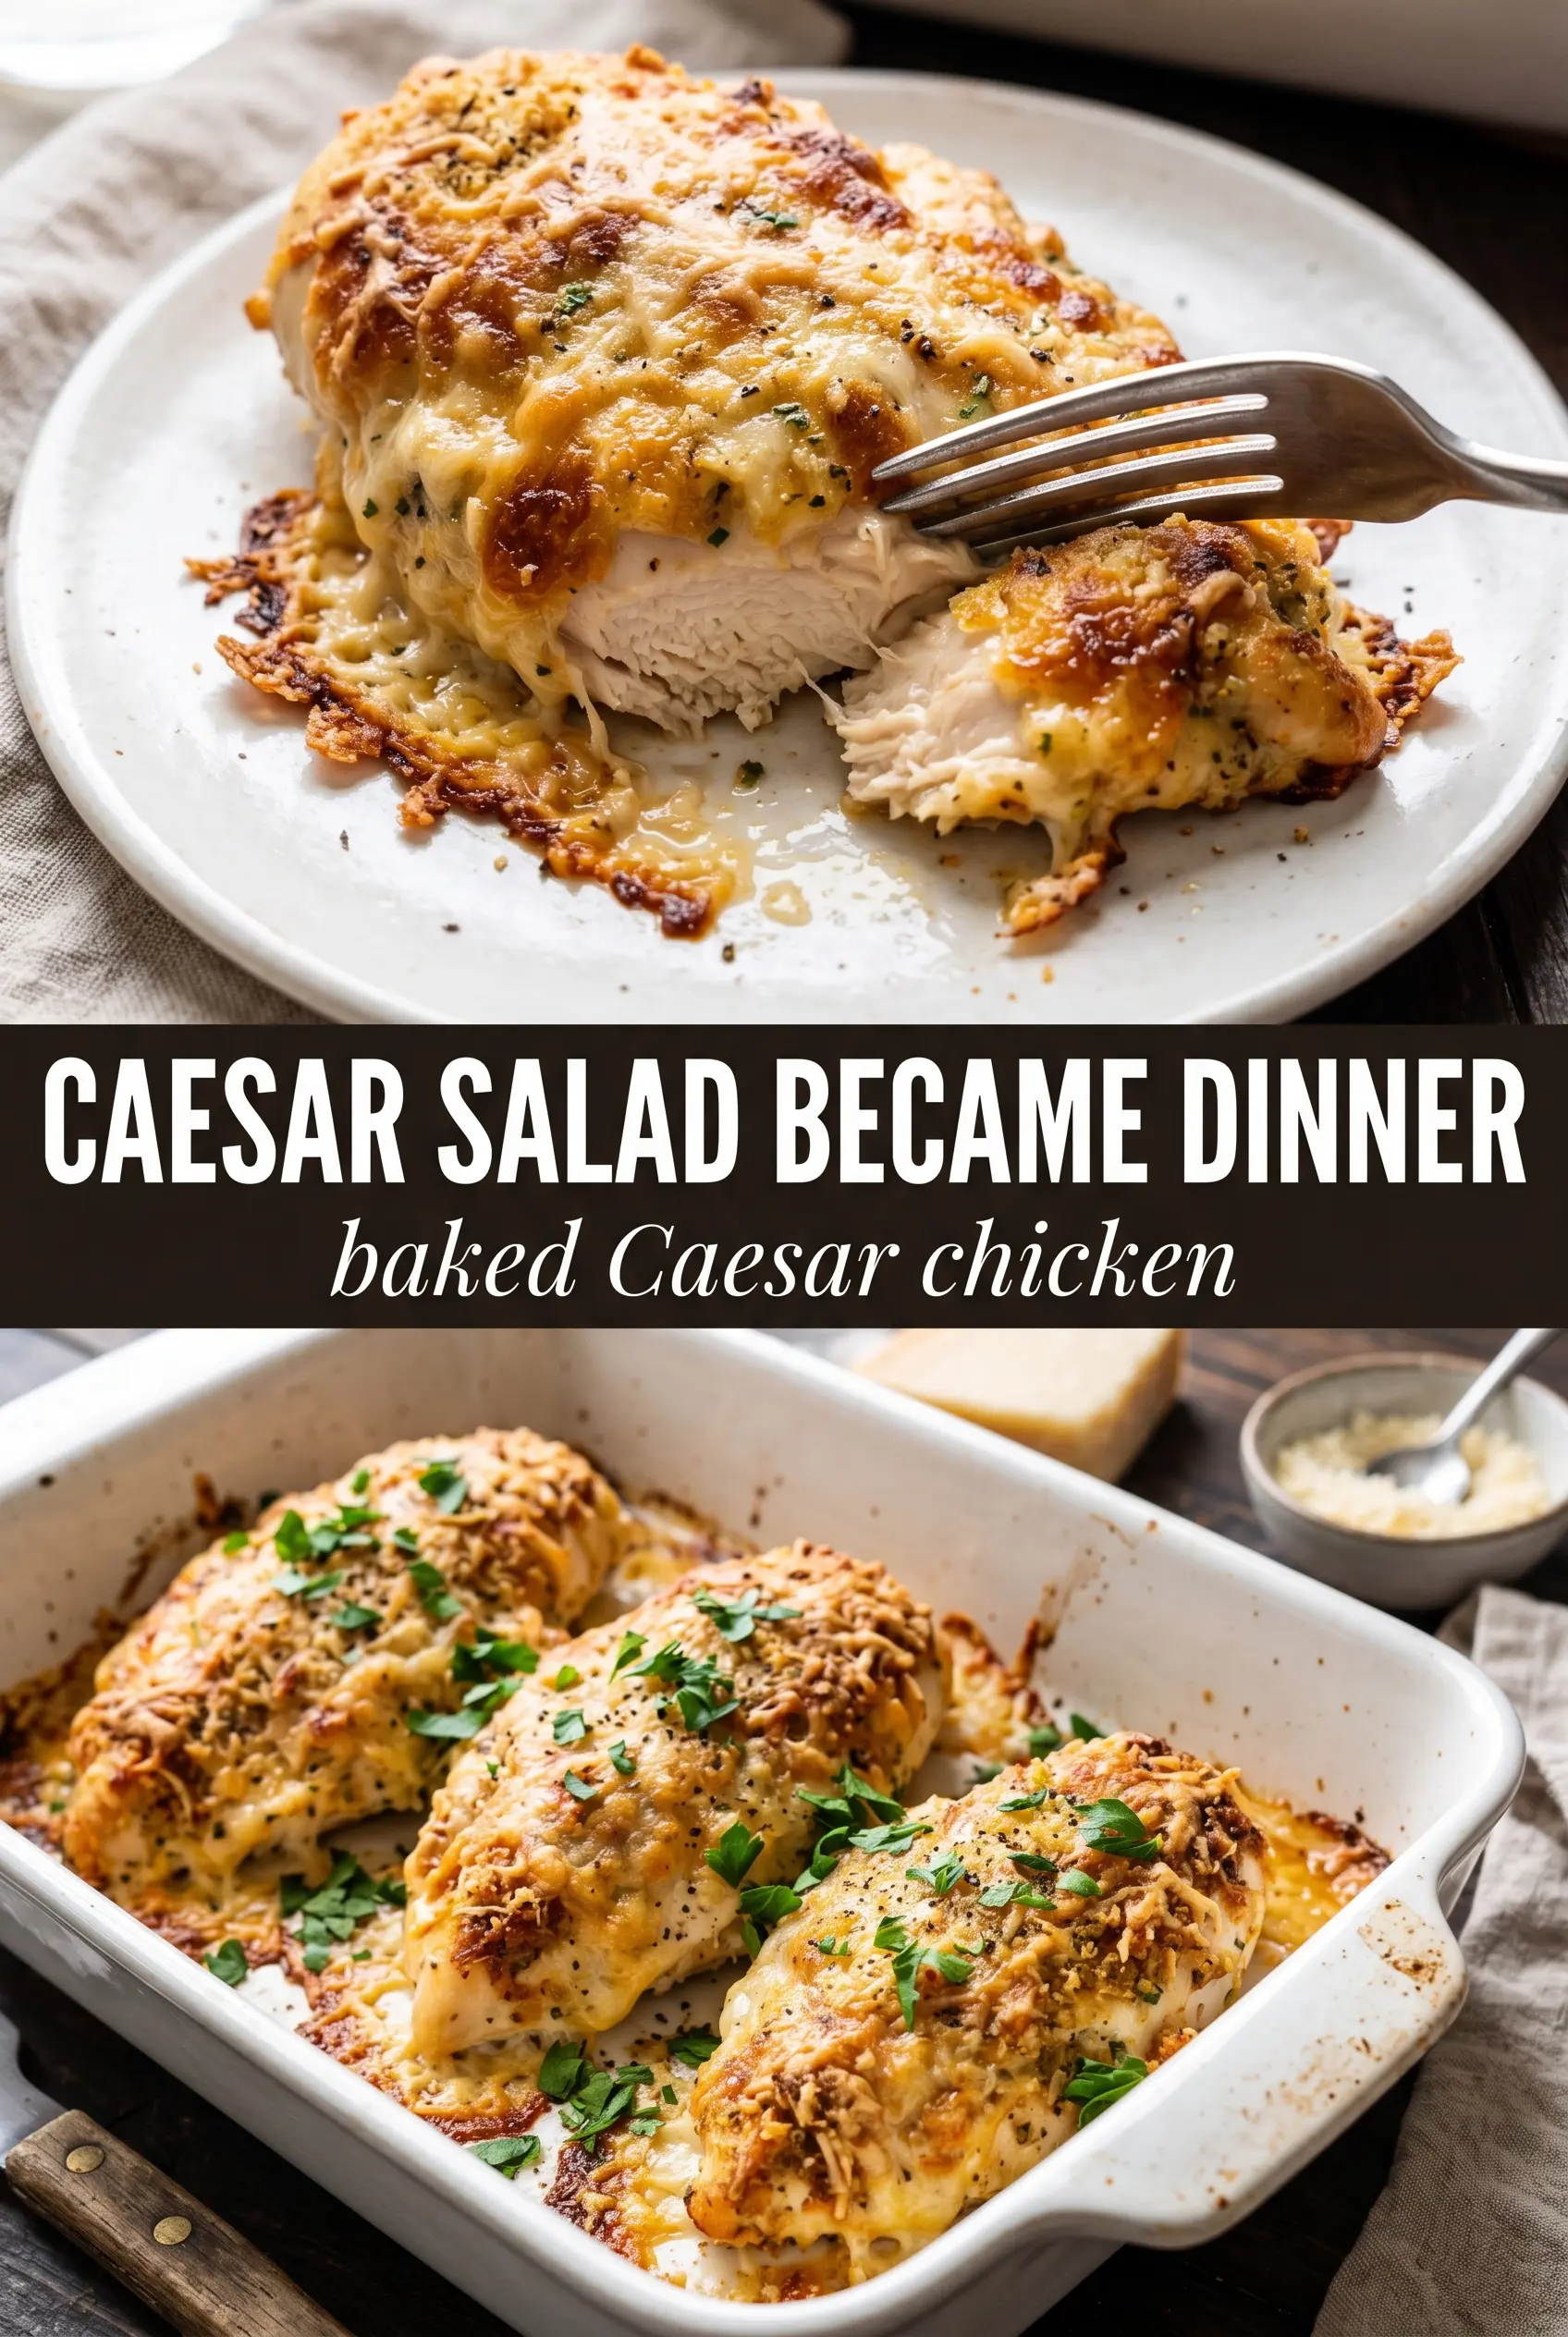
Baked Caesar Chicken
Ingredients
Equipment
Method
- Mix Caesar dressing, 1/2 cup Parmesan, garlic powder, and lemon zest in a bowl until evenly combined. Season with salt and pepper to taste.
- Add the chicken breasts to the Caesar mixture and marinate for 20 minutes. Keep it at room temperature briefly if your kitchen is cool, or cover and refrigerate if needed.
- Preheat the oven to 400°F and grease a baking dish. Set it up so the chicken can be transferred quickly after the topping is assembled.
- Place the marinated chicken in the greased baking dish, keeping space between breasts. Spoon off any excess marinade clinging to the bottom of the pieces.
- Mix the remaining 1/4 cup Parmesan with panko breadcrumbs, then press the crumb mixture over the top of each breast. Press firmly so it adheres and caramelizes.
- Bake at 400°F for 22-25 minutes until the crust is golden and the internal temperature reaches 165°F. Watch for a visibly crackled, browned topping near the end of baking.
- Let the chicken rest 3-5 minutes after baking, then serve with chopped romaine and croutons. Drizzle with an extra spoonful of Caesar dressing over the top.
- Finish with shaved Parmesan while the chicken is hot so it melts slightly. Serve immediately.