Bacon pie irons hit that sweet spot between campfire comfort and breakfast that actually feels worth getting out of bed for. The bread turns crisp and buttery on the outside, while the eggs, bacon, and melted cheddar stay soft and savory inside. When you open the iron and that cheese stretches a little, you know you did it right.
The trick is in the order of the layers and the heat. Scrambled eggs go in softly cooked, not runny, so they don’t flood the bread and turn the filling loose. Bacon should already be cooked and drained, which keeps the sandwich from getting greasy before the outside has time to brown. A light hand with butter helps the bread toast instead of frying in a slick.
Below you’ll find the small details that matter most with pie irons: how to keep the bread from tearing, how to manage the coals so the sandwich cooks through without burning, and a few easy ways to change up the filling if you want to make breakfast feel different without changing the method.
The bread crisped up evenly and the cheese melted all the way through without the eggs getting rubbery. I kept it over the coals just as directed and it came out golden, not burnt, which never happens for me with pie irons.
Save these bacon pie irons for the mornings when you want a crisp, cheesy campfire breakfast with almost no cleanup.
The Part Most People Get Wrong With Pie Iron Breakfast Sandwiches
Pie irons punish impatience. If the heat is too high, the bread blackens before the cheese softens and the center catches up. If the filling is too wet, the sandwich slides around inside the pockets and comes out soggy instead of crisp. The goal is steady heat and a filling that has already been cooked enough to warm through, not finish cooking from scratch.
That is why the eggs are scrambled first and the bacon is already crisped. You are building a sandwich, not a skillet breakfast trapped in bread. Butter on the outside gives you that toasty shell, but the inside stays balanced because nothing in the filling is fighting to release extra moisture while the bread is trying to brown.
- Cooked bacon keeps the filling salty and crisp without dripping grease into the bread pockets.
- Scrambled eggs should be just set. Loose eggs leak and make the sandwich harder to seal cleanly.
- Cheddar melts smoothly and gives the best pull. Pre-shredded works in a pinch, but slices melt more evenly here.
- Butter on the bread matters more than oil. It gives the outside the right color and flavor while helping the slices release from the iron.
What Each Layer Is Doing Inside the Iron
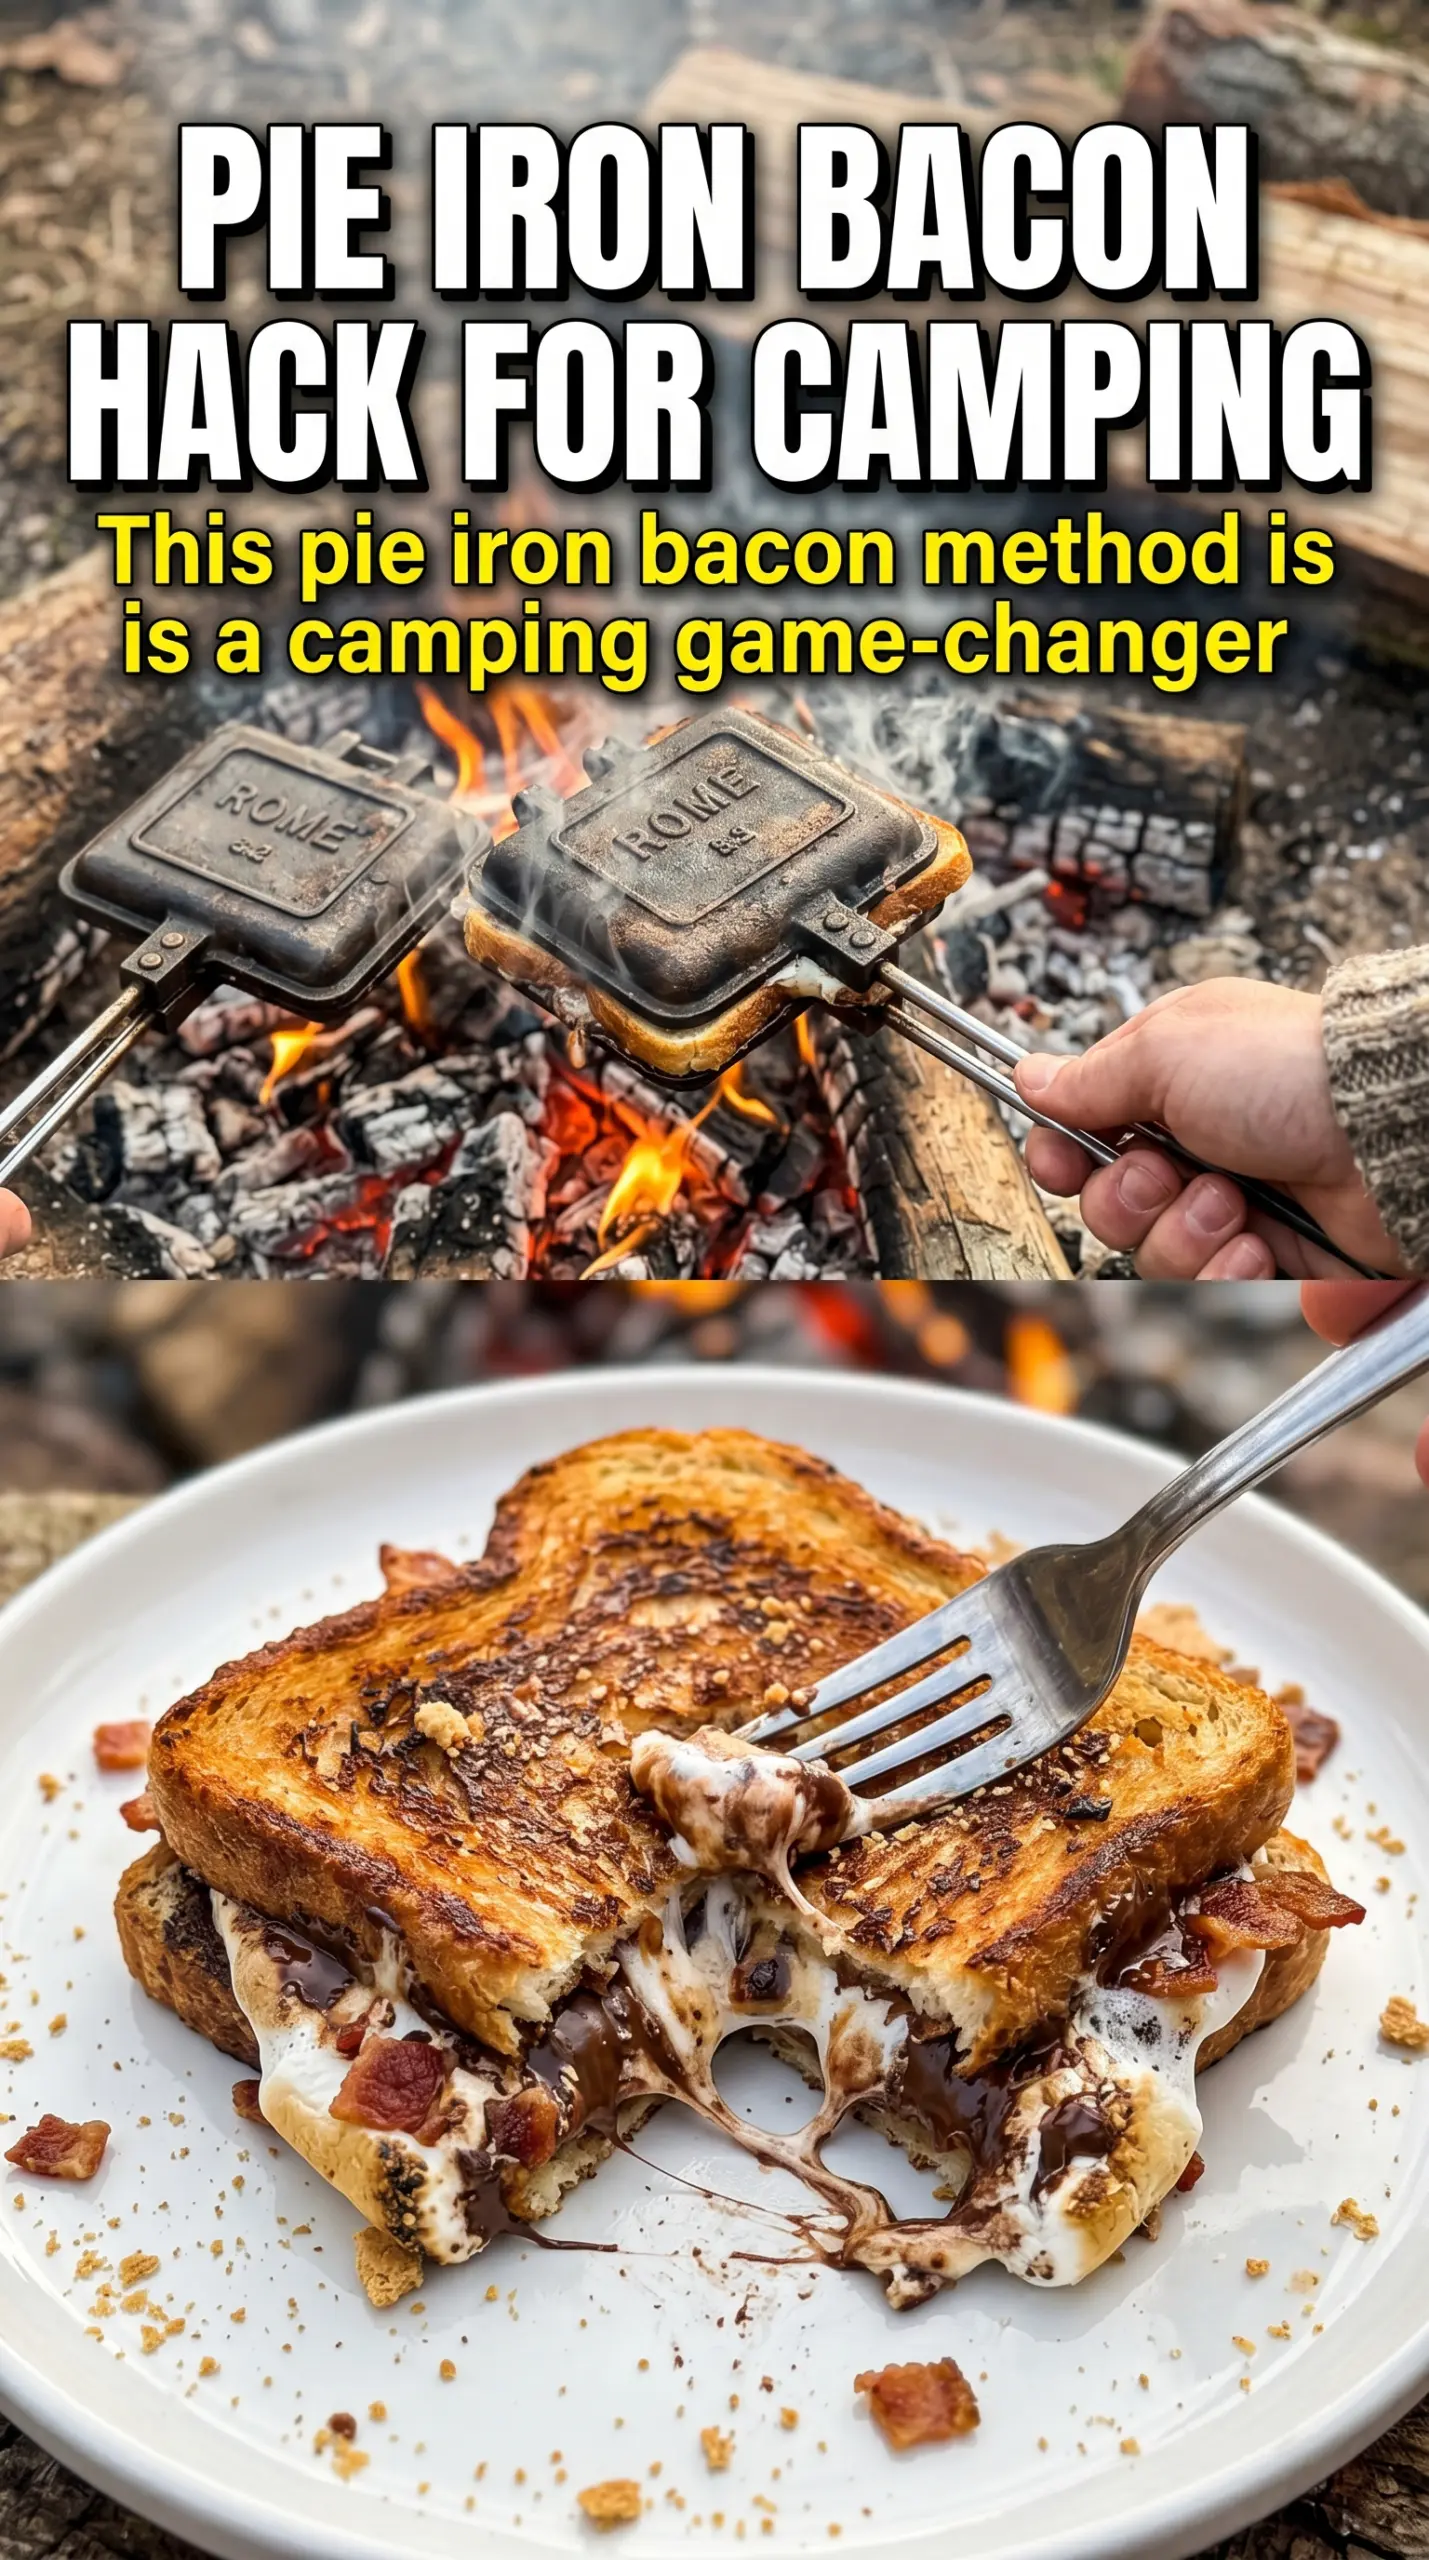
- Bread acts like the crust. Standard sandwich bread works best because it seals easily and toasts evenly. Thick artisanal slices tend to split before the center heats.
- Bacon gives the sandwich its smoky salt and a little chew. Cook it until crisp enough to hold its shape, then drain it well so the butter on the bread can do its job.
- Scrambled eggs add softness and help the filling feel complete. Cook them just until set but still tender; overcooked eggs turn dry fast in a hot iron.
- Cheddar cheese is the glue. It melts into the eggs and bacon and keeps the filling from falling apart when you open the iron.
- Butter is the difference between pale bread and a golden, crackly exterior. Soften it first so it spreads thinly and evenly.
Building the Sandwich So It Cooks Through, Not Out
Butter the Bread Evenly
Spread butter on one side of each slice in a thin, even layer. Thick patches can burn before the bread turns fully crisp, while bare spots stay soft and pale. Keep the butter on the outside only, since the filling already has plenty of richness from the bacon and cheese.
Layer the Filling Without Overstuffing
Set one slice of bread butter-side down in the pie iron, then add the eggs, bacon, and cheese in that order. The eggs help catch the bacon and cheese so they don’t shift around as much when you close the iron. Leave a small border at the edges; if the filling reaches all the way out, it will squeeze out and glue the bread shut.
Cook Over Gentle Coals
Close the pie iron and place it over hot coals, not open flame. Open flame burns the outside before the center has time to melt and warm. Turn it every few minutes so both sides brown evenly, and listen for the bread to sizzle rather than smoke. When the outside is deep golden and the cheese has melted, it’s ready.
Release and Serve Right Away
Open the iron slowly, since steam will rush out. Let the sandwich sit for a minute before eating so the filling settles and doesn’t run out on the first bite. If the bread sticks, it usually means the iron wasn’t hot enough or the butter layer was too thin on one side.
Swap the Cheddar for Pepper Jack
Pepper Jack adds a little heat and melts just as well as cheddar. It works especially well if your bacon is smoky rather than heavily seasoned, because the cheese brings the sandwich back into balance without making it heavier.
Make It Gluten-Free
Use your favorite sturdy gluten-free sandwich bread and toast it lightly before assembling if it feels especially soft. Gluten-free bread can break a little easier in the iron, so a slightly firmer slice handles the heat better and seals more cleanly.
Add Hash Browns for a Bigger Breakfast
A thin layer of cooked hash browns turns this into a heartier sandwich and adds a little crunch. Keep the portion modest, though, because too much filling makes the iron harder to close and slows down the cooking inside.
Storage and Reheating
- Refrigerator: Store leftovers wrapped in foil for up to 2 days. The bread softens as it sits, but the flavor holds up.
- Freezer: I don’t recommend freezing these. The eggs and bread change texture and come back rubbery and damp.
- Reheating: Reheat in a skillet over low heat or in a toaster oven until the bread crisps again and the center is hot. The common mistake is using high heat, which burns the outside before the filling warms through.
Questions I Get Asked About This Recipe
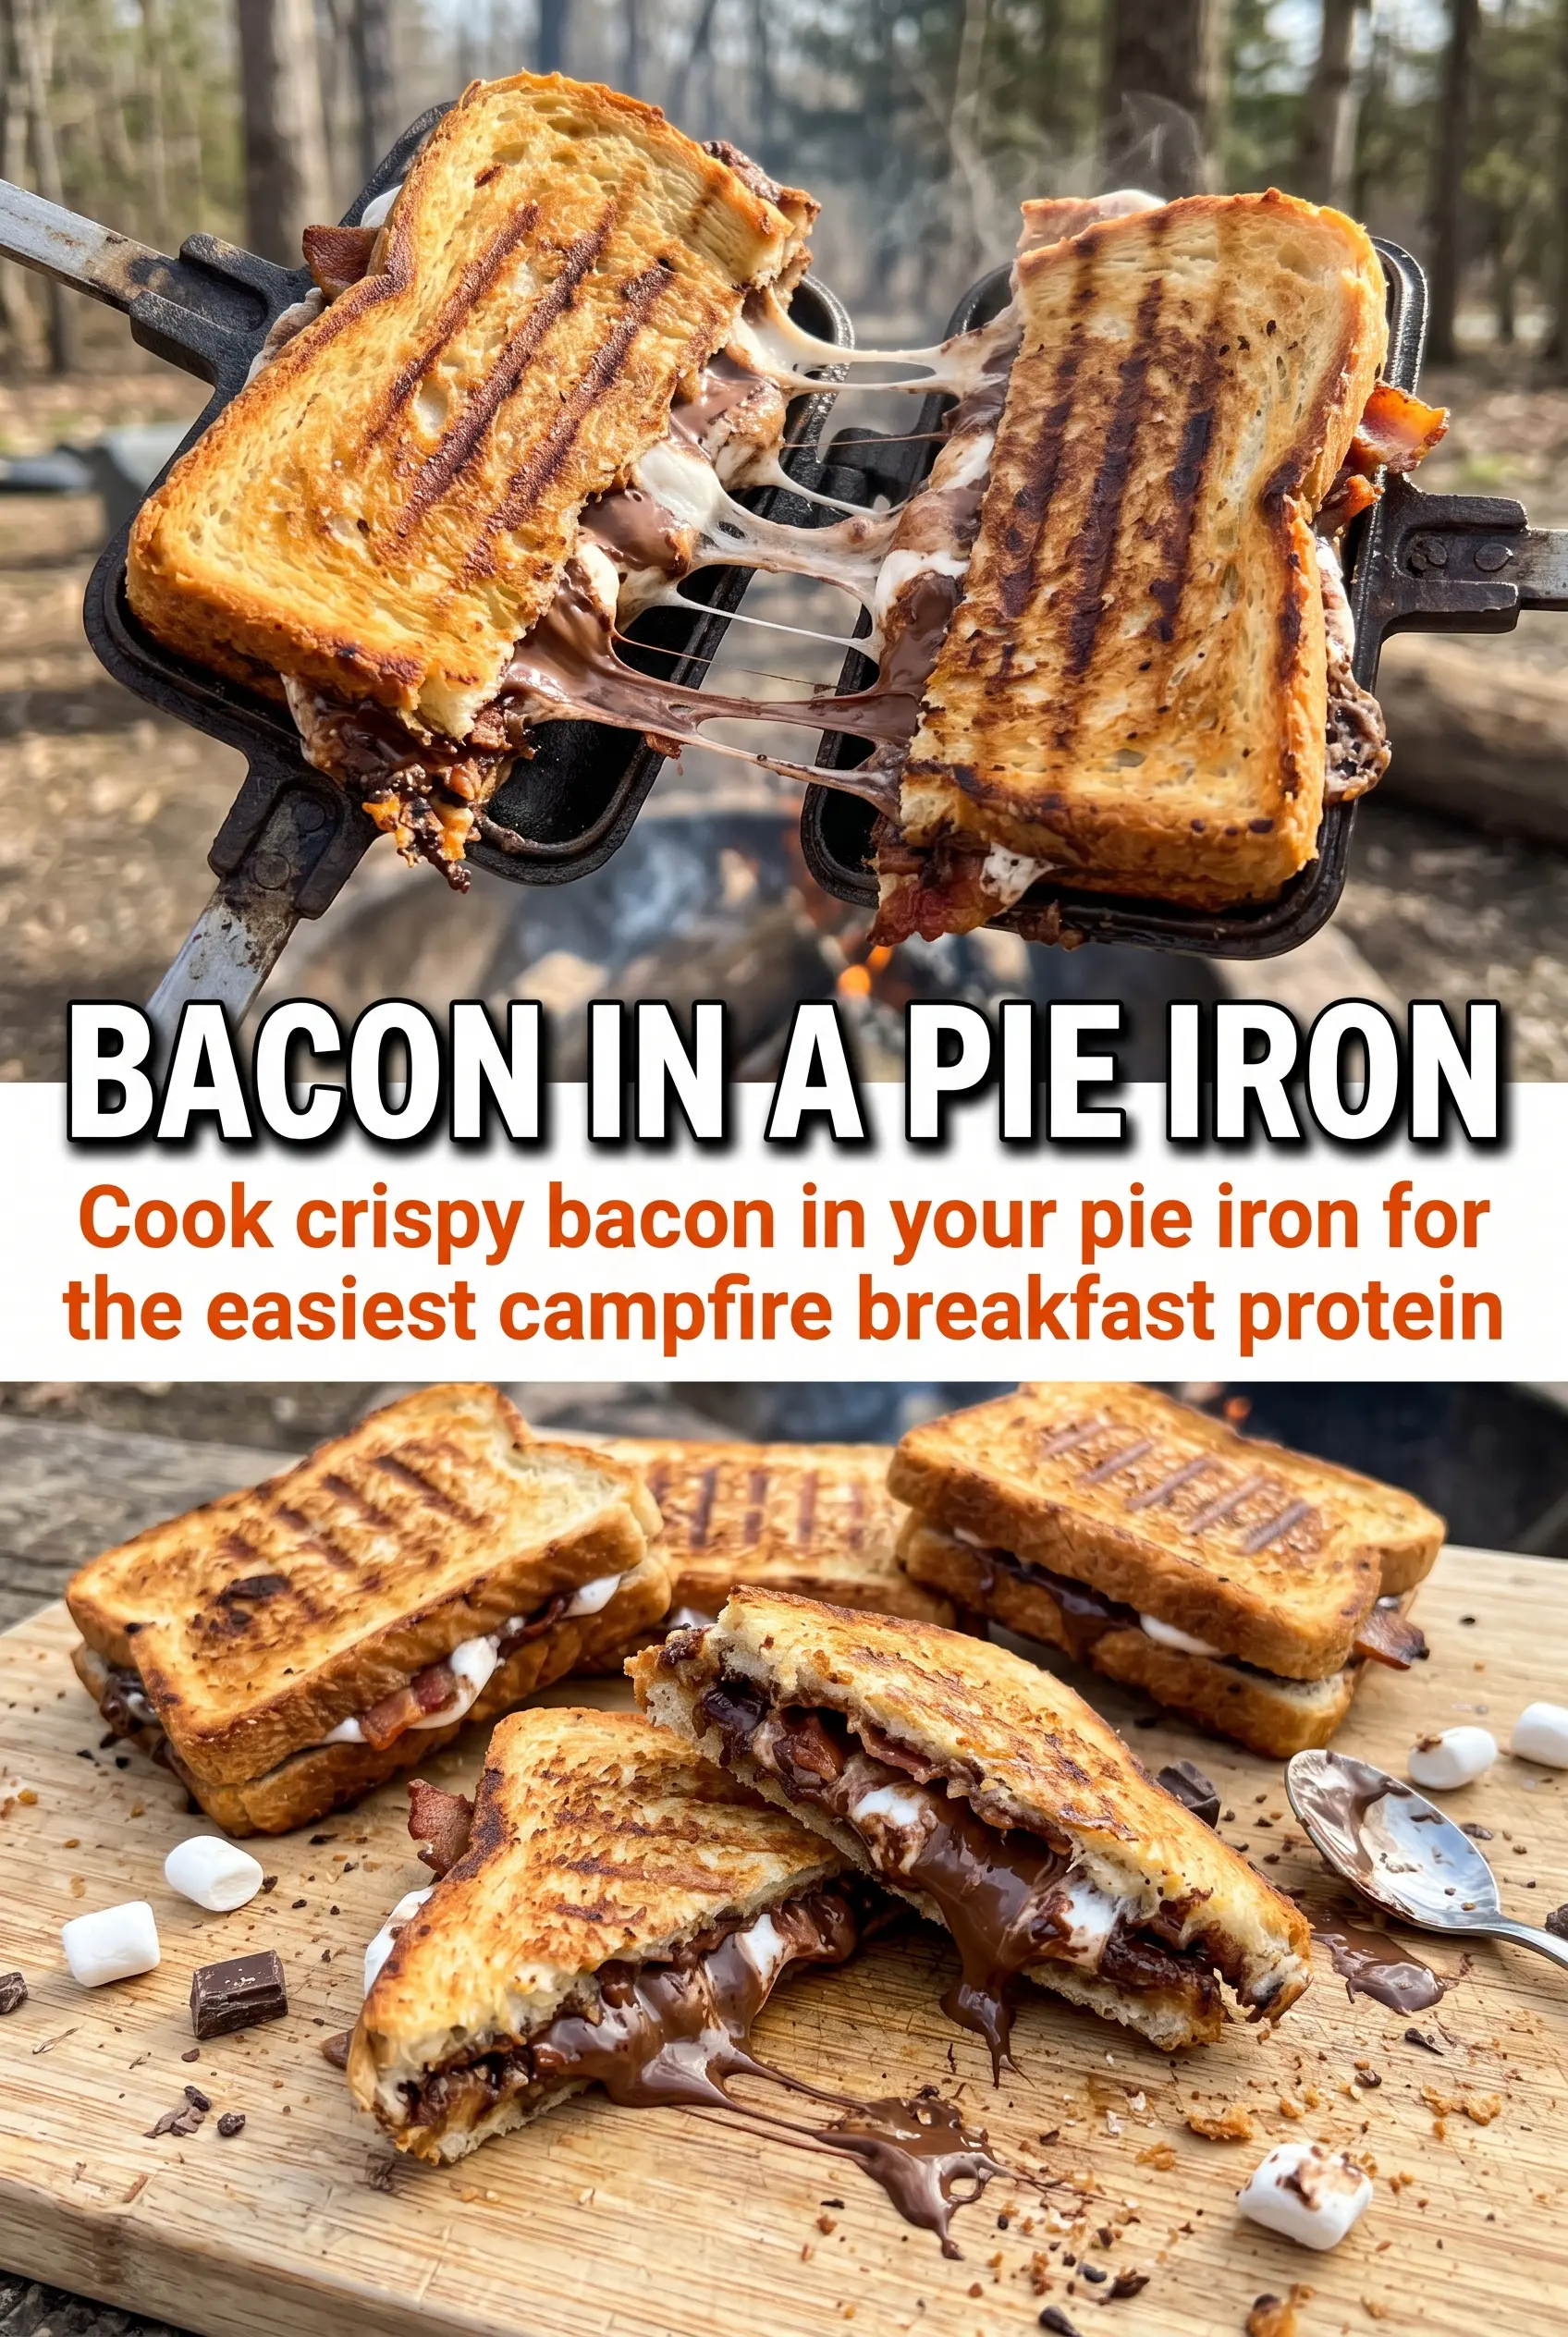
Bacon Pie Irons
Ingredients
Equipment
Method
- Butter one side of each bread slice so the outside toasts evenly.
- Place one slice, butter-side down, in the pie iron.
- Layer the pie iron with scrambled eggs, then crispy bacon, then cheddar cheese for melty filling.
- Season with salt and pepper to taste over the layered filling.
- Top with the second bread slice, butter-side up, then close the pie iron.
- Cook the closed sandwiches over campfire coals for 3-4 minutes per side until golden and the cheese melts.
- Carefully remove the sandwiches from the pie iron and serve hot.