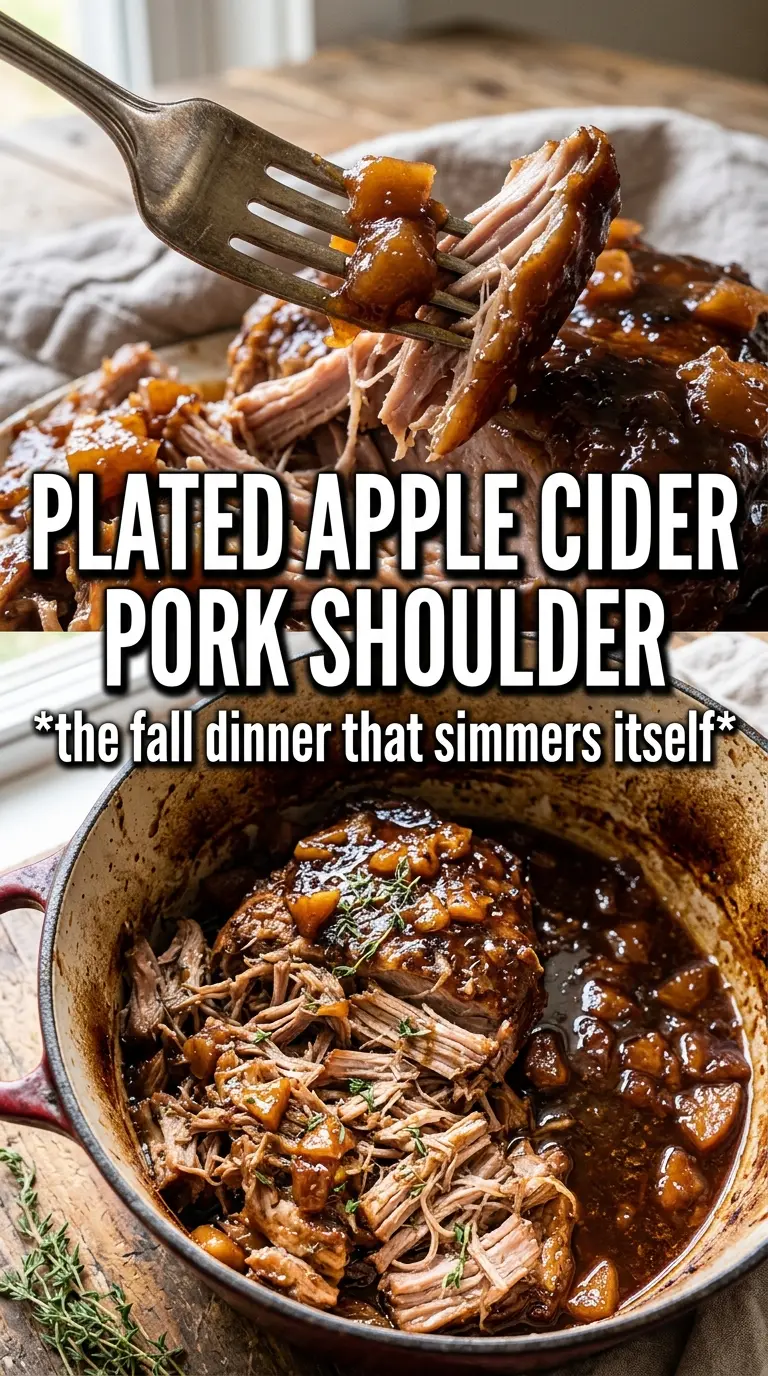
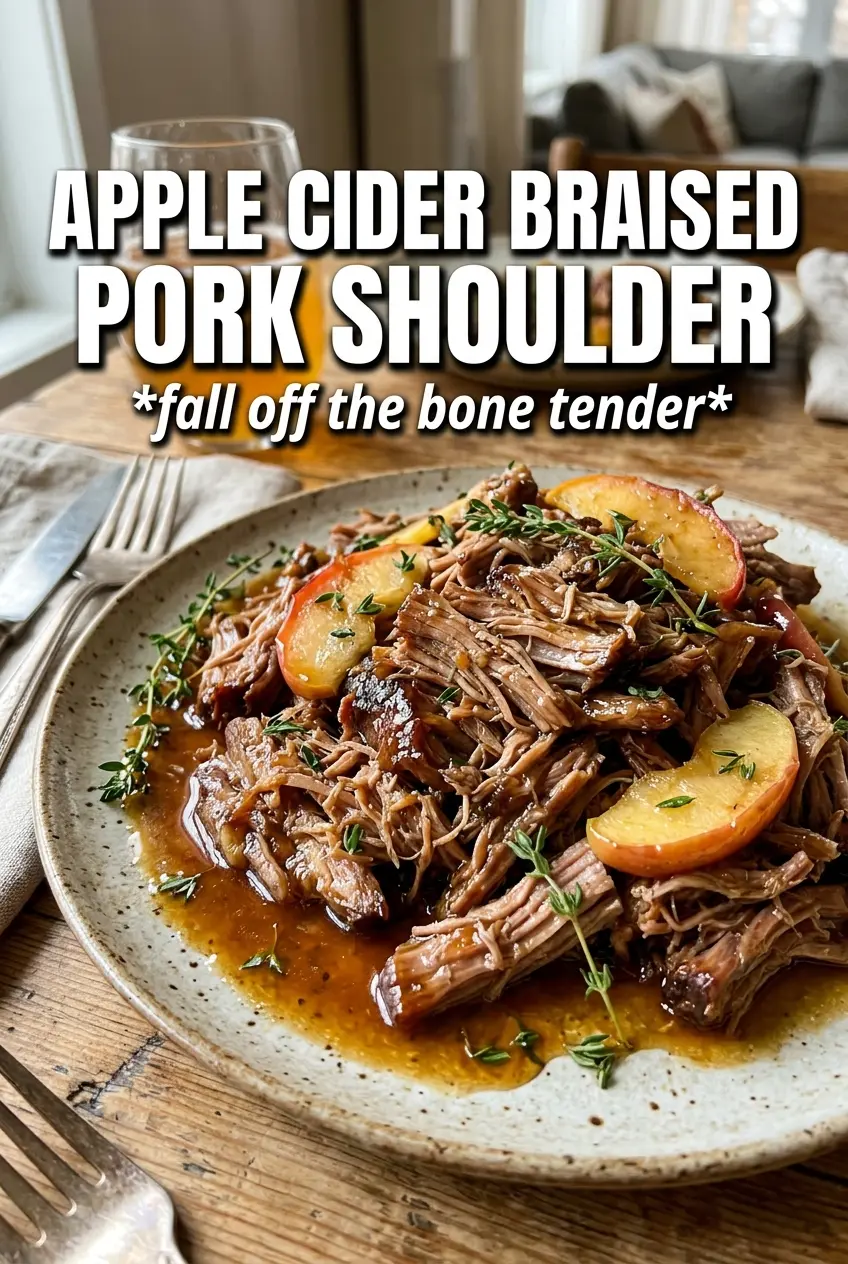
Apple cider braised pork shoulder turns a tough cut into something spoon-tender, glossy, and full of deep savory-sweet flavor. The pork breaks apart into soft shreds, the apples melt just enough to perfume the sauce, and the cider reduces into a pan gravy that tastes like it took all day because, in the best way, it did.
What makes this version work is the balance. The pork gets a hard sear first, which gives the finished sauce that browned, almost roasted depth you can’t build any other way. Then the cider, broth, mustard, and vinegar do the lifting in the braise: the cider brings fruit and body, the Dijon keeps it from tasting flat, and the vinegar sharpens everything so the sauce stays lively instead of sweet.
Below, I’ll walk you through the part that matters most: how to get real browning before the braise starts, and how to know when the pork is tender enough to shred without drying it out. There’s also a simple note on apples and a few ways to adapt the pot if you want to make it your own.
The pork was fall-apart tender at just under 4 hours, and the cider sauce thickened into the best spoon-over-everything gravy. I served it with mashed potatoes and my husband went back for seconds before I even sat down.
Save this apple cider braised pork shoulder for the night you want a deeply tender roast with cider-sweetened pan sauce and almost no hands-on time.
The Browning Step That Gives the Cider Sauce Its Depth
The biggest mistake with braised pork shoulder is rushing past the sear. Pork shoulder can absolutely become tender without a dramatic crust, but the sauce won’t have the same backbone. Those dark brown bits left in the pot are what keep the cider from tasting one-note, and they matter even more here because the braise includes fruit and a little sugar.
Use a wide Dutch oven and give the pork space. If the meat is crowded, it will steam and pale instead of browning, and that lost color is lost flavor. The goal is a deep mahogany crust on every exposed side, not just a quick tan. Don’t move it around until it releases easily from the pot.
What Each Ingredient Is Actually Doing in This Pot
- Pork shoulder — This is the cut that can handle a long braise and still stay juicy. A leaner roast will slice nicely for a minute, then dry out before the connective tissue has time to melt.
- Fresh or hard apple cider — Use the best cider you can buy, because it becomes the sauce. Fresh cider gives you a rounder apple note, while hard cider adds a little more tang and complexity. Both work; avoid anything overly sweetened or spiced.
- Dijon mustard — Dijon sharpens the sauce and helps it taste finished, not sugary. It also blends into the braising liquid better than grainy mustard, which can leave the sauce a little rough.
- Apples — Choose firm apples that hold their shape, like Honeycrisp or Granny Smith. Soft apples will collapse into the sauce too early and disappear before the pork is done.
- Apple cider vinegar — This is the balancing note. It cuts through the richness of the pork and keeps the cider from reading heavy.
- Thyme and rosemary — These herbs give the braise its woodsy edge. Fresh is worth using here because dried rosemary can turn dusty and overpowering during a long cook.
Building the Braise So the Pork Shreds Cleanly
Start with a hard sear
Pat the pork dry, season it well, and sear it in hot oil until each side is deeply browned. If the meat sticks at first, leave it alone; it will release once the crust sets. This is where the flavor starts, and it also gives you better texture in the final dish because the outside won’t taste boiled.
Cook the onions just until they soften
After the pork comes out, the onions and garlic only need a few minutes in the drippings. You want them softened and fragrant, not browned to the point of bitterness. Garlic can burn fast in a hot Dutch oven, so keep it moving and go straight to the liquid once it smells sweet.
Pour in the braising liquid and scrape the pot
Whisk the cider, broth, mustard, brown sugar, and vinegar together before they go in. That helps the mustard dissolve and keeps it from clumping in the pot. Scrape the browned bits from the bottom with a wooden spoon once the liquid hits the heat; if those bits stay stuck, you’re leaving flavor behind.
Braise until the pork gives up easily
Cover the pot and let the oven do the work. The pork is ready when it yields easily to a fork and starts falling apart at the edges, usually somewhere between 3 1/2 and 4 hours depending on the shape of your roast. If it still feels tight or ropey, it needs more time — tough braises usually mean the collagen hasn’t fully melted yet.
Make it with hard cider for a sharper sauce
Hard cider gives the braise a slightly drier, more savory edge than sweet cider. It’s a good choice if you want the sauce to taste a little less fruity and a little more like something you’d want with potatoes and crusty bread.
Go with fresh cider for the roundest apple flavor
Fresh cider makes the sauce fuller and a touch sweeter, which works especially well if your apples are tart. If the cider is unfiltered, the braising liquid usually finishes with a little more body.
Swap in boneless beef chuck for a different braise
Beef chuck will work with the same method, but it needs a longer braise and the finished dish will be richer and less sweet. Keep the cider, mustard, and herbs, then add time until the meat pulls apart easily with little resistance.
Make it dairy-free and gluten-free without changing the method
The braise itself is naturally dairy-free and gluten-free as written. Serve it over mashed potatoes made with olive oil or dairy-free butter, and check that your broth and mustard are certified gluten-free if that matters for your kitchen.
Storage and Reheating
- Refrigerator: Keep leftovers in an airtight container for up to 4 days. The flavor deepens overnight, and the sauce usually gets even better.
- Freezer: This freezes well for up to 3 months. Cool it completely first, then freeze the pork with plenty of sauce so it stays moist when thawed.
- Reheating: Reheat gently on the stove over low heat or covered in a 300F oven until hot. High heat will dry out the pork and can make the sauce taste flat after the cider reduces again.
Questions I Get Asked About This Recipe
Apple Cider Braised Pork Shoulder
Ingredients
Equipment
Method
- Preheat oven to 325F and season the pork generously with salt and pepper.
- Heat olive oil in a Dutch oven and sear the pork on all sides until deeply browned.
- Remove the pork and sauté onion and garlic in the Dutch oven for 3 minutes.
- Whisk apple cider, chicken broth, Dijon mustard, brown sugar, and apple cider vinegar, then pour the mixture into the pot.
- Return the pork to the pot, then add apples, thyme, and rosemary.
- Cover and braise in the oven for 3-1/2 to 4 hours at 325F, until fall-apart tender and visibly softened.
- Shred the pork in the juices and serve immediately over mashed potatoes.