Air fryer pork chops come out with a crackly, deeply seasoned crust and juicy centers when the seasoning is built right onto dry meat. The best part is how fast they go from fridge to plate without turning leathery or gray at the edges, which is where a lot of quick pork chop recipes fall apart.
The trick is simple: dry the chops well, coat them in oil, and let the spice mix cling to every side before they hit the hot basket. That gives you real browning instead of a dusty coating that burns before the pork cooks through. A short rest at the end matters too, because pork chops need those juices to settle back into the meat.
Below, I’m walking through the little details that keep these chops tender, the seasoning choices that matter most, and a few ways to adjust them if you’re working with bone-in chops, thicker cuts, or a smaller air fryer basket.
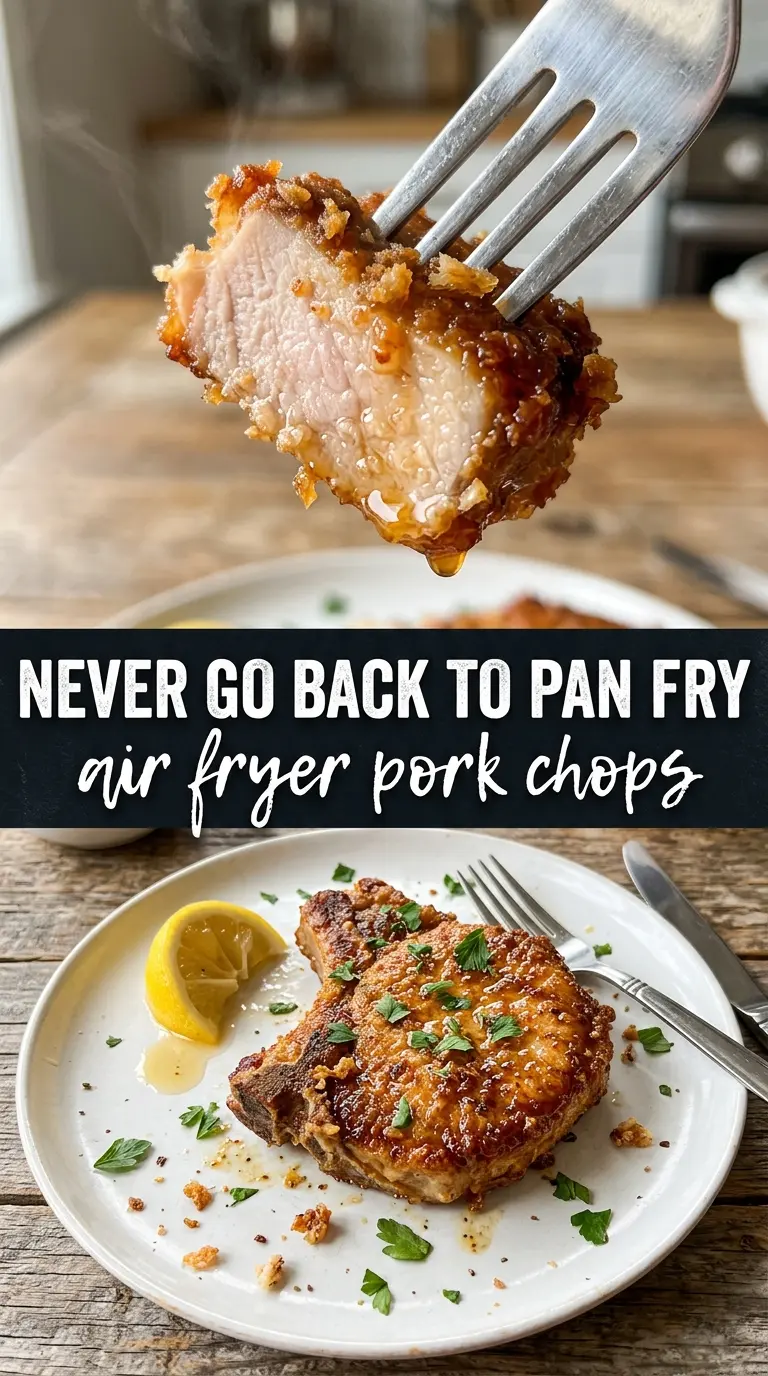
I finally got pork chops that stayed juicy in the air fryer. The crust was golden all over, and the timing was spot on at 12 minutes for my 1-inch chops.
Air fryer pork chops with that golden spice crust belong in your weeknight rotation, especially when you want dinner fast without giving up juicy meat.
Save these golden air fryer pork chops for a fast dinner with a crisp crust and juicy center.
The One Thing That Keeps Air Fryer Pork Chops Juicy Instead of Dry
The biggest mistake with air fryer pork chops is cooking them like they need a long oven roast. They don’t. The air fryer moves fast, and pork chops dry out when people chase color instead of temperature. Once the surface is seasoned and the basket is hot, the job is to cook just until the center reaches 145°F, then stop.
Thickness matters here more than almost anything else. A 1-inch chop gives you enough time to build a crust before the middle overcooks, while thinner chops need a shorter cook and a closer eye. If the chops sit in a crowded basket, they steam instead of brown, and that’s when you end up with pale seasoning and rubbery edges.
- Dry pork chops — Moisture on the surface blocks browning, so pat them dry before adding oil and spices.
- Single layer in the basket — Air needs room to move around the meat. Overlapping chops trap steam and slow the crust.
- Thermometer over guesswork — Pull them at 145°F in the thickest part. The temperature rises a little while they rest.
- Short rest — Three minutes lets the juices settle so the first cut doesn’t run dry.
What Each Seasoning Is Actually Doing on These Pork Chops
- Olive oil — This helps the spices stick and encourages better browning. You only need enough to coat the surface, not soak the chops.
- Garlic powder — Fresh garlic can burn in the air fryer, but garlic powder gives steady savory flavor without bitterness.
- Smoked paprika — This adds color and a little depth that tastes like the chops cooked longer than they did. Regular paprika works in a pinch, but you’ll lose some of that smoky edge.
- Dried thyme — Thyme gives the seasoning mix a cleaner, woodsy note that keeps the crust from tasting flat. Crush it between your fingers before adding it if the leaves are big and stiff.
- Boneless or bone-in chops — Bone-in chops usually stay a touch juicier, but both work well as long as they’re around 1 inch thick. If your chops are thinner, cut the cook time back and check early.
- Lemon wedges — The acid wakes up the seasoning right at the table. A squeeze over the top balances the richness of the pork.
Getting the Crust Deeply Golden Without Overcooking the Center
Drying and Coating the Meat
Pat the pork chops dry on both sides first. That step matters more than people think, because wet meat gives you a damp, patchy crust instead of a crisp one. Brush or rub on the olive oil, then work the spice mix over every surface, including the edges. If the seasoning looks uneven or falls off in clumps, the chops were still too wet.
Preheating the Air Fryer
Preheat the air fryer to 400°F for a few minutes so the chops start searing right away. If you skip preheating, the seasoning has extra time to sit before it browns, and that’s how you end up with a softer exterior. A hot basket also helps the fat render on contact, which gives the crust its first bit of color.
Cooking in the Basket
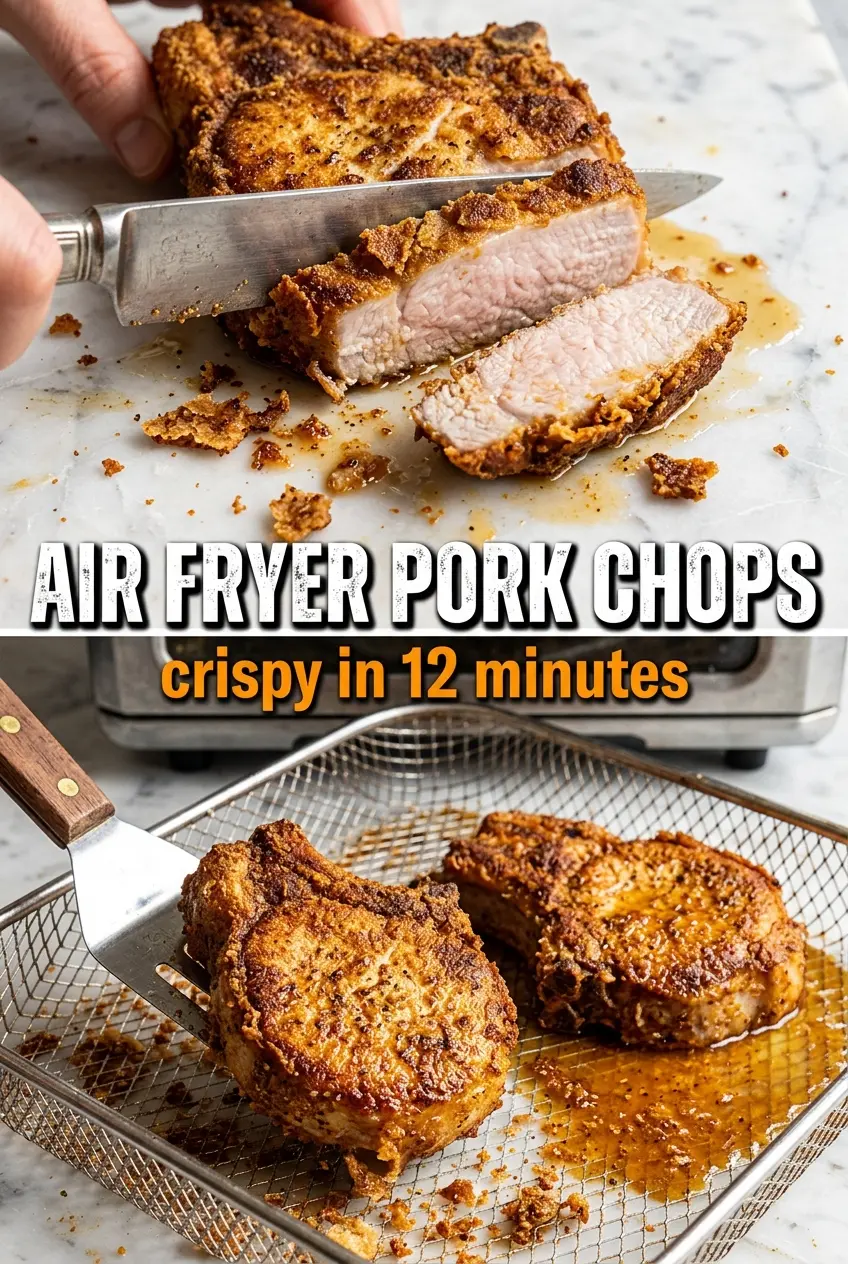
Lay the chops in a single layer and don’t crowd them. Flip halfway through so both sides get color, and start checking early if your chops are on the thinner side. The surface should look deeply golden and the thickest part should read 145°F. If the crust is darkening too quickly before the center is done, drop the temperature by a notch next time and cook a minute longer.
Resting Before Serving
Move the chops to a plate and let them sit for three minutes. That short rest keeps the juices from spilling out the moment you cut in. If you slice too soon, the meat looks drier than it really is, and the pan juices end up on the plate instead of staying in the chop.
How to Adjust These Pork Chops for Different Cuts and Diets
Bone-in chops with a little more cushion
Bone-in pork chops usually need a minute or two more than boneless ones, but they can stay juicier around the bone. Keep the same seasoning and temperature, then check the thickest part instead of relying on the timer alone.
Thinner chops that need a shorter cook
If your chops are closer to 1/2 inch thick, start checking around the 7- to 8-minute mark. Thin chops dry out fast, so the goal is a quick crust and an early pull, not a deep dark finish.
Dairy-free and gluten-free as written
This recipe is naturally dairy-free and gluten-free as long as your spice blends are pure. That makes it an easy dinner when you need something simple that still feels complete on the plate.
Different seasoning direction
You can swap the thyme and smoked paprika for Italian seasoning or a Cajun blend, but keep the garlic powder in place. That gives you a different personality without losing the savory backbone that makes the crust taste finished.
Storage and Reheating
- Refrigerator: Store leftovers in an airtight container for up to 3 days. The crust softens a bit, but the pork stays useful for quick lunches or dinner.
- Freezer: Freeze cooked chops for up to 2 months, wrapped well so they don’t pick up freezer flavor. The texture is best when you thaw them slowly in the fridge.
- Reheating: Warm them in the air fryer at 350°F for a few minutes until heated through. The common mistake is blasting them on high heat, which dries the edges before the center is warm.
Answers to the Questions Worth Asking
Air Fryer Pork Chops
Ingredients
Equipment
Method
- Pat the pork chops dry, then brush all over with olive oil so the coating sticks. Visual cue: the surface should look slightly glossy.
- Mix garlic powder, smoked paprika, onion powder, dried thyme, salt, and black pepper, then rub the spice mixture all over the pork chops. Visual cue: the chops should be evenly coated on all sides.
- Preheat the air fryer to 400°F for 3 minutes. Visual cue: the air fryer basket should be hot before adding the meat.
- Place the pork chops in the air fryer basket in a single layer without overlapping. Visual cue: you should see space between chops so heat circulates.
- Air fry for 10–12 minutes, flipping halfway, until the internal temperature reaches 145°F and the crust is golden. Visual cue: the outside should look deeply golden and set.
- Rest the pork chops for 3 minutes before serving. Visual cue: juices should redistribute and the crust should remain crisp-looking.
- Serve with lemon wedges. Visual cue: a fresh citrus wedge sits beside each chop.