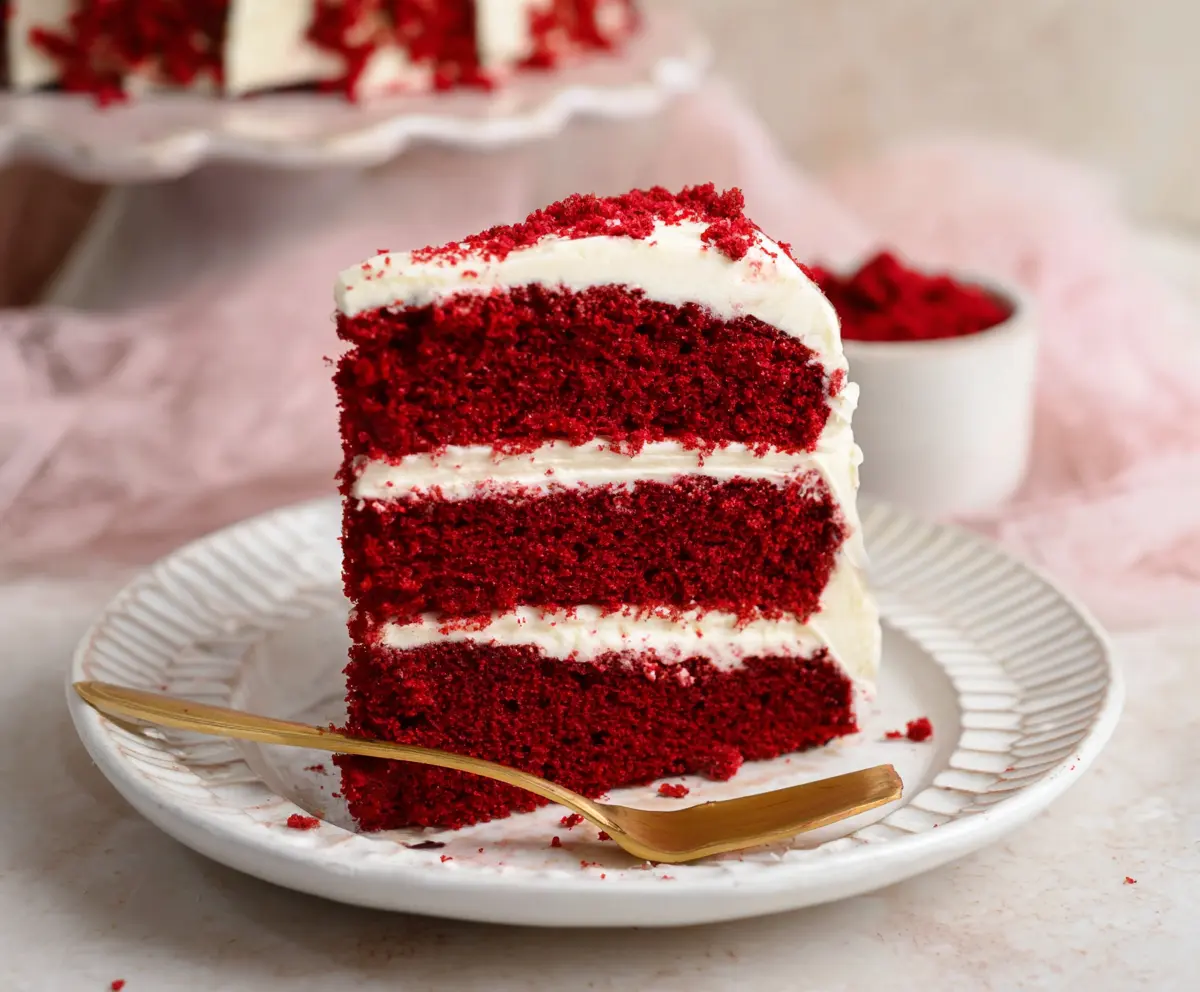
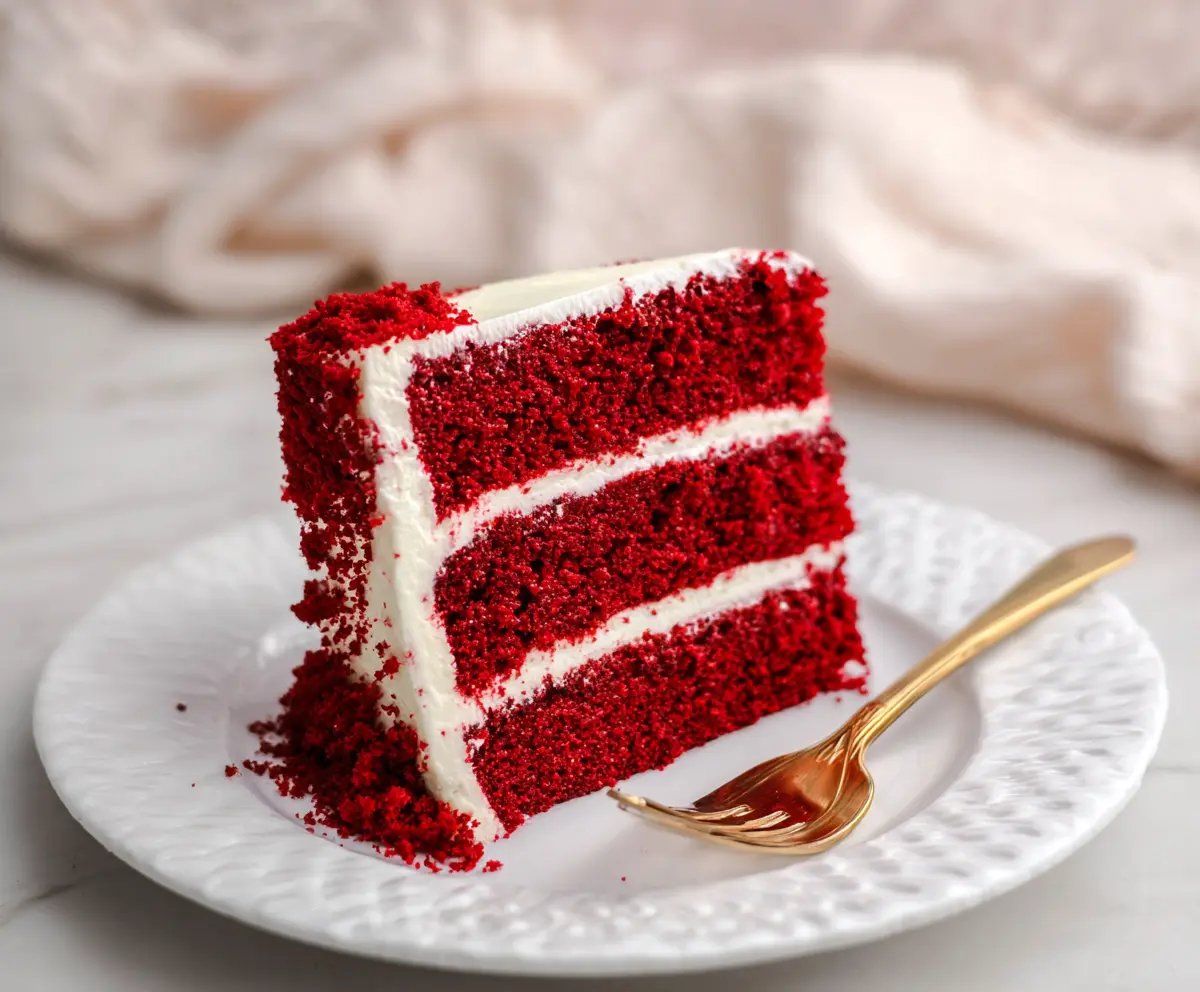
This red velvet cake is a showstopper with its rich red color and smooth cream cheese frosting. It’s soft, moist, and perfect for any special occasion!
Honestly, who can resist that lovely contrast between the red cake and white frosting? Every bite feels like a mini celebration. 🎉
I love making this cake because it looks so fancy, but it’s quite simple to whip up! It always impresses my friends at parties, and they can’t get enough of it!
Key Ingredients & Substitutions
All-purpose flour: Essential for structure, but if you’re gluten-free, you can try a gluten-free flour blend. Just ensure it contains xanthan gum for better texture.
Buttermilk: Adds moisture and tang. If you don’t have buttermilk, you can mix 1 cup of milk with 1 tablespoon of vinegar or lemon juice and let it sit for a few minutes.
Vegetable oil: This keeps the cake moist. You can substitute it with canola oil or melted coconut oil for a different flavor profile.
Red food coloring: Gives the cake its signature color. You can use gel food coloring for a more vibrant hue, or even beet juice for a natural option, though it may alter the flavor slightly.
Cream cheese: The star of the frosting! If you want a lighter option, you can use Greek yogurt or a lower-fat cream cheese alternative, but the taste will vary.
How Do I Ensure My Red Velvet Cake is Moist and Fluffy?
To achieve that perfect moist and fluffy texture, focus on two key techniques: mixing and baking. First, be careful not to overmix your batter. It can make the cake dense. Mix just until everything is combined!
Also, keep an eye on your baking time. Every oven is different! Start checking for doneness at 25 minutes by inserting a toothpick into the center. It should come out clean or with a few crumbs. Overbaking can dry out your cake, so stay vigilant!
- Preheat your oven to the right temperature and use the correct pan size for best results.
- Make sure your ingredients are at room temperature; this helps them combine better.
- Let the cake cool completely before frosting. If it’s warm, the frosting will melt off!
How to Make Red Velvet Cake
Ingredients You’ll Need:
For the Cake:
- 2 ½ cups (312 g) all-purpose flour
- 1 ½ cups (300 g) granulated sugar
- 1 teaspoon baking soda
- 1 teaspoon fine salt
- 1 teaspoon cocoa powder (unsweetened)
- 1 ½ cups (360 ml) vegetable oil
- 1 cup (240 ml) buttermilk, room temperature
- 2 large eggs, room temperature
- 2 tablespoons (30 ml) red food coloring
- 1 teaspoon white distilled vinegar
- 1 teaspoon vanilla extract
For the Cream Cheese Frosting:
- 16 oz (450 g) cream cheese, softened
- ½ cup (115 g) unsalted butter, softened
- 4 cups (480 g) powdered sugar, sifted
- 1 teaspoon vanilla extract
How Much Time Will You Need?
This red velvet cake will take about 15 minutes to prepare and 25-30 minutes to bake. After baking, you should let it cool for about 10 minutes in the pans and then transfer the layers to a rack to cool completely. Don’t forget to add time for frosting and decorating, roughly another 30 minutes. All in all, you’re looking at around 1.5 to 2 hours from start to finish. A delicious way to spend your time!
Step-by-Step Instructions:
1. Prepare Oven and Pans:
Start by preheating your oven to 350°F (175°C). Greasing and flouring three 8-inch round cake pans will help your beautiful cakes come out easily. You can also use parchment paper at the bottom of the pans for extra insurance!
2. Mix Dry Ingredients:
In a medium bowl, combine the all-purpose flour, granulated sugar, baking soda, salt, and cocoa powder. Sift them together to ensure there are no lumps and to give the flour a little air. This will make your cake nice and fluffy!
3. Mix Wet Ingredients:
In a large bowl, whisk together the vegetable oil, buttermilk, eggs, red food coloring, white vinegar, and vanilla extract. Keep whisking until everything is smooth and you see that vibrant red color coming together.
4. Combine Wet and Dry Ingredients:
Now it’s time to add the dry ingredients to the wet mixture. Do this gradually, mixing just until everything is combined. Be careful not to overmix; you want your cake to be tender, not tough!
5. Bake the Cake Layers:
Evenly divide the batter into the prepared cake pans and pop them in the oven. Bake for about 25-30 minutes. To check if they are done, insert a toothpick into the center of a cake; it should come out clean or with a few moist crumbs.
6. Cool:
Let the cakes sit in their pans for about 10 minutes, then turn them out onto a wire rack to cool completely. Cooling is key; if they’re warm, the frosting will melt!
7. Make the Frosting:
While the cakes are cooling, let’s whip up the cream cheese frosting! In a large bowl, beat together the softened cream cheese and butter until it’s smooth and creamy. Gradually add in the sifted powdered sugar and keep mixing until it’s fluffy. Lastly, stir in the vanilla extract.
8. Assemble the Cake:
Once your cake layers are cool, place one layer on a serving plate. Spread a nice layer of cream cheese frosting on top. Place the second layer on top and repeat the frosting. Finish with the third layer and cover the entire cake in the remaining frosting!
9. Decorate:
For a fun touch, you can sprinkle some cake crumbs or red velvet crumbs on top of the frosted cake. This adds a little flair and makes it extra pretty!
10. Serve:
Now, it’s time to slice and enjoy your moist & flavorful red velvet cake with that delicious cream cheese frosting! Serve it up at parties or keep it to yourself—you deserve that slice!
This classic red velvet cake not only captivates the eyes with its vibrant color but also delights the taste buds with its perfect blend of flavors. Enjoy every single bite!
Can I Use a Different Type of Flour?
Yes, you can use a gluten-free flour blend if you need to avoid gluten. Just ensure the blend includes xanthan gum to help with texture. It won’t affect the flavor too much!
How Do I Make Buttermilk at Home?
No buttermilk? No problem! Mix 1 cup of regular milk with 1 tablespoon of vinegar or lemon juice. Let it sit for about 5-10 minutes until it thickens slightly. It’s a great substitute!
How Can I Store Leftover Cake?
Store any leftover red velvet cake in an airtight container in the fridge for up to 3-4 days. You can also freeze the cake by wrapping it tightly in plastic wrap and then foil for up to 3 months. Just thaw in the fridge overnight before serving!
Can I Use Less Sugar in the Recipe?
You can reduce the sugar slightly, but remember this may change the cake’s moisture and sweetness. Start by reducing the sugar by ½ cup and adjust to your taste the next time you make it!