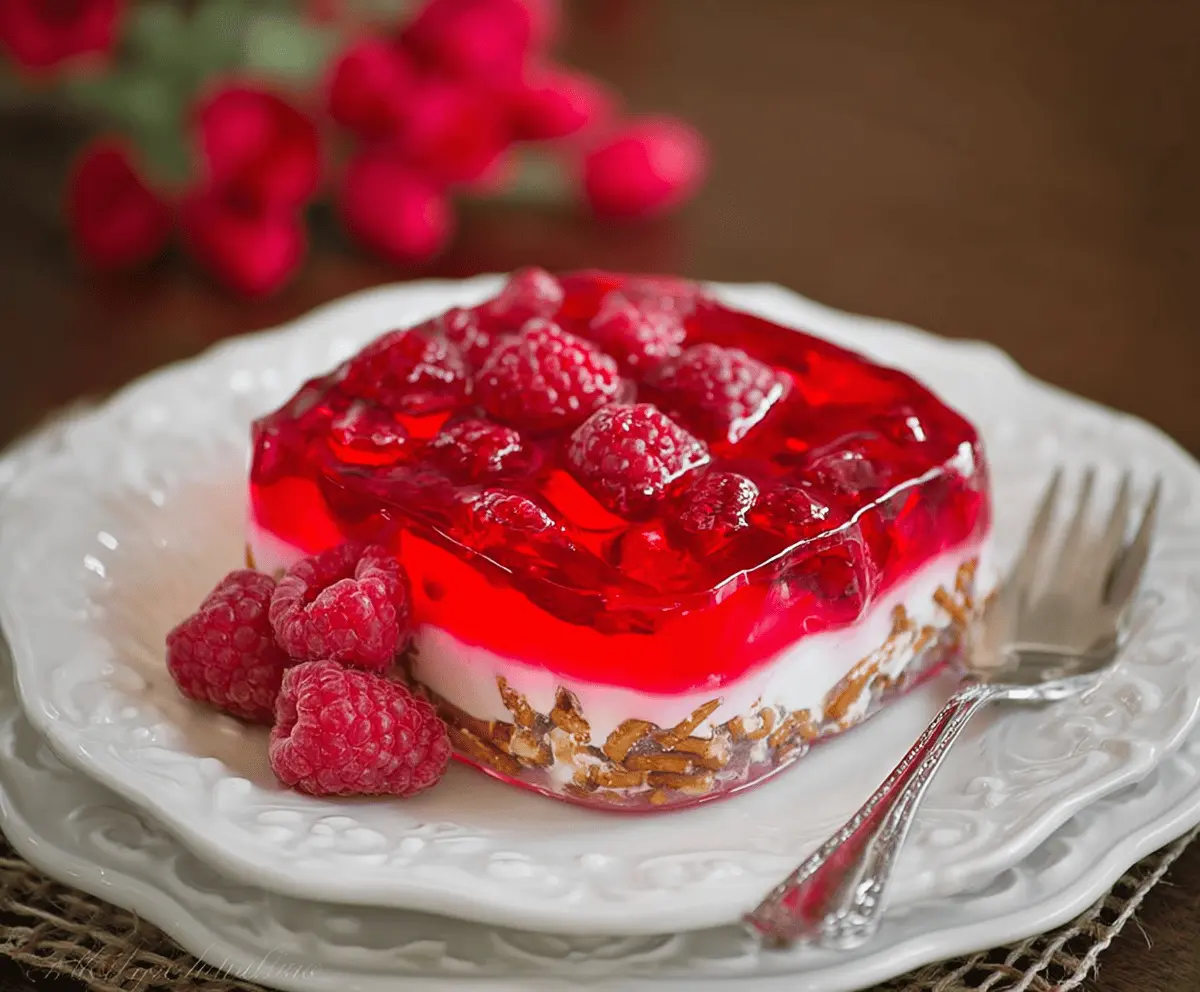
This Raspberry Pretzel Jello is a fun mix of salty and sweet! It has a crunchy pretzel crust, a creamy middle layer, and a bright raspberry topping that makes it extra special.
Every bite feels like a little party, and the colors are so cheerful! I love serving this at gatherings because it’s always a hit and disappears quickly—just like magic! 🎉
Key Ingredients & Substitutions
Pretzels: The crushed pretzels create a salty crust that pairs beautifully with the sweet layers. If you need a gluten-free option, consider using gluten-free pretzel alternatives. Some people like using graham crackers for a sweeter base!
Cream Cheese: Cream cheese gives the dessert a rich, creamy texture. For a lighter version, swap it for Greek yogurt or whipped cream cheese. This keeps the flavor but also lightens it up a bit.
Marshmallows: These help make the cream layer fluffy. If you’re looking for a vegan option, try using vegan marshmallows. You’ll still get that lovely texture without the animal products.
Jell-O: The raspberry flavor is classic, but feel free to substitute with other flavors like strawberry or cherry if you prefer! Just keep in mind the color will change.
How Do I Make Sure My Jell-O Sets Perfectly?
Getting the Jell-O to set just right can be tricky. Here are some tips to ensure success:
- Allow the Jell-O to cool to room temperature before pouring it over the layers. This prevents melting the cream cheese layer.
- Don’t rush the setting time. Refrigerate for at least 4 hours! The longer it chills, the better it will set.
- If the Jell-O starts to form a layer on top while cooling, just stir it gently to keep it even.
Follow these steps, and you’ll have a stunning dessert ready to impress your family and friends!
Raspberry Pretzel Jello
Ingredients You’ll Need:
For the Crust:
- 2 cups crushed pretzels (about 6 ounces)
- 3/4 cup granulated sugar, divided
- 1/2 cup (1 stick) unsalted butter, melted
For the Cream Cheese Layer:
- 2 packages (8 oz each) cream cheese, softened
- 1 cup powdered sugar
- 2 cups miniature marshmallows
For the Jell-O Layer:
- 2 cups boiling water, divided
- 2 packages (6 oz each) raspberry-flavored Jell-O gelatin
- 2 cups fresh raspberries
How Much Time Will You Need?
This delicious Raspberry Pretzel Jello will take about 20 minutes of prep time, plus at least 4 hours of chilling time to let it set. It’s an easy recipe with a little bit of waiting to let the flavors meld and the textures come together.
Step-by-Step Instructions:
1. Prep the Crust:
Start by preheating your oven to 350°F (175°C). In a medium-sized bowl, mix the crushed pretzels, 1/2 cup of granulated sugar, and melted butter until everything is well combined. Now, press this mixture evenly into the bottom of a 9×13-inch baking dish. This will be the crunchy base of your dessert!
2. Bake the Crust:
Pop the dish into the oven and bake the crust for about 10 minutes. Once done, take it out and let it cool completely. Your kitchen will smell amazing!
3. Make the Cream Cheese Layer:
While the crust is cooling, grab a large microwave-safe bowl and combine the softened cream cheese, powdered sugar, and marshmallows. Heat this mixture in the microwave in 30-second intervals, stirring gently after each interval until the marshmallows are melted and the mixture is nice and smooth. This should take about 1.5 to 2 minutes.
4. Assemble the Layers:
Once your cream cheese mixture is ready, pour it evenly over the cooled pretzel crust. Spread it out so it’s nice and even. Now, place the dish in the refrigerator while you prepare the Jell-O layer.
5. Prepare Raspberry Jell-O:
In a separate bowl, dissolve the raspberry Jell-O packets in 2 cups of boiling water. Stir until completely dissolved. Let this mixture cool to room temperature but make sure it doesn’t start setting—it should be liquid.
6. Add Fresh Raspberries:
Now for some fruity goodness! Arrange the fresh raspberries evenly over the cream cheese layer in your baking dish. They will add a pop of flavor and color!
7. Pour the Jell-O:
Carefully pour the cooled raspberry Jell-O over the raspberries and cream cheese layer. Make sure the Jell-O is still liquid when you do this to avoid disturbing the layers below.
8. Chill Until Set:
Cover the dish and refrigerate for at least 4 hours, or until the Jell-O is fully set. Patience is key here, but it will be worth the wait!
9. Serve and Enjoy:
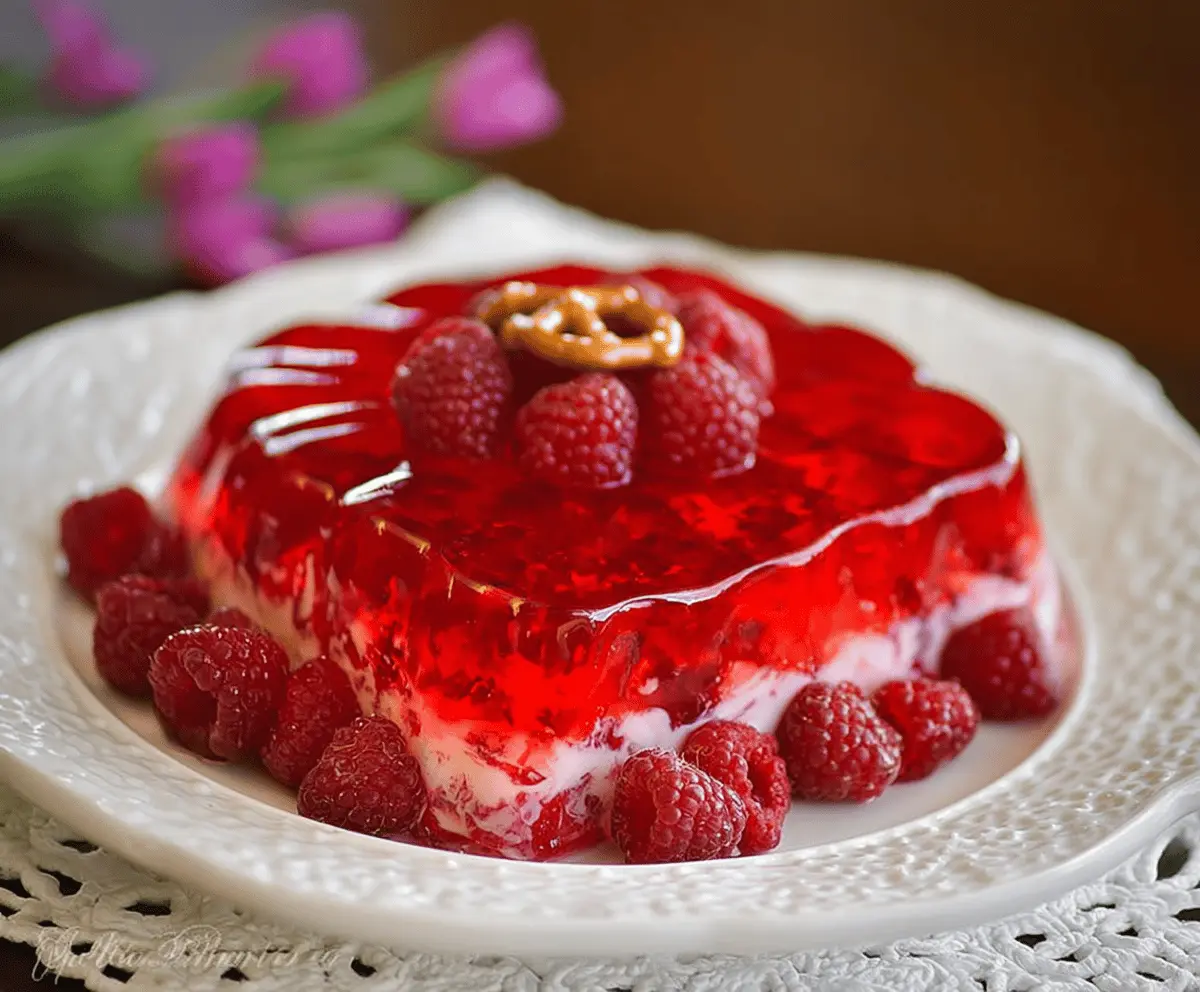
Once it’s set, cut the Raspberry Pretzel Jello into squares and serve chilled. If you’d like, garnish the top with extra fresh raspberries for a beautiful finish. Enjoy this refreshing and delightful dessert with friends and family!
This layered treat perfectly combines the salty pretzel crunch, creamy middle, and refreshing raspberry Jell-O with whole berries for a burst of flavor! It’s a showstopper in both taste and presentation!
Can I Use Different Flavors of Jell-O?
Absolutely! While raspberry is classic, feel free to swap it for other flavors like strawberry, cherry, or even peach to match your taste preferences or seasonal fruits!
How Do I Store Leftovers?
Store any leftovers in an airtight container in the refrigerator for up to 3 days. If the dessert is already cut into squares, you can layer pieces with parchment paper to prevent sticking. Just make sure to cover it well to keep it fresh!
Can I Make This Dessert Ahead of Time?
Yes, you can prepare this dessert a day in advance. Just make sure to let the Jell-O layer set overnight in the fridge. This allows the flavors to meld beautifully and saves you time when hosting!
What Can I Use Instead of Miniature Marshmallows?
If you don’t have miniature marshmallows, you can use marshmallow fluff as a substitute. Start with about 1 cup of fluff for the cream cheese mixture. Just keep in mind that it may alter the texture slightly, but it will still taste delicious!