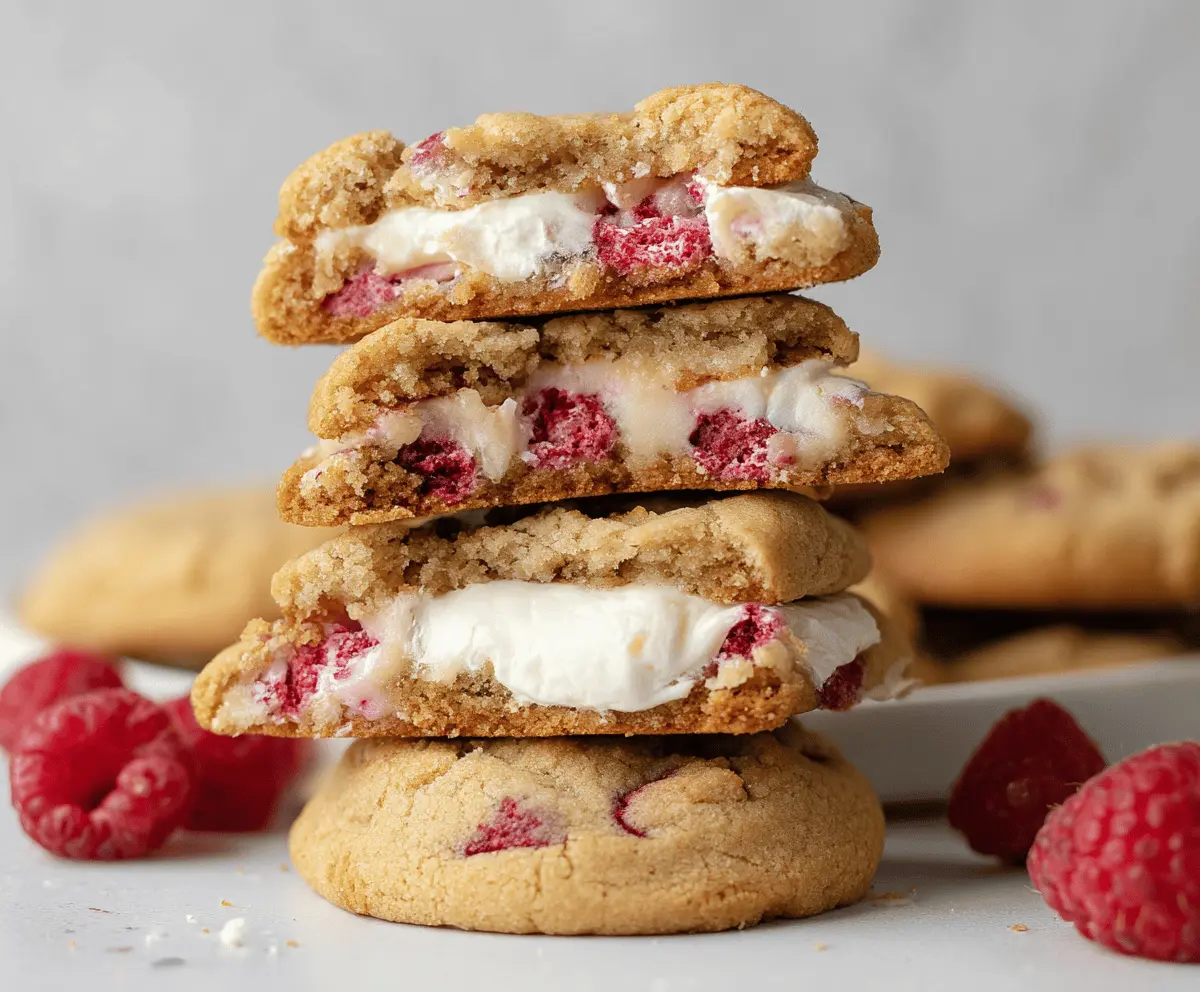
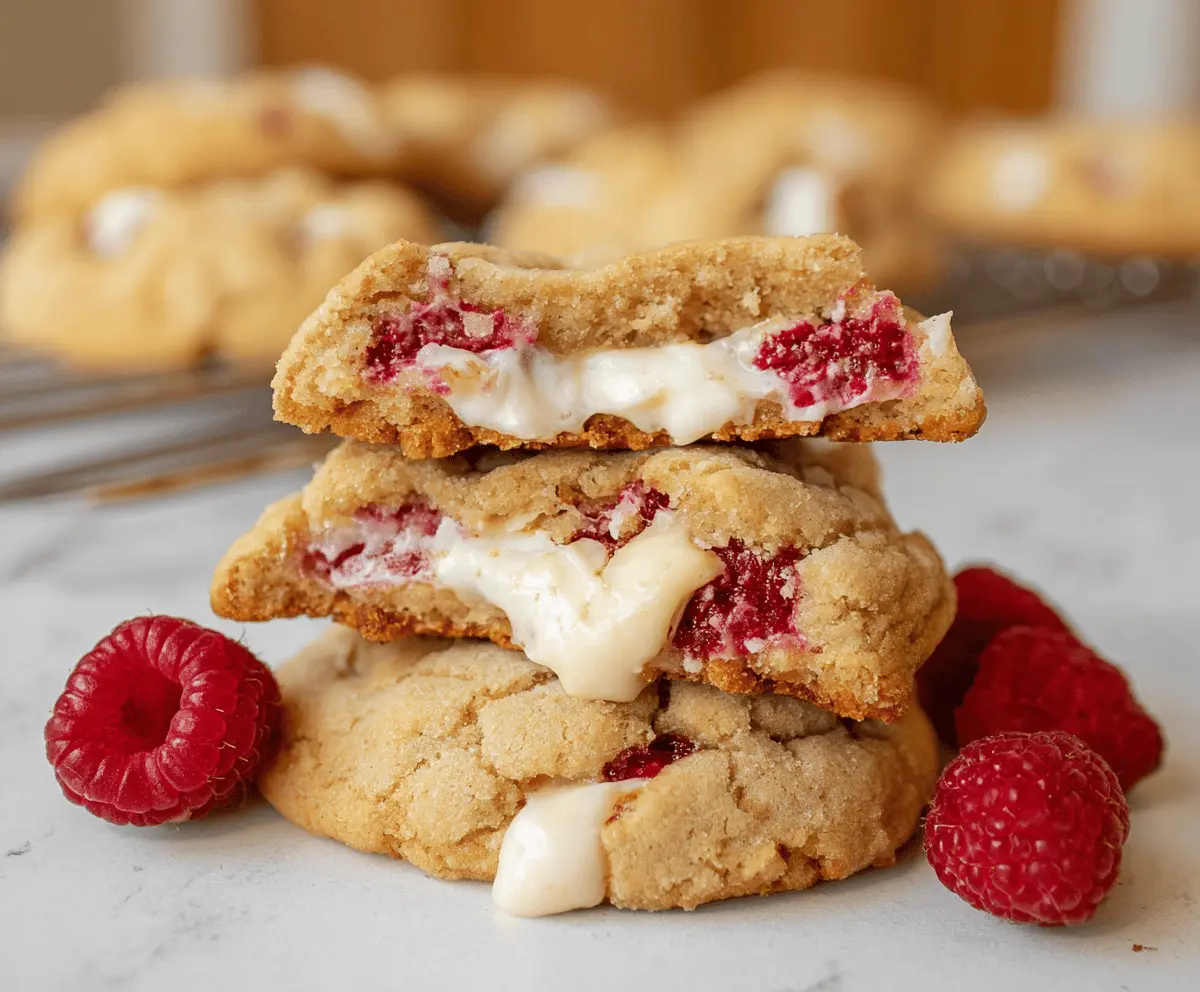
These Raspberry Cheesecake Stuffed Cookies are a sweet treat you won’t want to miss! Imagine soft cookies filled with creamy, tangy cheesecake and bursts of fresh raspberry flavor.
Making these cookies is a fun little adventure! I love the chewy outside with the surprise filling. They always disappear fast—who can resist a cookie that tastes like cheesecake? 😋
Ingredients & Substitutions
All-Purpose Flour: The base of the cookie dough. If you need a gluten-free option, a 1:1 gluten-free flour mix can work well in this recipe.
Butter: Unsalted butter gives the best flavor. You can use margarine or coconut oil as a dairy-free alternative, but the texture might vary slightly.
Freeze-Dried Raspberries: They add a delightful tanginess. If you can’t find them, fresh raspberries work, but they’ll make the filling wetter. Just be careful not to overfill!
Cream Cheese: For the filling, go for the full-fat version for the best texture. Neufchâtel is a lighter option if you’re looking for less fat.
Heavy Cream: This makes the cheesecake filling creamier. If you’re cutting down on calories, you can skip it or use milk instead for a lighter version, but the filling may be less rich.
How Do You Make Sure the Cheesecake Filling Stays Inside the Cookies?
It’s key to properly seal the cookie dough around the cheese filling. Here’s how to do it effectively:
- After flattening the dough, it’s important to keep the filling in the center when adding the second layer of dough.
- Work gently to pinch the edges together. If needed, wet your fingers with a bit of water; this can help create a tighter seal.
- Shape the filled dough into a ball—this helps contain the filling during baking!
Also, bake these cookies just until the edges are set. This ensures a soft center, which is critical for that gooey cheesecake filling. Enjoy your cookie-making experience!
Raspberry Cheesecake Stuffed Cookies
Ingredients You’ll Need:
For the Cookie Dough:
- 2 1/4 cups all-purpose flour
- 1/2 teaspoon baking soda
- 1/4 teaspoon salt
- 3/4 cup unsalted butter, melted and slightly cooled
- 1 cup packed brown sugar
- 1/2 cup granulated sugar
- 1 large egg plus 1 egg yolk, at room temperature
- 2 teaspoons vanilla extract
- 1 cup freeze-dried raspberries, roughly chopped
For the Cheesecake Filling:
- 8 ounces cream cheese, softened
- 1/3 cup powdered sugar
- 1 teaspoon vanilla extract
- 1/4 cup heavy cream (optional, for creamier filling)
How Much Time Will You Need?
This recipe takes about 20 minutes of prep time, plus 10–12 minutes for baking. You’ll want to factor in time for cooling, too. Overall, expect around 40 minutes from start to finish before you can enjoy these delicious cookies!
Step-by-Step Instructions:
1. Prepare the Cheesecake Filling:
In a medium bowl, beat the softened cream cheese until it’s smooth and creamy. Add the powdered sugar and vanilla extract, mixing until well blended. If you want a creamier filling, stir in the heavy cream and beat until everything is combined. Cover this filling and pop it into the fridge while you prepare the cookie dough.
2. Make the Cookie Dough:
In another bowl, whisk together the flour, baking soda, and salt; set this aside. Then, in a large bowl, combine the melted butter, brown sugar, and granulated sugar. Beat these together until they’re smooth and fluffy. Next, add the egg and egg yolk one at a time, mixing well after each addition. Finally, stir in the vanilla extract.
3. Combine Dry and Wet Ingredients:
Gradually add the dry mixture to the wet mixture, mixing just until everything is combined. Be careful not to overmix! Gently fold in the chopped freeze-dried raspberries to give your cookies a burst of flavor.
4. Assemble the Cookies:
Now it’s time to bring it all together! Preheat your oven to 350°F (175°C) and line your baking sheets with parchment paper. Scoop about 2 tablespoons of cookie dough and flatten it slightly in your hand. Place about a teaspoon of the cheesecake filling in the center, then take another 2 tablespoons of dough, flatten it, and place it on top of the filling. Pinch the edges together to seal and shape into a ball so the filling is completely hidden inside.
5. Bake the Cookies:
Place the stuffed dough balls on your prepared baking sheets, leaving about 2 inches of space between them. Bake in the preheated oven for 10–12 minutes, or until the edges are set and lightly golden while the centers remain soft.
6. Cool and Enjoy:
Once baked, let the cookies cool on the baking sheet for about 5 minutes before transferring them to a wire rack to cool completely. Finally, serve these delightful cookies and enjoy the surprise of the creamy raspberry cheesecake filling inside!
This recipe yields soft, chewy cookies with a gooey cheesecake and raspberry filling, just like you see in the picture. Perfect for sharing or keeping all for yourself! 🍪✨
Can I Use Fresh Raspberries Instead of Freeze-Dried?
You can use fresh raspberries, but keep in mind they’ll add more moisture, which could make the cookies a bit messier. Just be cautious with the filling amount to avoid leaking!
How Do I Store Leftover Cookies?
Store any leftover cookies in an airtight container at room temperature for up to 3 days. If you want to keep them longer, you can freeze them for up to 3 months. Just ensure they are fully cooled before freezing!
Can I Make the Cheesecake Filling Ahead of Time?
Absolutely! You can prepare the cheesecake filling a day in advance. Just store it in an airtight container in the fridge and give it a quick stir before using it in the cookies.
What Can I Use Instead of Cream Cheese?
If you’re looking for a dairy-free option, you can try using vegan cream cheese or a cashew cream made from blended soaked cashews as a substitute, although it may slightly change the flavor and texture.