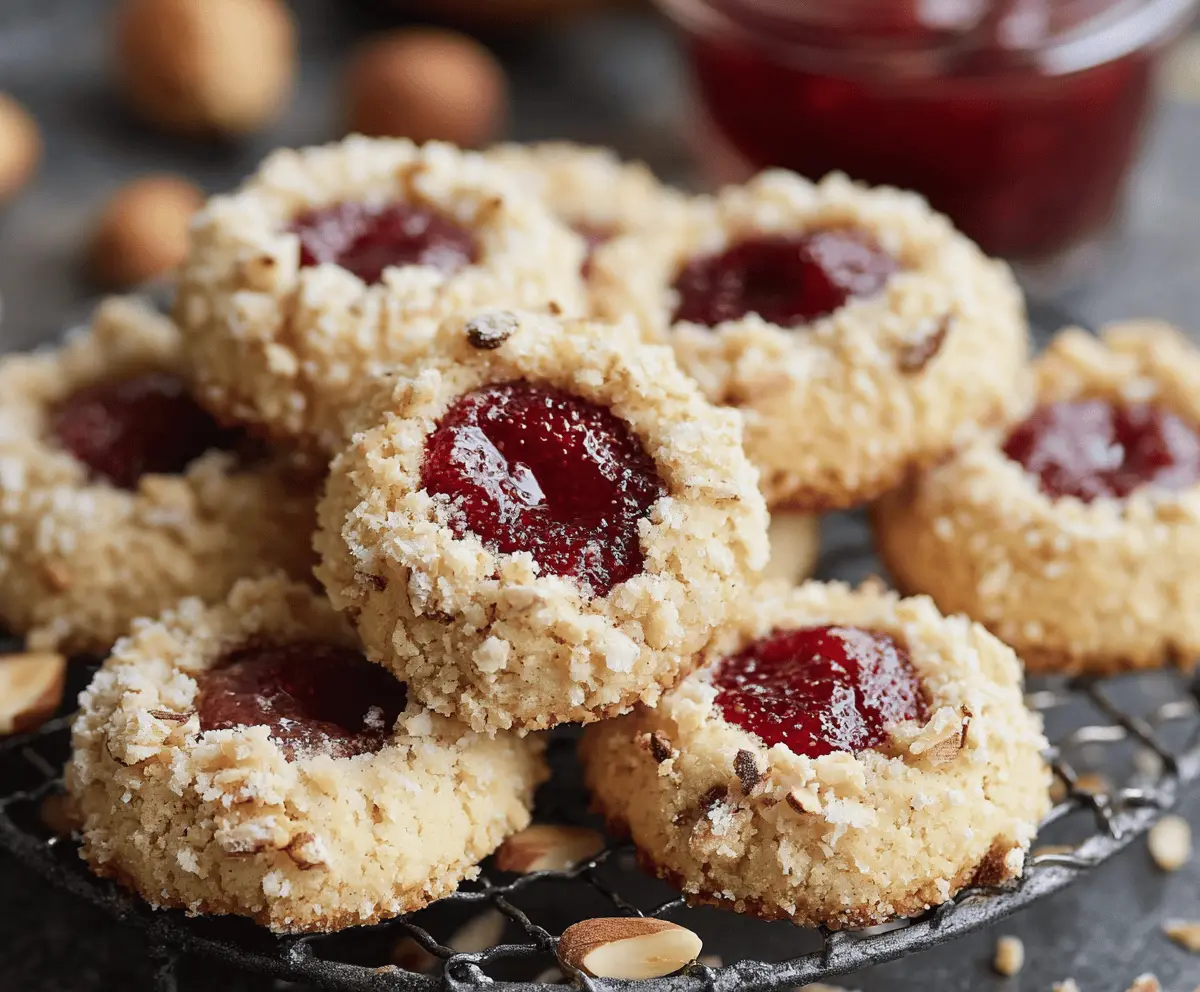
Raspberry and hazelnut thumbprint cookies are sweet little treats that are simply irresistible! With a nutty base and a delicious dollop of raspberry jam in the middle, they’re perfect for any occasion.
These cookies are not just cute; they’re fun to make too! I love watching the jam bubble as they bake. Plus, they make great gifts! Just try not to eat them all before you share! 😄
Key Ingredients & Substitutions
All-Purpose Flour: This is the base of your cookies, providing structure. You can swap it with almond flour for a gluten-free option, but the texture will change a bit.
Ground Hazelnuts: Hazelnuts give a lovely nutty flavor. If you can’t find them, you can use almond flour or finely chopped walnuts. Each will give a unique taste!
Granulated Sugar: Normal sugar works great, but brown sugar could add a hint of molasses flavor, making the cookies even more interesting.
Unsalted Butter: This helps the cookies to be rich and tender. If you’re dairy-free, a vegan butter or coconut oil is a great alternative.
Raspberry Jam: While raspberry is traditional, feel free to experiment with other jams like apricot or strawberry for a different flavor twist!
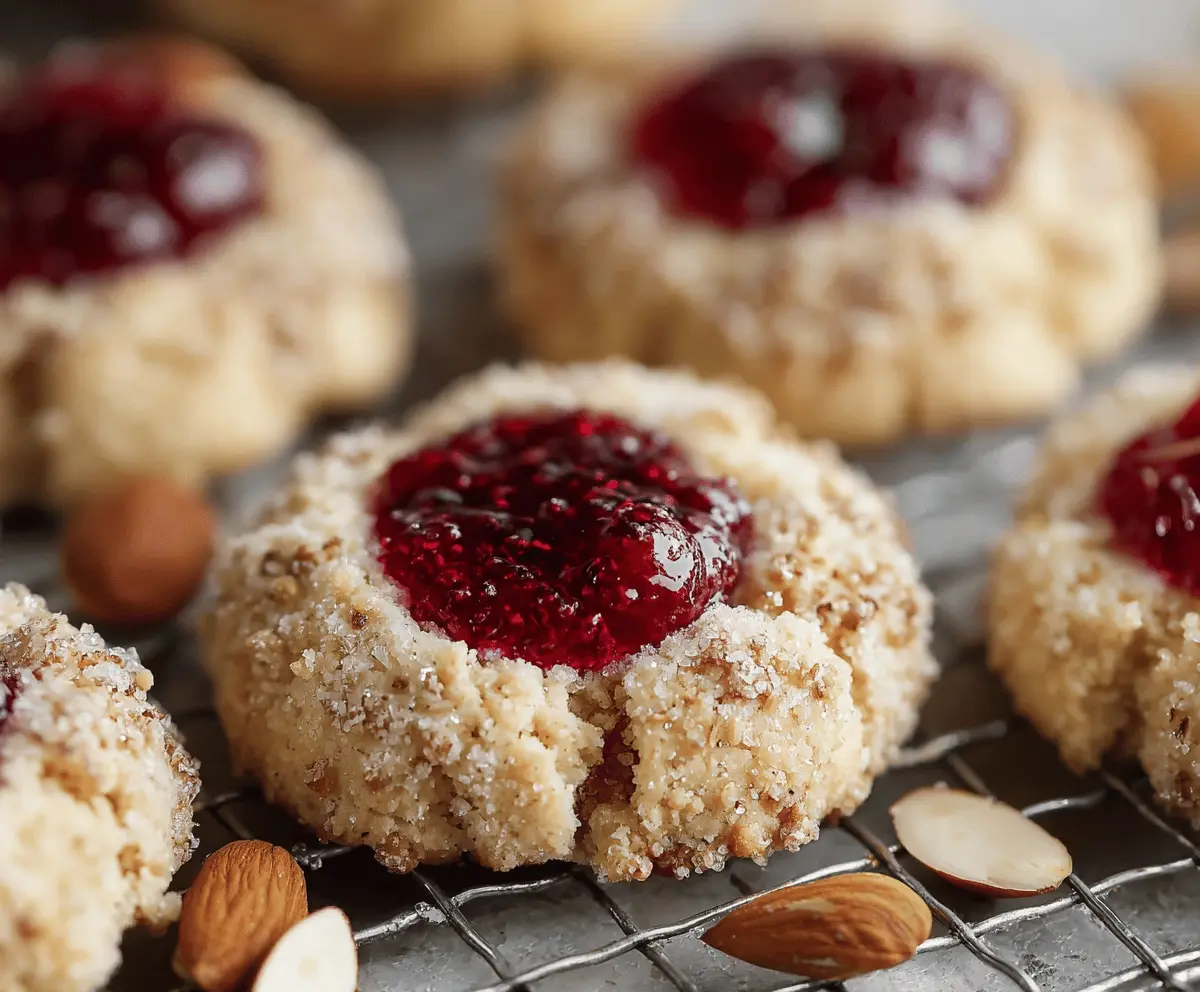
Why is the Thumbpress Technique Important?
The thumbprint technique is crucial for creating that signature look and shape of these cookies. When you press the dough, it forms a well that holds the jam beautifully. The key is not pressing too hard—just enough to make an indentation without flattening the cookie.
- Roll the dough into balls and lightly coat them in chopped hazelnuts.
- Use your thumb or a spoon to gently press a well into the center—aim for about half an inch deep.
This helps ensure that the jam fits perfectly while providing a nice contrast in texture when you bite into the cookie. And remember, a little jam goes a long way!
Raspberry And Hazelnut Thumbprint Cookies
Ingredients You’ll Need:
For the Cookies:
- 1 cup (125g) all-purpose flour
- 1/2 cup (60g) finely ground hazelnuts (or hazelnut flour)
- 1/2 cup (100g) granulated sugar
- 1/4 teaspoon salt
- 1/2 cup (115g) unsalted butter, softened
- 1 teaspoon vanilla extract
- 1 large egg yolk
- 1/2 cup chopped hazelnuts (for rolling)
- 1/2 cup raspberry jam
How Much Time Will You Need?
This recipe will take about 15-20 minutes to prepare, plus an additional 12-15 minutes for baking. Allow an extra 5 minutes for cooling on the baking sheet, so you’ll be enjoying your cookies in about 35-40 minutes overall!
Step-by-Step Instructions:
1. Preheat the Oven and Prepare the Baking Sheet:
First things first! Preheat your oven to 350°F (175°C). While that’s heating up, line a baking sheet with parchment paper. This prevents the cookies from sticking and makes cleanup easier!
2. Mix the Dry Ingredients:
In a medium bowl, combine the all-purpose flour, finely ground hazelnuts, granulated sugar, and salt. Whisk everything together to ensure it’s well mixed and set aside for later.
3. Cream the Butter:
In a larger bowl, use a hand mixer or a whisk to beat the softened butter along with the vanilla extract until it’s creamy, smooth, and slightly fluffy. This should take about 1-2 minutes. Don’t rush this step—it helps create a tender cookie!
4. Combine Wet and Dry Ingredients:
Next, add the egg yolk to the butter mixture and beat until it’s all combined. Gradually mix in the dry ingredients you prepared earlier, stirring until a soft dough forms. It should be slightly sticky, but manageable.
5. Prepare for Rolling:
Pour the chopped hazelnuts into a small bowl. This is what you’ll use to coat your cookie balls! It adds a lovely crunch and nutty flavor to each bite.
6. Shape the Cookies:
Using about a tablespoon of the dough, roll it into a ball. Then roll the ball in the chopped hazelnuts until it’s well coated. Place the coated balls on the prepared baking sheet, spacing them about 2 inches apart.
7. Make a Thumbprint:
Now, here comes the fun part! Using your thumb or the back of a small spoon, gently press into the center of each ball, creating a small well. Don’t press too hard, just enough to make an indentation!
8. Fill with Raspberry Jam:
Using a teaspoon, fill each well with about 1/2 teaspoon of raspberry jam. This is what gives the cookies their signature flavor!
9. Bake:
Place the baking sheet in the preheated oven and bake for 12-15 minutes or until the edges of the cookies are golden and they’re set. Keep an eye on them so they don’t overbake!
10. Cool and Enjoy:
Once baked, remove the cookies from the oven and let them cool on the baking sheet for about 5 minutes. Then, carefully transfer them to a wire rack to cool completely. Enjoy your delightful raspberry and hazelnut thumbprint cookies!
These cookies are perfect for a sweet treat or a lovely gift. Enjoy and share with family and friends! 😊
Can I Use Other Types of Jam?
Absolutely! While raspberry is a classic choice, feel free to swap it out with your favorite fruit jam, such as strawberry, apricot, or even lemon curd for a tangy twist. Just make sure the consistency is similar to ensure it holds up in the cookie well.
Can I Make These Cookies Gluten-Free?
Yes! To make these cookies gluten-free, simply substitute the all-purpose flour with a gluten-free flour blend. Be sure to choose a blend that contains xanthan gum, which helps achieve the same texture and structure.
How Should I Store Leftover Cookies?
Store any leftovers in an airtight container at room temperature for up to 5 days. If you want to keep them fresh longer, you can also refrigerate them for up to a week or freeze for up to 3 months. Just let them thaw at room temperature when you’re ready to enjoy them!
Can I Prepare the Dough in Advance?
Yes, you can prepare the dough ahead of time! Shape it into balls, coat them in hazelnuts, and place them in the freezer. Once frozen, transfer them to a zip-top bag and store them in the freezer for up to a month. Bake straight from frozen, but add a couple of extra minutes to the baking time.