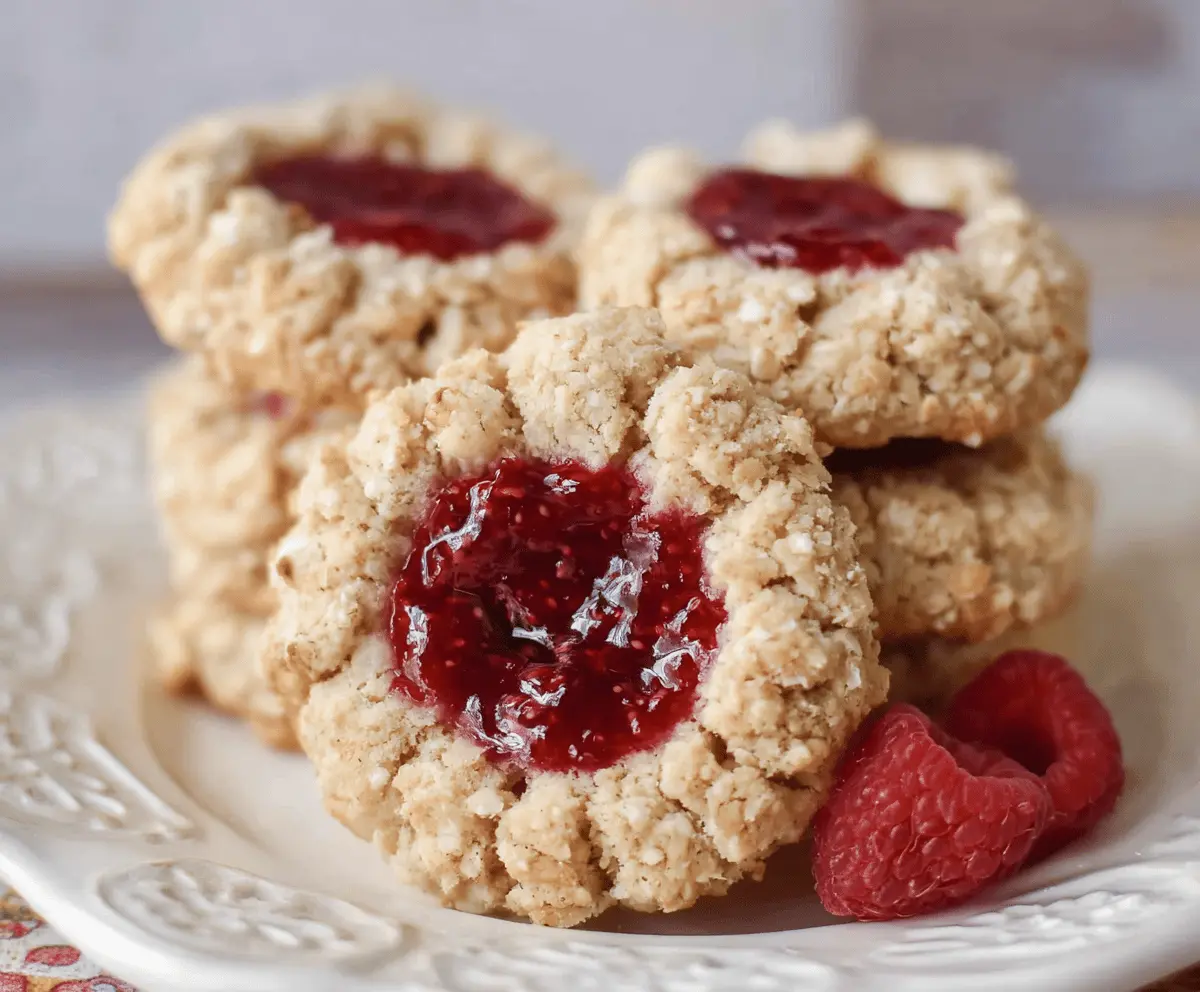
These Oatmeal Raspberry Jam Thumbprint Cookies are chewy and sweet with a lovely jam surprise in the middle. The oats add a nice texture, making them hard to resist!
Who can say no to cookies that look adorable and taste amazing? I love having these with a cup of tea—they’re perfect for sharing or keeping all to myself! 😊
Key Ingredients & Substitutions
Old-fashioned Rolled Oats: These oats give a nice chewy texture. If you need a gluten-free option, use certified gluten-free oats, which work just as well in this recipe.
All-Purpose Flour: This flour keeps the cookies light. You can substitute with whole wheat flour for a nuttier flavor or almond flour for a gluten-free option, though it might change the texture slightly.
Unsalted Butter: Softened butter adds a rich flavor. If you want a dairy-free version, try using coconut oil or a plant-based butter alternative.
Raspberry Jam: You can use any jam you love—strawberry or apricot works beautifully too. If you prefer a fresher taste, use homemade fruit preserves to really elevate the cookies!
Why is the Dough So Important for Thumbprints?
The dough is crucial for holding the shape of the cookie and keeping that delicious jam in the center. Here’s how to make it shine:
- Beat the butter and sugars well to get air into the dough; this makes the cookies nice and fluffy.
- Mix the dry ingredients until combined but don’t overwork them. A soft dough is the key to chewy cookies!
- Keep an eye on the baking time; under-baking slightly keeps them soft and chewy.
Oatmeal Raspberry Jam Thumbprint Cookies
Ingredients You’ll Need:
For The Cookies:
- 1 cup (90g) old-fashioned rolled oats
- 3/4 cup (90g) all-purpose flour
- 1/2 teaspoon baking soda
- 1/4 teaspoon salt
- 1/2 cup (115g) unsalted butter, softened
- 1/3 cup (65g) packed light brown sugar
- 1/4 cup (50g) granulated sugar
- 1 large egg
- 1 teaspoon vanilla extract
- 1/2 cup raspberry jam (seedless or with seeds, based on preference)
For Garnish (Optional):
- Fresh raspberries
How Much Time Will You Need?
This recipe will take about 15 minutes to prepare and around 12 to 15 minutes to bake. Once baked, allow the cookies to cool for about 5 minutes on the baking sheet before moving them to a wire rack to cool completely. In total, you’re looking at around 30 minutes from start to finish!
Step-by-Step Instructions:
1. Preheat and Prepare the Baking Sheet:
Start by preheating your oven to 350°F (175°C). While it’s heating, line a baking sheet with parchment paper so the cookies don’t stick when baking.
2. Mix the Dry Ingredients:
In a medium bowl, combine the rolled oats, all-purpose flour, baking soda, and salt. Use a spoon to stir everything together until it’s well mixed.
3. Beat the Butter and Sugars:
In a larger bowl, beat the softened butter, brown sugar, and granulated sugar until the mixture is light and fluffy. This should take about 2-3 minutes—using an electric mixer makes it easier!
4. Add the Egg and Vanilla:
Add the egg and vanilla extract to the butter mixture and beat until everything is well combined and creamy. This step adds extra flavor to the cookies!
5. Combine Wet and Dry Ingredients:
Now, gradually add the dry oat mixture to the wet ingredients. Mix until a soft dough forms—don’t overmix, just combine until you don’t see any flour.
6. Form the Cookie Balls:
Scoop out tablespoon-sized portions of dough and roll each into a ball. Place them on your prepared baking sheet, making sure to leave about 2 inches of space between each ball for spreading as they bake.
7. Make the Thumbprint:
Using your thumb or the back of a small spoon, gently press down into the center of each ball to create a well or “thumbprint.” Be careful not to push all the way through!
8. Add the Jam:
Now, fill each thumbprint with about 1 teaspoon of raspberry jam, making sure not to overfill it—just a dab will do! This jam will get all sticky and delicious while baking.
9. Bake Your Cookies:
Pop the baking sheet into the oven and bake for 12 to 15 minutes, or until the cookies are golden around the edges but still soft in the middle.
10. Cool and Enjoy:
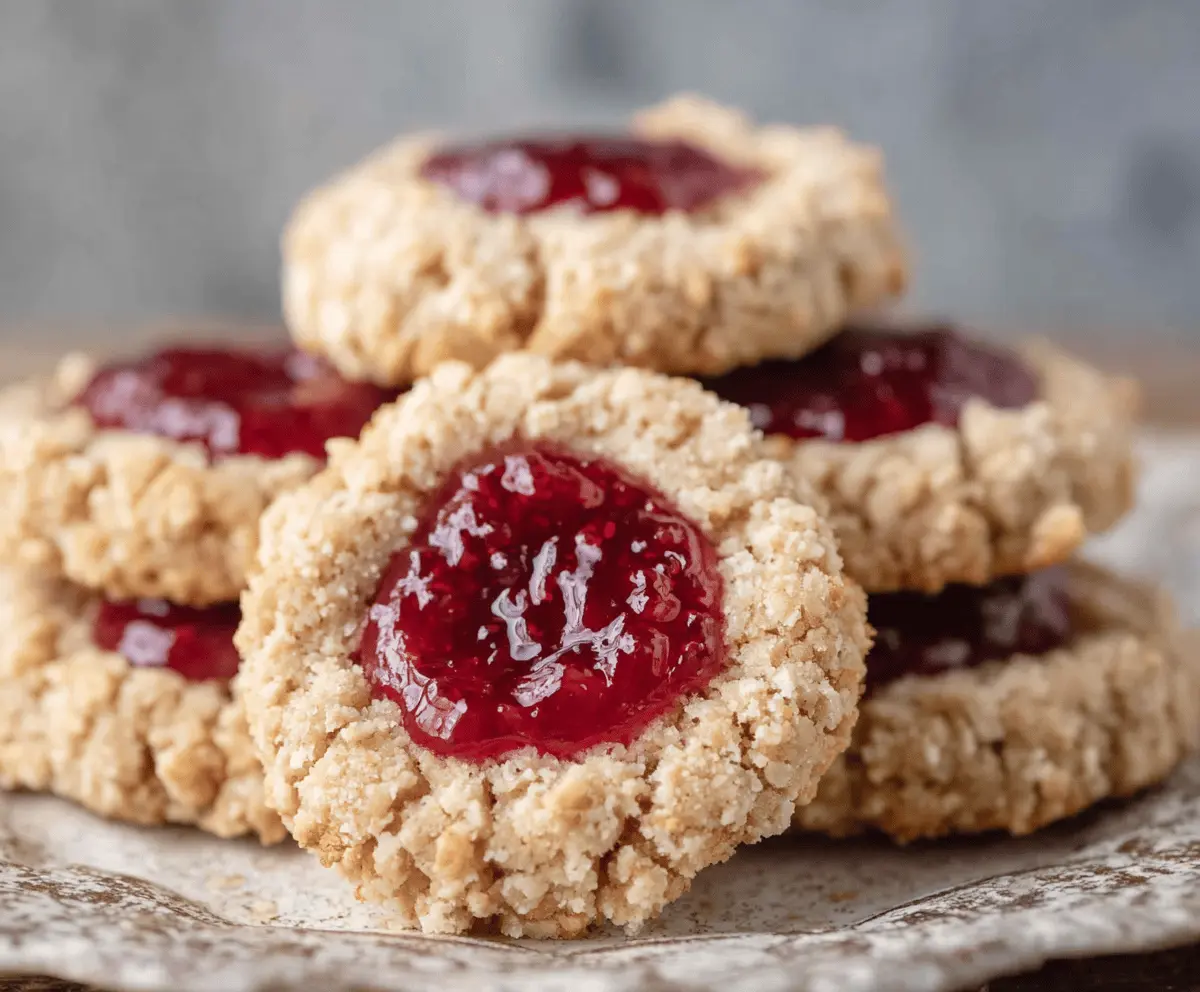
Once baked, remove the cookies from the oven and let them cool on the baking sheet for 5 minutes. After that, transfer them to a wire rack to cool completely. If you like, serve with fresh raspberries on the side!
Enjoy your chewy oatmeal thumbprint cookies, each with a delightful burst of raspberry jam inside! Happy baking!
Can I Use Different Flavors of Jam?
Absolutely! While raspberry jam is a classic choice, feel free to experiment with other flavors like strawberry, apricot, or even homemade fruit preserves for a unique twist!
Can I Make These Cookies Gluten-Free?
Yes, you can make them gluten-free! Substitute the all-purpose flour with a 1:1 gluten-free flour blend and ensure that your oats are certified gluten-free. This will maintain the texture while keeping it suitable for gluten-sensitive diets.
What Should I Do if the Dough Is Too Sticky?
If your dough is too sticky and hard to work with, you can add a tablespoon of flour at a time until it reaches a manageable consistency. Make sure not to add too much, as it can affect the texture of the cookies!
How Should I Store Leftover Cookies?
Store any leftover cookies in an airtight container at room temperature for up to 5 days. You can also freeze them for longer storage—just place them in a single layer in a freezer-safe container for up to 3 months. Thaw in the fridge before enjoying!