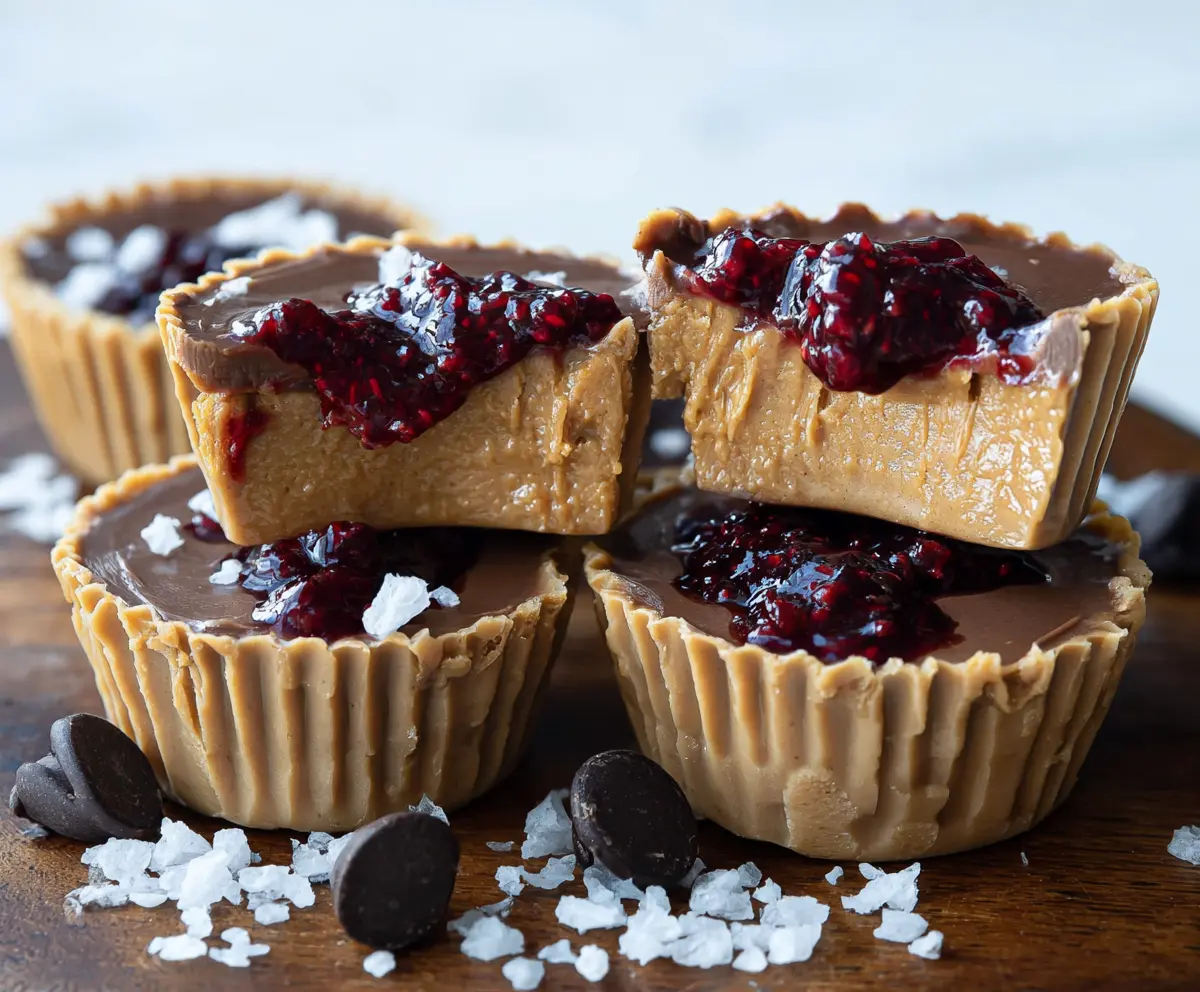
These Healthy Peanut Butter and Jelly Cups are a fun twist on a classic snack! With layers of creamy peanut butter and fruity jelly, they’re sweet and nutty.
These cups are easy to make and great for kids and adults alike. I love sneaking these into lunchboxes, and trust me, they disappear fast! 🍇🥜
Key Ingredients & Substitutions
Natural Peanut Butter: Go for unsweetened for a healthier option with just peanuts. If you’re allergic to peanuts, try sunflower seed butter or almond butter instead—both bring their unique flavors!
Coconut Oil: This adds richness and helps the chocolate set. If you don’t have it, melted butter or a neutral oil like canola works too. Just keep in mind that the flavor might change a bit.
Sweeteners: Maple syrup or honey are great for sweetness. You can use agave or stevia, but adjust the quantity to taste as they can vary in sweetness levels.
Dark Chocolate Chips: A higher cacao percentage means less sugar. If dark chocolate isn’t your favorite, milk chocolate chips can be used, but keep an eye on the sugar content!
Fruit Jelly: I recommend using raspberry for a tart kick, but you could substitute with any favorite flavor like strawberry or grape. Opt for no sugar added if possible for a healthier treat.
How Can I Make Sure My Chocolate Layers Are Perfect?
Melted chocolate can become tricky if overheated. Use a microwave-safe bowl and follow these steps:
- Microwave chips for only 30 seconds at a time, stirring in between, until smooth.
- If it seems thick, add a teaspoon of coconut oil to help it spread smoothly.
- Pour melted chocolate quickly over the peanut butter layer and gently smooth it out without disturbing the layer underneath.
- A sprinkle of flaky sea salt on top balances the sweetness and adds a delicious touch!
Making these cups is super fun, and with the right techniques, you’ll have perfectly smooth layers every time!
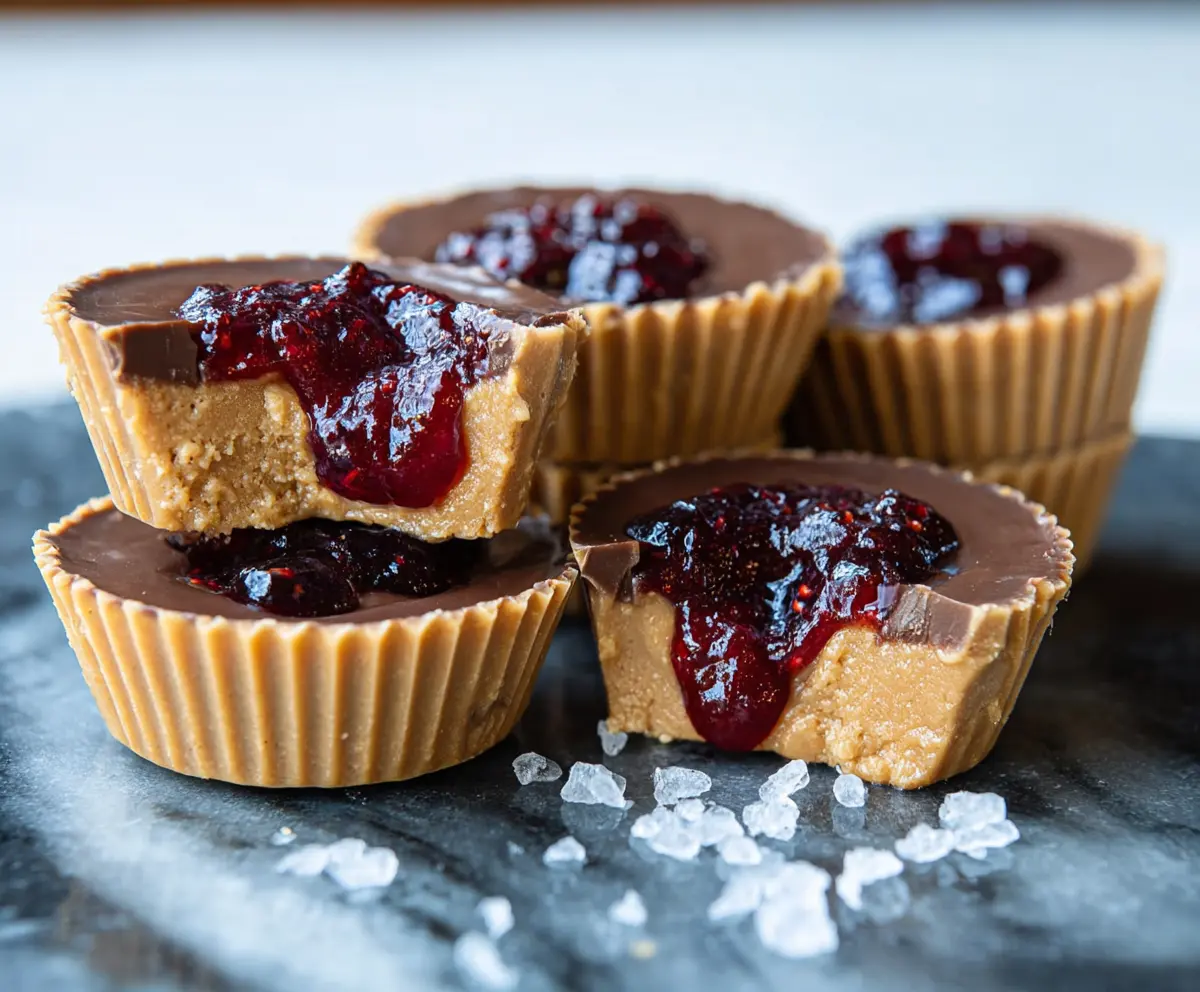
Healthy Peanut Butter and Jelly Cups
Ingredients You’ll Need:
- 1 cup natural peanut butter (smooth or creamy, unsweetened)
- 1/4 cup coconut oil, melted
- 3-4 tablespoons maple syrup or honey (adjust for desired sweetness)
- 1 teaspoon vanilla extract
- 1/4 teaspoon sea salt (plus extra for sprinkling on top)
- 1/2 cup dark chocolate chips (70% cacao or higher)
- 1/2 cup all-natural fruit jelly or jam (preferably no added sugar, raspberry or mixed berry works well)
How Much Time Will You Need?
This recipe takes about 15 minutes to prepare and then requires around 50-60 minutes to set in the freezer. In total, you’re looking at about 1 hour and 15 minutes from start to enjoying these delightful cups!
Step-by-Step Instructions:
1. Prepare Your Muffin Tin:
Start by lining a muffin tin with silicone cupcake liners or paper liners. This will help you easily remove the cups once they’re set. It’s always great to have a non-stick option!
2. Mix the Peanut Butter Base:
In a medium bowl, combine your natural peanut butter, melted coconut oil, maple syrup (or honey), vanilla extract, and 1/4 teaspoon of sea salt. Mix everything together until it’s smooth and well combined. At this point, you can adjust the sweetness by adding more maple syrup or honey if you prefer it sweeter.
3. Spoon the Mixture into Liner:
Spoon the peanut butter mixture evenly into the prepared muffin liners, filling each about 3/4 full. Use the back of a spoon to smooth out the tops so they look nice and even.
4. Chill the Peanut Butter Cups:
Place the muffin tin in the freezer for about 20-30 minutes. This will help the layers firm up slightly before adding the chocolate.
5. Melt the Dark Chocolate:
While the peanut butter cups are setting, melt your dark chocolate chips. Use a microwave-safe bowl and heat them in 30-second intervals, stirring between each round until fully melted and smooth. Be careful not to overheat to avoid burning the chocolate!
6. Add the Chocolate Layer:
Take the peanut butter cups from the freezer. Now, spoon a layer of the melted chocolate on top of each peanut butter layer. Gently smooth it with the back of a spoon, ensuring they’re covered evenly.
7. Top with Jelly:
Add a dollop of your favorite fruit jelly or jam on top of the melted chocolate. You can use a spoon or a piping bag for more control if you want nice patterns!
8. Finish with Sea Salt:
Sprinkle a little flaky sea salt over the jelly for a splendid salty-sweet contrast. This tiny addition really elevates the flavors!
9. Freeze Again:
Return the cup back to the freezer for another 15-20 minutes or until they are fully set and firm to the touch.
10. Enjoy Your Treats:
Once set, carefully remove the cups from the liners. Store them in an airtight container in the refrigerator or freezer, depending on how long you want to keep them. They make a perfect chilled snack!
These peanut butter and jelly cups combine the classic flavors you know and love with healthier ingredients and no refined sugars. They’re a delicious treat ideal for snacks or even as a fun addition to lunchboxes. Enjoy!
Can I Substitute Almond Butter for Peanut Butter?
Yes! Almond butter is a great alternative if you want a different flavor or have a peanut allergy. Just use the same amount of almond butter in place of peanut butter for a delightful twist!
Can I Use Milk Chocolate Instead of Dark Chocolate?
Absolutely! While dark chocolate is healthier, milk chocolate can be used if you prefer a sweeter taste. Just keep an eye on the sugar content, as it may make the cups sweeter overall!
How Do I Store Leftover Cups?
Store any leftover cups in an airtight container in the refrigerator for up to one week. They also freeze well for up to three months—just thaw in the fridge when you’re ready to enjoy them!
Can I Make These Vegan?
Yes, definitely! Use maple syrup for the sweetener and ensure that your dark chocolate chips are dairy-free. This way, you can enjoy a delicious vegan treat!