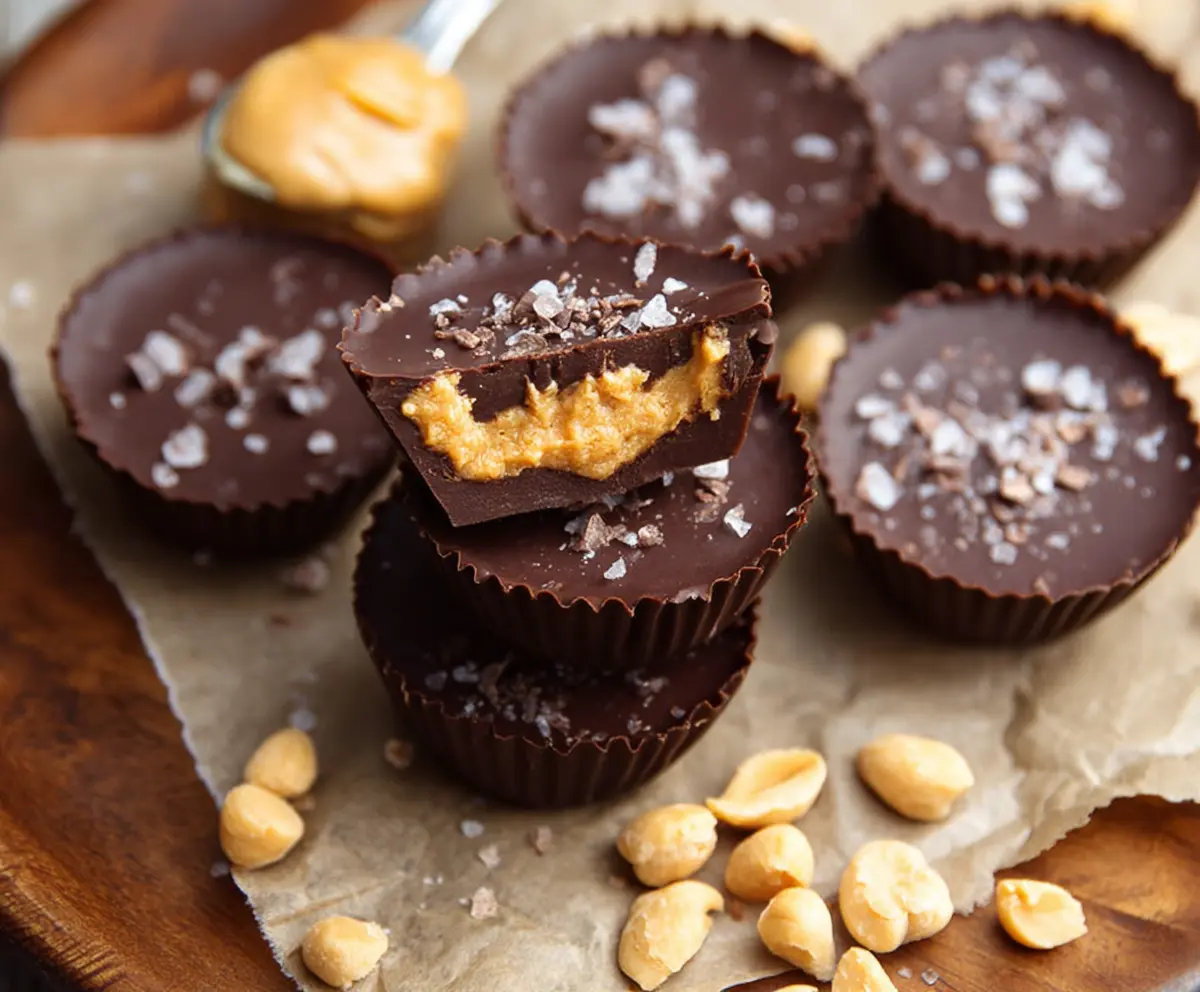
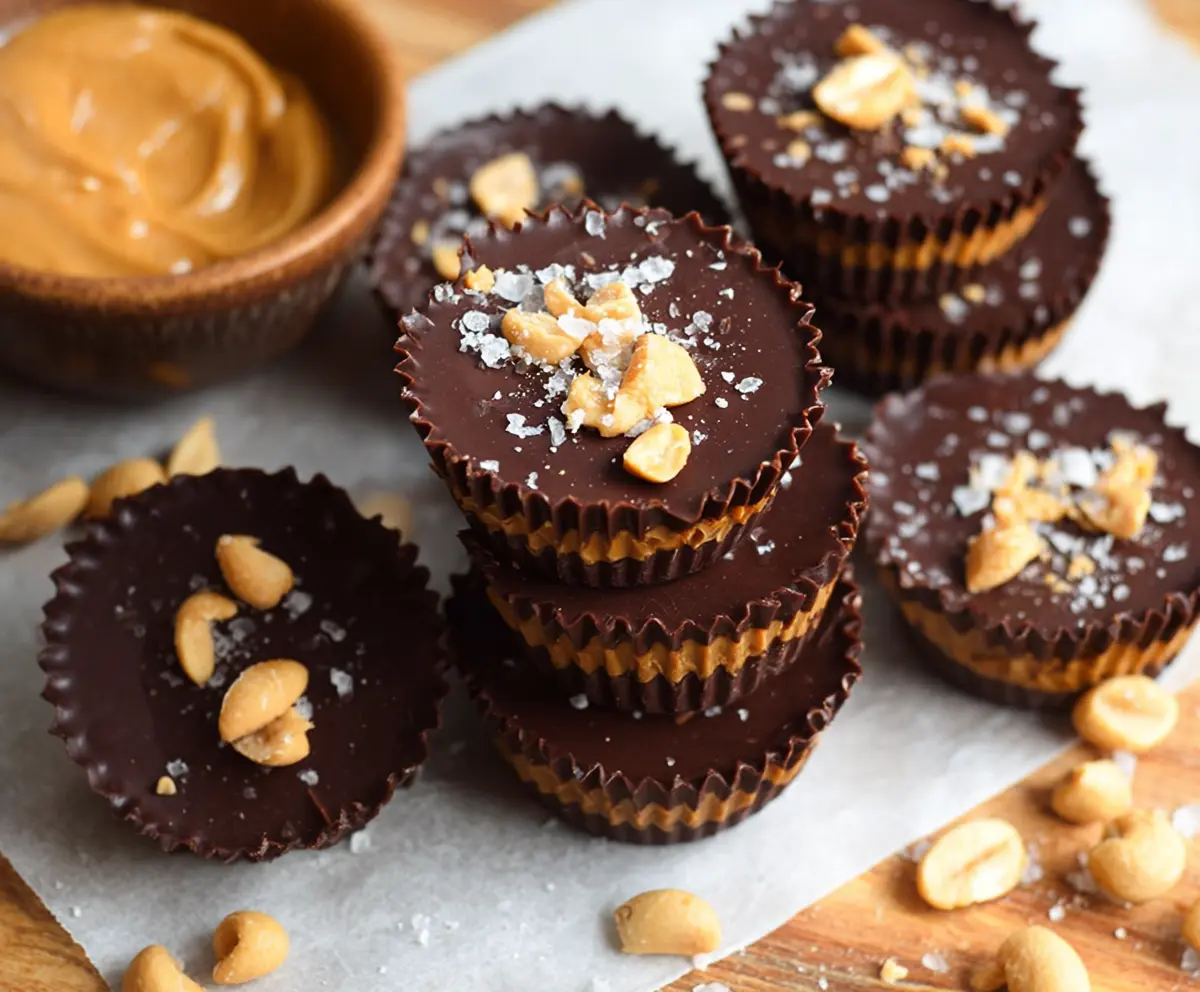
These Healthy Dark Chocolate Peanut Butter Cups are a sweet treat you won’t feel guilty about! With rich dark chocolate and creamy peanut butter, they’re both tasty and satisfying.
Making them is easy peasy! I love how you can freeze them for a cool snack on hot days. Trust me, they disappear fast—so make a double batch if you can! 😉
Key Ingredients & Substitutions
Dark Chocolate: Aim for chocolate chips with at least 70% cacao for a rich taste. If you’re out of chocolate chips, you can chop up a dark chocolate bar instead. Adjust sweetness by using less maple syrup if your chocolate is very sweet.
Peanut Butter: Natural creamy peanut butter is best, as it doesn’t contain added sugars and oils. If you’re nut-free, sunflower seed butter or almond butter works well! You can also choose the crunchy variety for added texture.
Coconut Oil: This is used to help the chocolate set better and gives a nice sheen. If you don’t have it, you can substitute with unsalted butter or ghee. Just remember, that may change the flavor slightly.
Maple Syrup or Honey: These are optional for extra sweetness. You could use agave syrup or another sweetener like stevia or erythritol if you’re looking to reduce sugar further.
How Do You Ensure Your Chocolate Cups Set Perfectly?
Setting the chocolate cups is essential for the right texture. To get them firm without the dreaded gooey mess, carefully follow these steps:
- Start with a clean and dry mini muffin tin or silicone molds. This prevents any sticking.
- Microwave chocolate gently and stir between intervals until it’s fully smooth. Avoid overheating.
- After pouring the first layer of chocolate, freeze it until it’s hard (about 10 minutes). This creates a solid base.
- When adding the peanut butter, keep it small to maintain the right ratio of chocolate to peanut butter.
- Cover the top completely with chocolate to seal everything in, and don’t skip the freeze after!
Following these tips will help you create beautifully set chocolate cups that are a delight to eat!
Healthy Dark Chocolate Peanut Butter Cups
Ingredients You’ll Need:
- 1 cup natural dark chocolate chips (70% cacao or higher)
- 1/2 cup natural creamy peanut butter (no sugar added)
- 2 tablespoons coconut oil
- 1-2 tablespoons pure maple syrup or honey (optional, for sweetness)
- 1/4 teaspoon vanilla extract
- Pinch of sea salt (plus extra for sprinkling on top)
How Much Time Will You Need?
This delightful recipe takes about 15 minutes of preparation and requires at least 30 minutes to chill in the freezer. Allowing the chocolate to set properly is key, so give those cups some time to harden nicely!
Step-by-Step Instructions:
1. Prepare Your Mold:
Start by preparing a mini muffin tin or silicone molds. You can line the molds with paper liners or lightly grease them to prevent sticking. This will ensure you can easily pop out the chocolate cups once they’re set.
2. Melt the Chocolate:
In a microwave-safe bowl, mix the dark chocolate chips and 1 tablespoon of coconut oil. Microwave the mixture in 30-second intervals, stirring each time until it’s completely melted and smooth. This step is crucial for getting a silky chocolate base.
3. Create the Chocolate Base:
Once melted, spoon about 1 teaspoon of the chocolate into each liner, making sure to cover the bottom evenly. Don’t worry about being perfect—it’s all going to come together nicely! After pouring, place the tray in the freezer for about 10 minutes to let the chocolate set properly.
4. Make the Peanut Butter Filling:
While the chocolate is setting, you can make the peanut butter layer. In a small bowl, combine the natural peanut butter, 1 tablespoon of coconut oil, maple syrup (if you want it sweeter), vanilla extract, and a pinch of sea salt. Stir until the mixture is smooth and creamy—this is the delicious goodness that makes it all worth it!
5. Add the Peanut Butter Layer:
Once the chocolate base is firm, take the muffin tin out of the freezer. Scoop about 1 teaspoon of the peanut butter mixture and place it into each cup, gently pressing down to make sure it sticks to the chocolate base.
6. Cover with More Chocolate:
Reheat the remaining melted chocolate if necessary, then spoon enough chocolate over the peanut butter layer to cover it completely. This ensures that your peanut butter is nicely encased in chocolate. Don’t forget to have fun while doing this!
7. Add a Touch of Salt:
For an extra burst of flavor, sprinkle a tiny pinch of sea salt on top of each cup before they go back into the freezer. It really enhances the chocolate and peanut butter combination.
8. Freeze Until Set:
Pop the tray back into the freezer and let it chill for at least 30 minutes or until fully set. You want them to be nice and firm before you dig in.
9. Enjoy Your Treats!
Once fully set, carefully remove the peanut butter cups from the molds. Store them in an airtight container in the fridge or freezer. These delicious and wholesome snacks will keep you satisfied and are perfect for sharing—or not! Enjoy every bite!
Can I Use Milk Chocolate Instead of Dark Chocolate?
Yes, you can use milk chocolate if you prefer it sweeter! Just keep in mind that it will change the flavor profile and may contain more sugar compared to dark chocolate.
How Should I Store Leftover Peanut Butter Cups?
Store any leftover cups in an airtight container in the refrigerator for up to a week or in the freezer for up to 2 months. If freezing, just make sure to separate layers with parchment paper to prevent them from sticking together.
Can I Substitute Peanut Butter with Another Nut Butter?
Absolutely! Almond butter, cashew butter, or sunflower seed butter are great alternatives. Just make sure to choose a creamy version for the best texture.
What Can I Use Instead of Coconut Oil?
If you don’t have coconut oil on hand, unsalted butter or ghee can work as substitutes. This will alter the flavor slightly, but it will still be delicious!