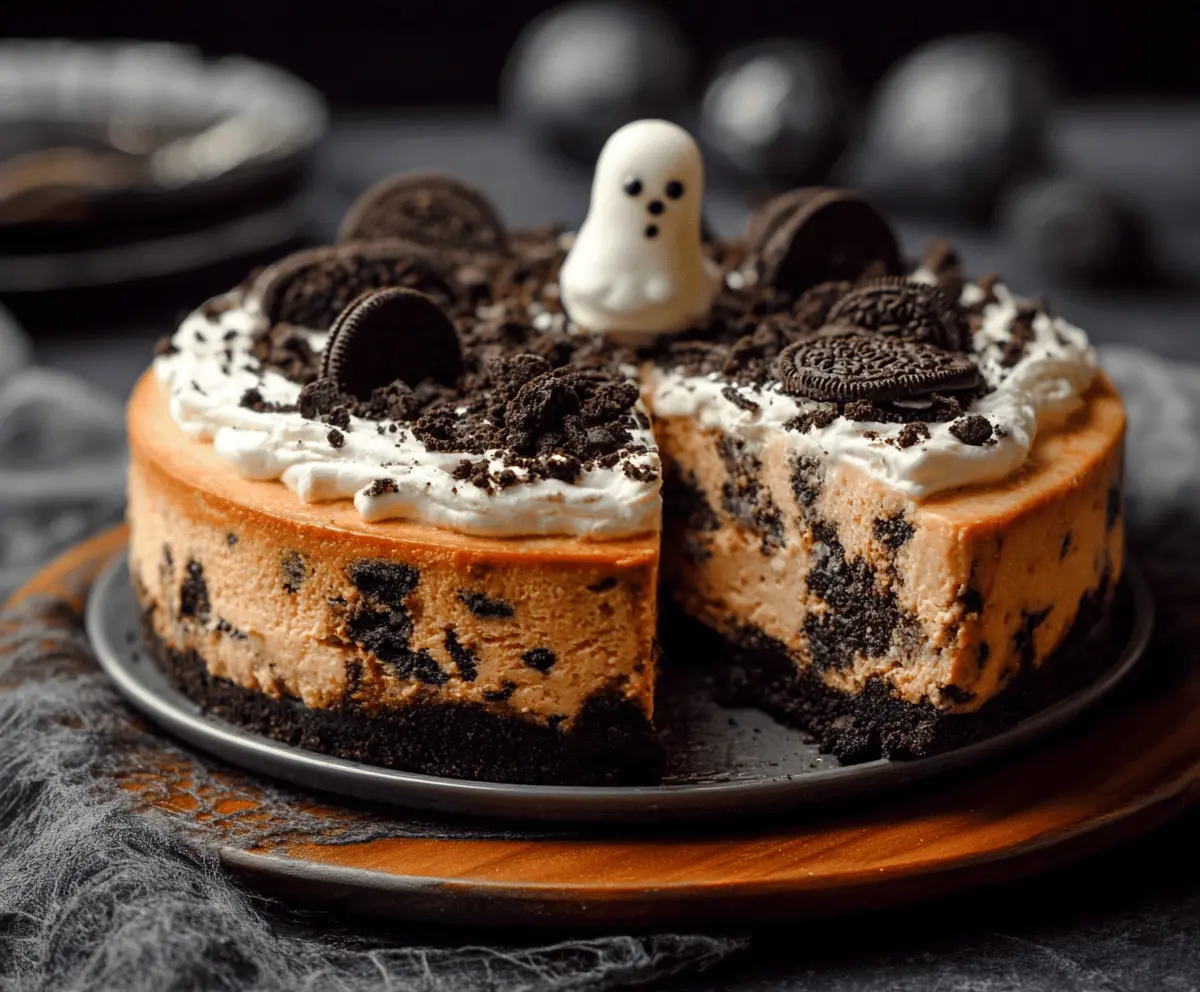
This Halloween Cookies and Cream Cheesecake is a spooky treat! With a creamy cheesecake filling and crunchy cookie crust, it’s perfect for sweet tooth monsters.
The best part? Those spooky cookie crumbles on top make it look so fun! I love serving this at Halloween parties. It brings a smile, and who can resist a slice? 🎃
Key Ingredients & Substitutions
Oreo Cookies: These are crucial for both the crust and the filling. You can use any chocolate sandwich cookies if Oreos aren’t available. I’ve even tried it with gluten-free cookies for friends with dietary restrictions, and it worked well!
Cream Cheese: The star of the cheesecake! For a lighter version, use Neufchâtel cheese. If you’re lactose intolerant, a dairy-free cream cheese can also work, though it may slightly change the flavor and texture.
Sour Cream: This adds creaminess and depth. You can substitute with plain Greek yogurt for a tangy twist or use dairy-free yogurt for a non-dairy version.
Food Coloring: It gives the cheesecake that vibrant Halloween orange. If you want to avoid artificial color, a small amount of pureed pumpkin can work, but it will alter the flavor.
How Do You Achieve a Smooth, Creamy Cheesecake?
Getting the perfect creamy cheesecake is all about the mixing process. Start with cream cheese that’s at room temperature; it blends much easier. Mixing in the sugar first helps create a smooth base.
- Mix until the cream cheese is completely lump-free before adding the eggs.
- Add eggs one at a time, and mix gently; overmixing can create cracks in the cheesecake.
- Incorporate the sour cream last for a silkier texture.
Letting the cheesecake cool gradually in the oven helps prevent cracking too, as the sudden change in temperature can cause it to split. Remember, a little jiggle in the middle is okay, it’ll firm up in the fridge!

Halloween Cookies and Cream Cheesecake
Ingredients You’ll Need:
For the Crust:
- 24 Oreo cookies (regular or chocolate sandwich cookies)
- 5 tablespoons unsalted butter, melted
For the Cheesecake Filling:
- 24 oz (680g) cream cheese, softened
- 1 cup granulated sugar
- 1 teaspoon vanilla extract
- 3 large eggs
- 1 cup sour cream
- 1 ½ cups crushed Oreo cookies (about 10 cookies)
- Orange food coloring (about 10-15 drops) for the Halloween orange tint
For the Topping:
- 1 cup heavy whipping cream
- 2 tablespoons powdered sugar
- 1 teaspoon vanilla extract
- Whole Oreo cookies for garnish
- Additional crushed Oreos
- Halloween-themed candy or decoration (e.g., marshmallow ghost)
How Much Time Will You Need?
This delightful cheesecake takes about 20 minutes of prep time, plus 1 hour of baking and cooling time. Make sure to allow at least 4 hours to chill in the refrigerator, which helps it set perfectly for serving.
Step-by-Step Instructions:
1. Prepare the Crust:
Start by preheating your oven to 325°F (160°C). In a food processor, crush 24 Oreo cookies until they resemble fine crumbs. Mix the melted butter with the cookie crumbs in a medium bowl until everything is evenly combined. Now, press this mixture firmly into the bottom of a 9-inch (23 cm) springform pan. Bake your crust in the preheated oven for about 10 minutes, then remove it and let it cool while you prepare the filling.
2. Make the Cheesecake Filling:
In a large mixing bowl, beat the softened cream cheese using an electric mixer until it’s smooth and creamy. Gradually add in the granulated sugar and vanilla extract, mixing until combined. Beat in the eggs one at a time, ensuring each is well incorporated before adding the next. Next, mix in the sour cream until it’s all smooth. Add the orange food coloring a few drops at a time until you reach a vibrant Halloween orange. Finally, gently fold in the crushed Oreo cookies into the cheesecake mixture.
3. Assemble and Bake:
Carefully pour the cheesecake filling over your cooled Oreo crust in the springform pan. To prevent air bubbles, gently tap the pan on the counter. Bake in your preheated oven for about 55-65 minutes, or until the edges are just set but the center still jiggles slightly. Once done, turn off the oven and leave the cheesecake inside with the door slightly ajar for 1 hour to cool gradually. After that, refrigerate for at least 4 hours or preferably overnight until it’s chilled and firm.
4. Prepare the Topping:
When you’re ready to serve, beat the heavy whipping cream in a mixing bowl until it begins to thicken. Add the powdered sugar and vanilla extract, then continue beating until stiff peaks form. Spread or pipe this whipped cream around the edge of your chilled cheesecake to create a beautiful border.
5. Decorate:
Now for the fun part! Sprinkle additional crushed Oreos over the whipped cream topping. Place whole Oreo cookies evenly spaced around the edge for a festive touch. And don’t forget to add your Halloween-themed decorations, like a cute marshmallow ghost in the center!
6. Serve:
Finally, carefully remove the sides of the springform pan from your cheesecake. Slice it up, and serve it chilled to your delighted friends and family. Enjoy your spooky and fabulous Halloween Cookies and Cream Cheesecake!
This recipe creates a rich and creamy orange cheesecake that’s perfect for Halloween gatherings, complimented by a crunchy Oreo crust and delightful spooky toppings. Happy Halloween baking!
Can I Use Reduced-Fat Cream Cheese for This Recipe?
Yes, you can use reduced-fat cream cheese if you want a lighter cheesecake. Just be aware that it may result in a slightly different texture, but it will still be delicious!
What Can I Use Instead of Sour Cream?
If you don’t have sour cream on hand, plain Greek yogurt makes a great substitute. It will add a similar tangy flavor and creamy texture to the cheesecake.
How Should I Store Leftovers?
Store any leftover cheesecake in an airtight container in the refrigerator for up to 3-4 days. If you’d like to freeze it, wrap individual slices tightly in plastic wrap and place them in a freezer-safe container for up to 3 months. Thaw in the fridge before serving.
Can I Make This Cheesecake Gluten-Free?
Absolutely! Just substitute the regular Oreo cookies with gluten-free Oreo cookies or another gluten-free chocolate sandwich cookie for a gluten-free version of this cheesecake.