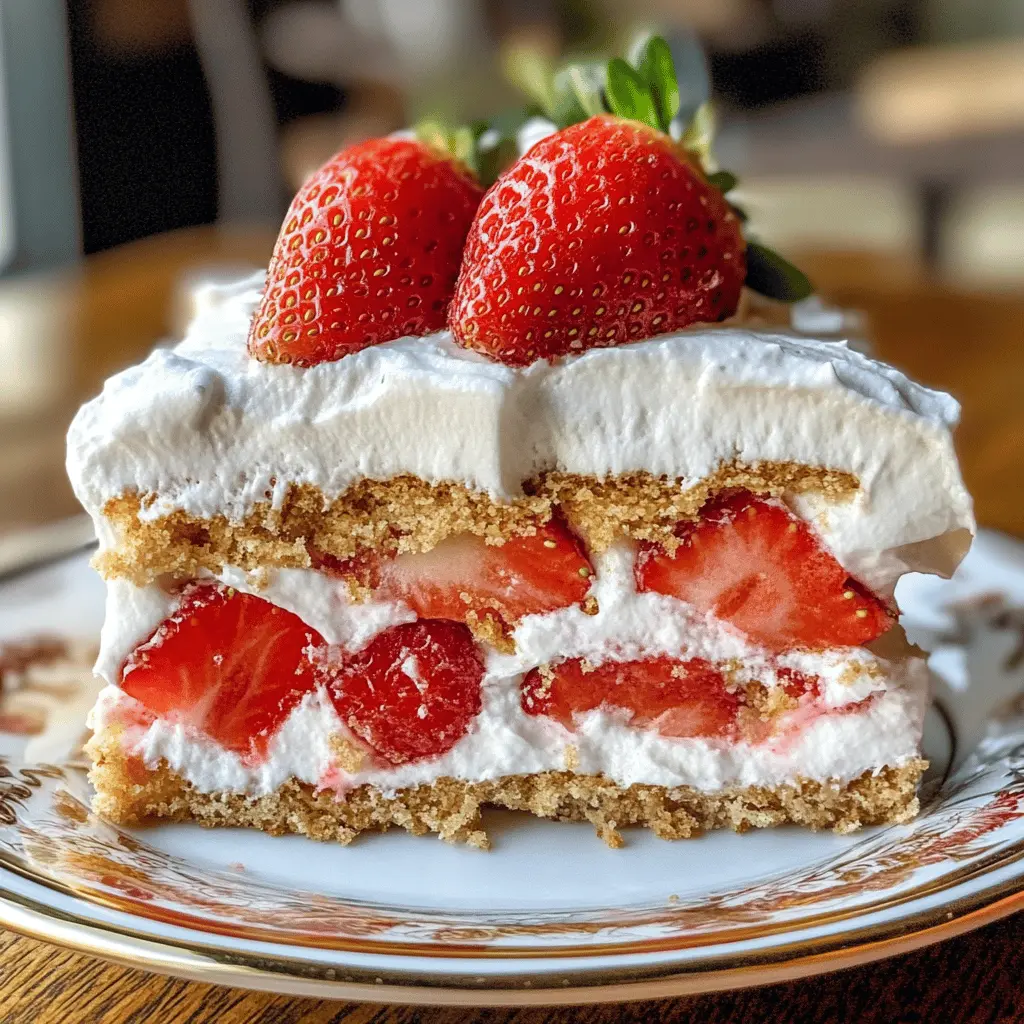
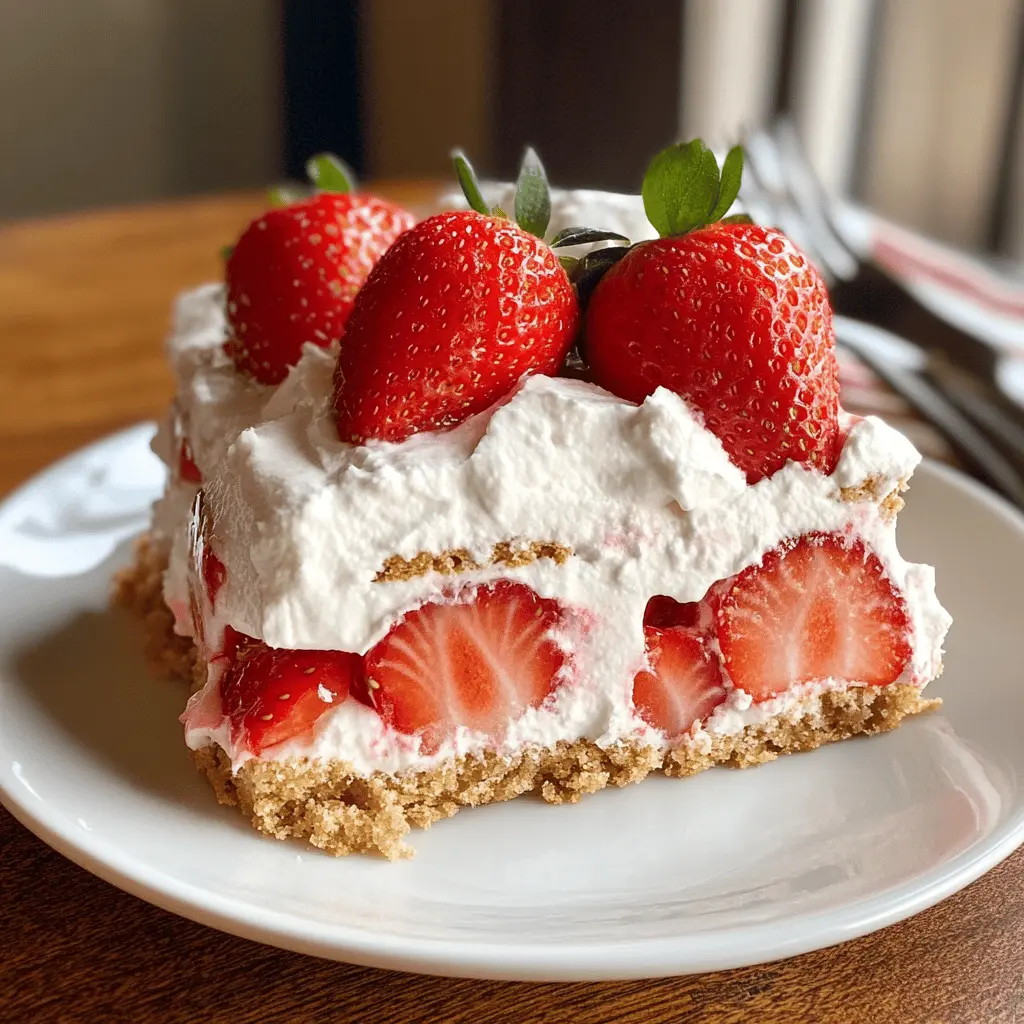
This Easy No-Bake Strawberry Icebox Cake is a cool treat perfect for warm days. Layers of sweet strawberries and creamy whipped filling sit between crunchy cookies. Yum!
You won’t believe how simple it is! Just stack the ingredients and let it chill. It feels like magic when you slice into it, and you can impress your friends without breaking a sweat!
Ingredients & Substitutions
Heavy Whipping Cream: This is essential for a light and fluffy texture. If you want a lighter dessert, you can use whipped topping instead, but it will change the texture.
Powdered Sugar: This sweetens the whipped cream nicely and dissolves easily. You could use granulated sugar, but it may not blend as seamlessly.
Vanilla Extract: It adds a lovely flavor. If you’re out, try a bit of almond extract or even a splash of lemon juice for a unique twist!
Cream Cheese: I love adding cream cheese for a richer flavor. If you’re looking for a dairy-free option, try using a vegan cream cheese alternative.
Cookies: Graham crackers are classic, but vanilla wafer cookies are great too. If you need a gluten-free option, look for gluten-free graham crackers.
Strawberries: Fresh, ripe strawberries are best! If they’re out of season, you can use frozen strawberries (thaw and drain them first), but fresh berries will enhance the taste beautifully.
How Can You Achieve the Perfect Whipped Cream?
Getting the whipped cream just right can make or break this dessert. Here are some quick tips!
- Start with cold equipment—chill your mixing bowl and beaters beforehand!
- Beat at medium speed until it starts to thicken, then increase to high speed until stiff peaks form.
- Don’t overwhip, or you’ll end up with butter! Stop when peaks hold their shape but it’s still smooth.
Using fresh, cold cream and keeping everything chilled will elevate your whipped cream’s texture and taste, making it the perfect complement to your icebox cake!
Easy No-Bake Strawberry Icebox Cake
Ingredients You’ll Need:
- 3 cups heavy whipping cream
- 1/2 cup powdered sugar
- 1 teaspoon vanilla extract
- 1 (8 oz) package of cream cheese, softened (optional for added richness)
- 1 box graham crackers or vanilla wafer cookies (approx. 12-15 oz)
- 4 cups fresh strawberries, sliced
How Much Time Will You Need?
This delightful dessert takes about 20 minutes to prep, but you’ll need to refrigerate it for at least 4 hours or overnight to let it set properly. So, a quick reminder—the waiting is the hardest part, but the result is worth it!
Step-by-Step Instructions:
1. Whip the Cream:
In a large mixing bowl, pour in the heavy whipping cream, powdered sugar, and vanilla extract. Using a hand mixer, whip everything together until stiff peaks form. This means the cream should hold its shape when you lift the beaters out!
2. Blend in Cream Cheese (Optional):
If you’re opting for a richer filling, grab another bowl and beat the softened cream cheese until smooth. Then gently fold the cream cheese into your whipped cream mixture. This step adds a nice creamy texture!
3. Start Layering:
Get your 9×13 inch glass or ceramic dish ready. Start by spreading a thin layer of the whipped cream mixture evenly on the bottom of the dish. This will act as the base for your delicious layers!
4. Add the Cookies:
Now, take your graham crackers or vanilla wafers and place a single layer over the whipped cream. Don’t worry if they don’t fit perfectly; it’s all about the flavors coming together!
5. Build the Layers:
On top of the cookies, spread another layer of the whipped cream mixture, and then sprinkle a layer of your sliced strawberries. Yum!
6. Repeat the Layers:
Continue layering: add more cookies, followed by whipped cream, and then another layer of strawberries. Repeat this until you run out of ingredients, finishing with a final layer of whipped cream on top to create a smooth finish.
7. Decorate and Chill:
Once your cake is all layered up, use the remaining sliced strawberries to decorate the top. Cover the dish with plastic wrap or a lid and pop it in the fridge for at least 4 hours—or better yet, let it chill overnight!
8. Serve and Enjoy:
When you’re ready to enjoy your delicious creation, simply slice and serve. This cake is sure to impress with its beautiful layers and delightful flavor!
This refreshing, layered Strawberry Icebox Cake requires no baking and comes together quickly—perfect for a summer dessert or an easy weeknight treat!
Frequently Asked Questions (FAQ)
Can I Use Frozen Strawberries Instead of Fresh?
Yes, you can use frozen strawberries! Just be sure to thaw them and drain any excess liquid before layering them into your cake. This helps prevent sogginess.
How Long Can I Store Leftovers?
Leftovers can be stored in an airtight container in the fridge for up to 3 days. The layers might become a bit softer over time, but the flavor will still be delicious!
Can I Make This Cake Gluten-Free?
Absolutely! Simply substitute regular graham crackers or vanilla wafers with gluten-free versions. There are many great options available that will work just as well in this recipe.
What If I Don’t Have Heavy Whipping Cream?
If you don’t have heavy whipping cream, you can use whipped topping instead. However, the texture may differ slightly. For a dairy-free option, consider using coconut cream, which will add a nice flavor too!