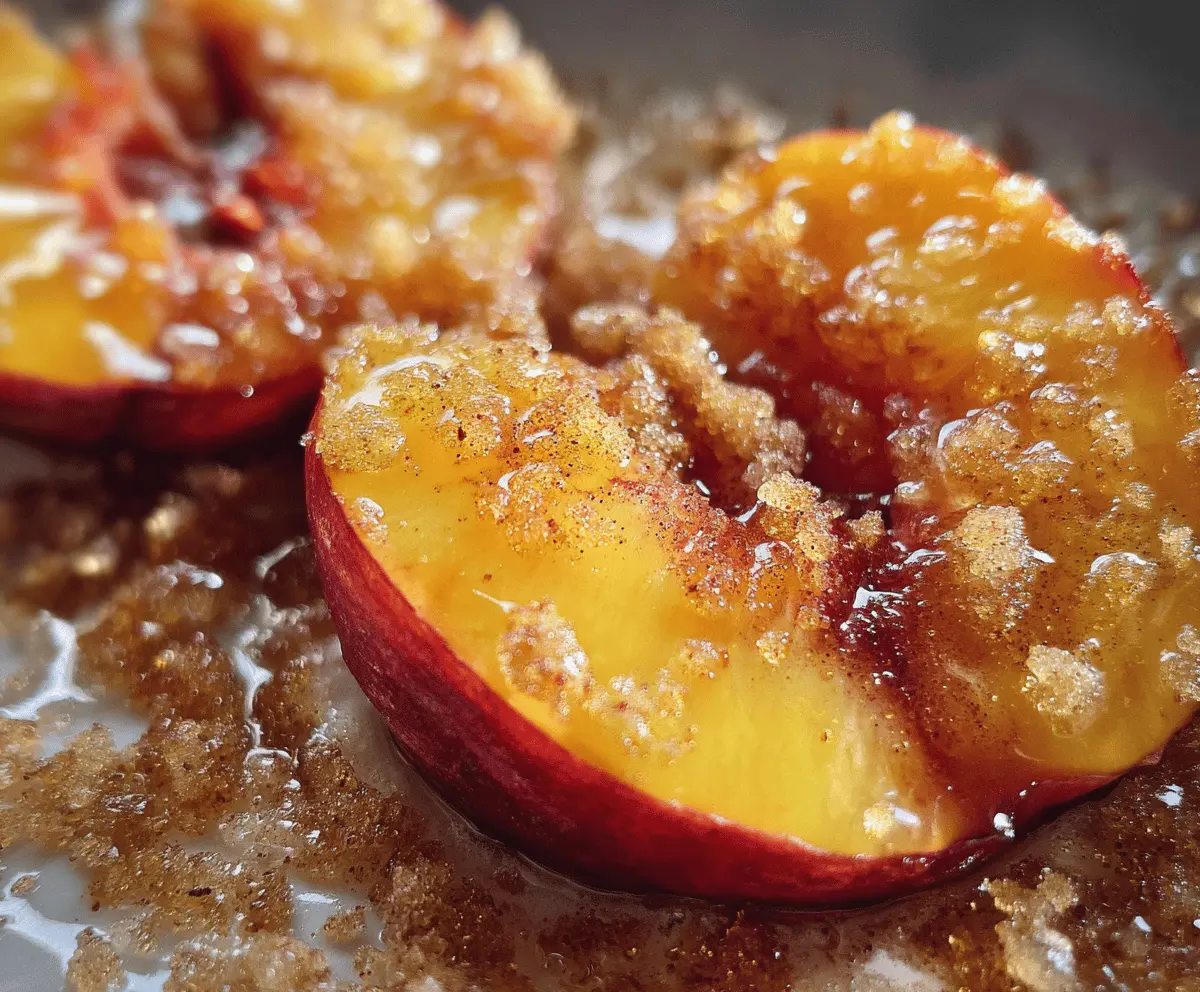
This Easy Nectarine Brown Sugar Crisp is a warm and tasty treat. Juicy nectarines are topped with a sweet and crunchy brown sugar oat topping that makes your taste buds sing!
I love serving this crisp with a scoop of vanilla ice cream on top. It’s like a party in your bowl! Who can resist that? 🍦😊
Key Ingredients & Substitutions
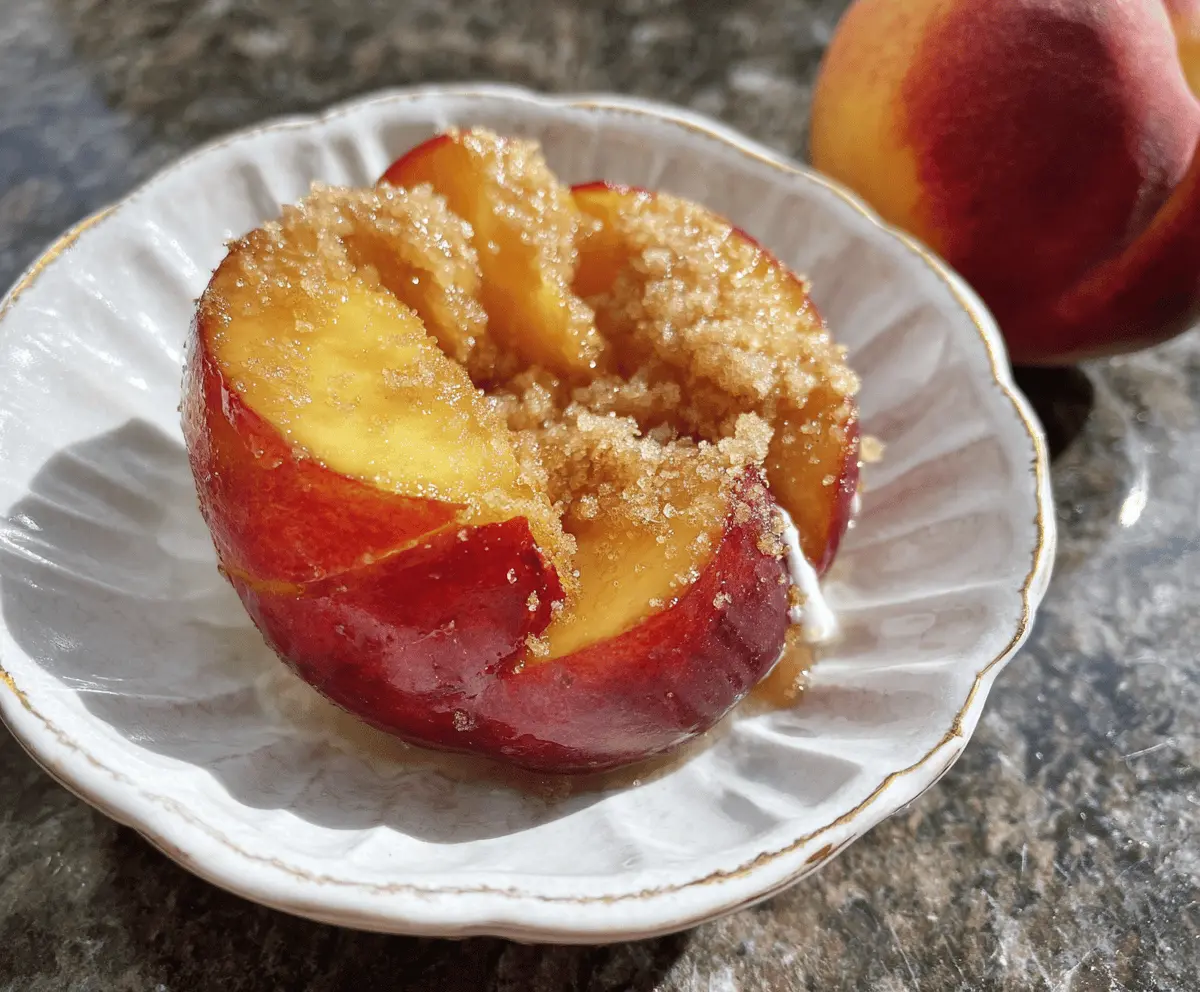
Nectarines: Choose ripe nectarines for the best flavor. If nectarines aren’t available, peaches work wonderfully, too! They have a similar sweetness and texture.
Granulated Sugar: You can use brown sugar instead if you prefer a slightly richer taste. Just remember to adjust the quantity to match your sweetness preference.
Lemon Juice: Fresh lemon juice brightens the dish. If you don’t have fresh lemon, a splash of apple cider vinegar can be a good substitute to balance the sweetness.
Butter: Unsalted butter is ideal for better control over the salt level. If you want a dairy-free option, use coconut oil or vegan butter.
How Do I Get The Crisp Topping Just Right?
Creating the perfect topping is key to a great crisp. It’s all about mixing the ingredients together to achieve a crumbly texture. Here’s how you can master it:
- Chill your butter before using it. Cold butter blends better and creates a flaky topping.
- Use your fingers to mix in the butter with the oats and flour. Aim for a mixture that resembles coarse crumbs – it shouldn’t be too fine!
- Don’t forget to sprinkle the topping evenly to ensure a nice golden finish across the entire crisp.
Easy Nectarine Brown Sugar Crisp
Ingredients You’ll Need:
For the Filling:
- 6 ripe nectarines, peeled and sliced
- 1/2 cup granulated sugar
- 1 tbsp lemon juice
- 1 tsp cinnamon
- 1 tbsp cornstarch
For the Topping:
- 1 cup rolled oats
- 1/2 cup brown sugar, packed
- 1/2 cup all-purpose flour
- 1/2 tsp salt
- 1/2 cup unsalted butter, cold and cubed
For Serving:
- Vanilla ice cream (optional)
How Much Time Will You Need?
This recipe takes about 15 minutes of prep time and then you’ll bake it for 35-40 minutes. In no time, you’ll have a delicious dessert ready to enjoy!
Step-by-Step Instructions:
1. Preheat the Oven:
Start by preheating your oven to 350°F (175°C). This step ensures that your crisp will bake evenly.
2. Prepare the Nectarine Filling:
In a large bowl, mix the sliced nectarines with granulated sugar, lemon juice, cinnamon, and cornstarch. Toss everything together gently until the nectarines are well-coated. Once mixed, transfer this fruity goodness to a greased baking dish, spreading it out evenly.
3. Make the Topping:
In another bowl, combine the rolled oats, brown sugar, flour, and salt. Then, add the cold, cubed butter to this mixture. Use your fingers or a pastry cutter to mix the butter into the dry ingredients. You want it to look crumbly, like coarse crumbs – not too fine!
4. Assemble and Bake:
Now, sprinkle the oat topping evenly over the nectarines in the baking dish. Be generous! Place the dish in your preheated oven and bake for 35-40 minutes. You’re looking for a nice golden-brown topping and bubbly fruit underneath.
5. Cool and Serve:
Once baked, take the crisp out of the oven and let it cool a bit. Serve it warm with a scoop of vanilla ice cream on top for an extra special treat. Enjoy every delicious bite!
FAQ for Easy Nectarine Brown Sugar Crisp
Can I Use Different Fruits in This Recipe?
Absolutely! This recipe works great with other fruits like peaches, plums, or even mixed berries. Just keep in mind that different fruits may require slight adjustments in sugar depending on their sweetness.
Can I Make This Crisp Ahead of Time?
Yes, you can prepare the filling and the topping separately in advance. Just refrigerate them in airtight containers. When you’re ready to bake, simply assemble and pop it in the oven. It may need a few extra minutes to bake if it’s cold from the fridge.
How Do I Store Leftovers?
Store any leftover crisp in the refrigerator in an airtight container for up to 3 days. To reheat, microwave it for a minute or place it in a preheated oven at 350°F (175°C) for about 10 minutes until warmed through.
Can I Substitute the Butter for a Healthier Option?
Definitely! You can use coconut oil or a dairy-free spread instead of butter. Just ensure that the substitute is cold before mixing it with the other topping ingredients to maintain that crumbly texture!