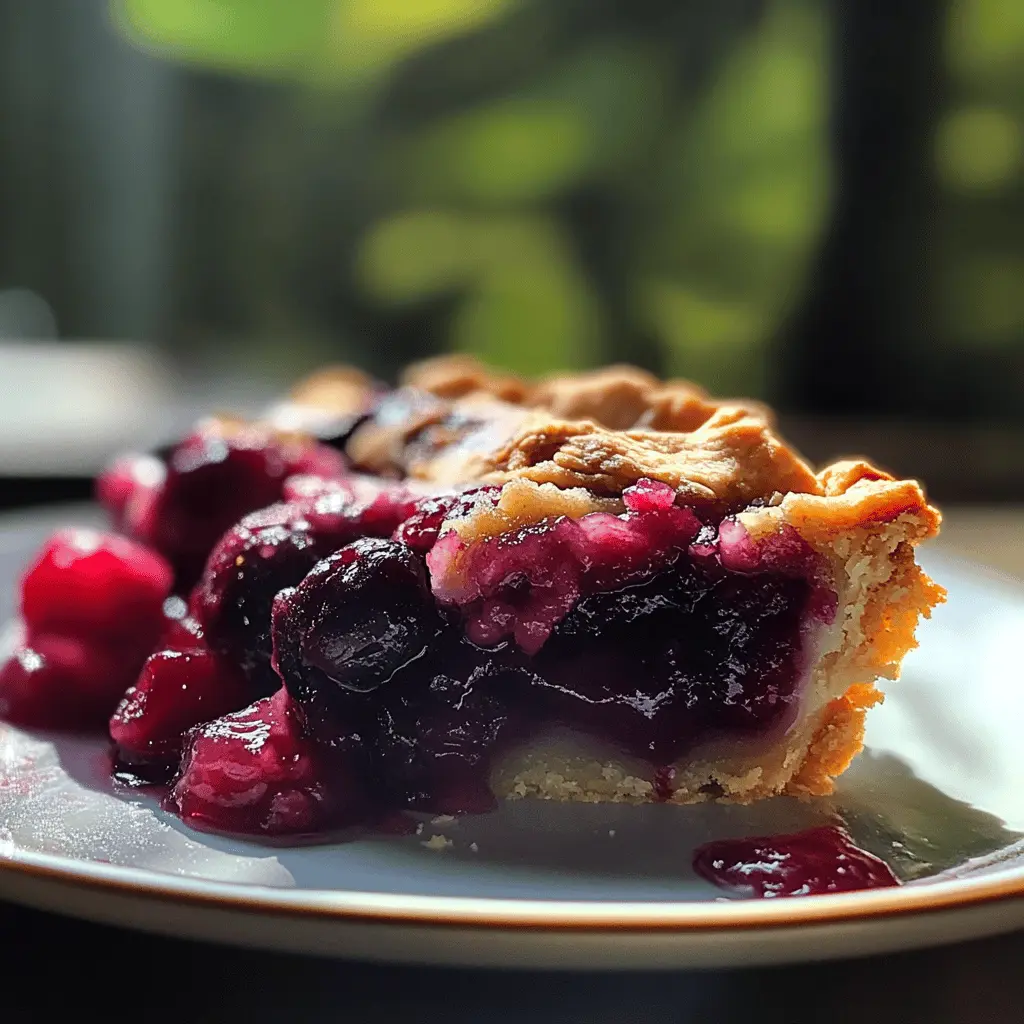
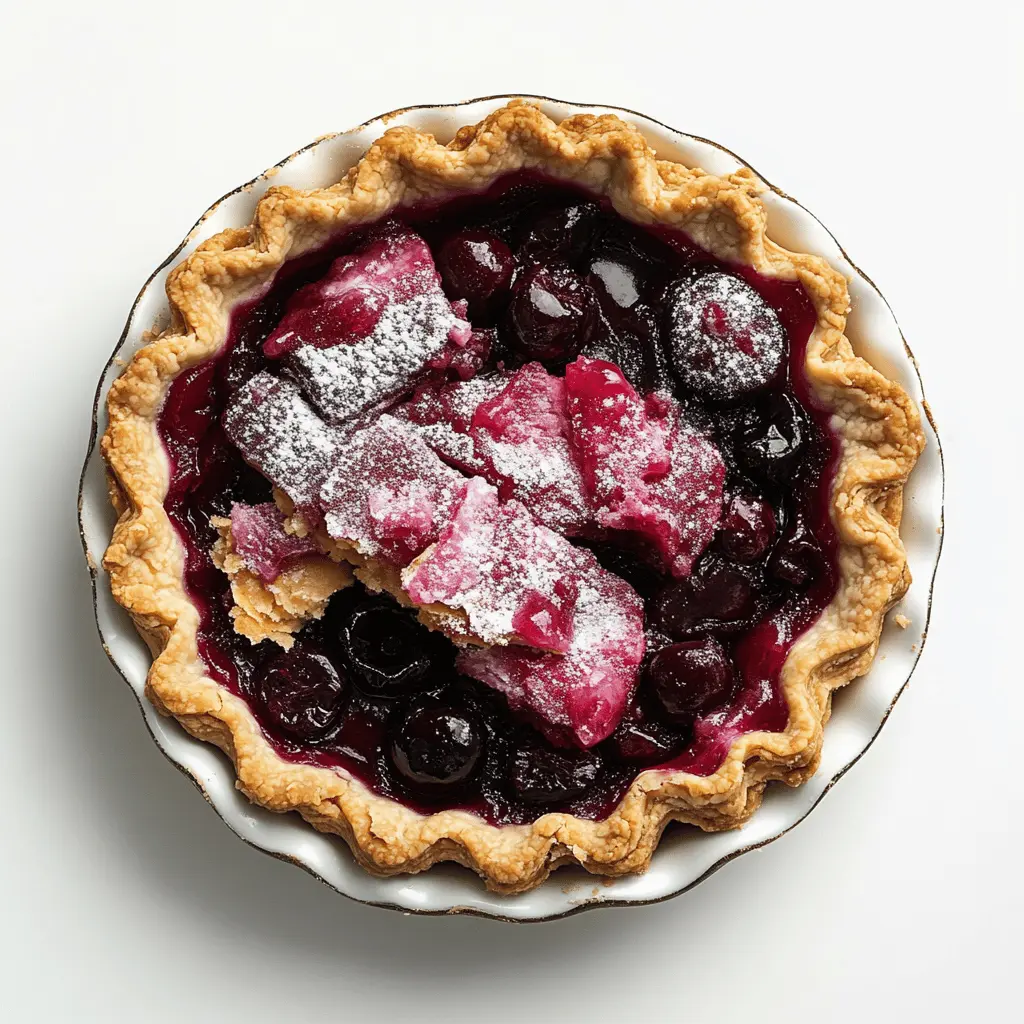
This easy homemade cherry pie is a classic treat that bursts with fruity goodness! With a flaky crust and a sweet cherry filling, it’s perfect for sharing at gatherings.
I love making this pie because it fills the kitchen with a delicious smell. Plus, I can’t resist a slice with a scoop of vanilla ice cream on top—what a dream! 🍒
Key Ingredients & Substitutions
Tart Cherries: Fresh cherries are the best for this pie, but you can use frozen tart cherries if fresh ones aren’t available. Both give a delicious flavor, but make sure to thaw and drain frozen cherries before use.
Sugar: Granulated sugar helps sweeten the filling. If you’re looking to cut down on sugar, try using a sugar substitute like stevia or erythritol. Just check the packaging for the right amount to use!
Cornstarch: This is key for thickening the cherry filling. You can swap it with flour if needed, but use a little more as it’s less effective. About 1/3 cup should do.
Pie Crust: Store-bought crusts save time, but homemade crusts are super tasty. You can also use a pre-made graham cracker crust for a fun twist—just adjust the baking time!
How Can I Get the Perfect Crust?
The crust can be tricky, but here are some tips! Use cold butter and keep your dough cold to maintain flakiness. If prepping homemade dough, chill it in the fridge for a bit before rolling it out.
- Use a light touch when mixing the dough; overworking can make it tough.
- When rolling out, dust your surface with flour to prevent sticking.
- Don’t forget to crimp the edges! This not only seals the pie but also gives it a beautiful finish.
Remember to let the pie cool for at least two hours after baking—this helps the filling firm up so each slice holds its shape. Enjoy your cherry pie! 🍒
Easy Homemade Cherry Pie
Ingredients:
- 2 1/2 cups fresh or frozen pitted tart cherries
- 1 cup granulated sugar
- 1/4 cup cornstarch
- 1 tbsp lemon juice
- 1/2 tsp almond extract (optional for extra flavor)
- Pinch of salt
- 1 package (around 14 oz) refrigerated pie crusts or homemade pie dough for top and bottom crust
- 1 tbsp butter, cut into small pieces
- 1 egg, beaten (for egg wash)
- Sugar for sprinkling on top crust
Time Needed:
This cherry pie recipe will take about 15 minutes to prepare, and you’ll need an additional 45-55 minutes for baking. Don’t forget to let it cool for at least 2 hours before serving, bringing the total to about 3 hours from start to finish. Perfect for making ahead of time!
Step-by-Step Instructions:
1. Preheat Your Oven:
Start by setting your oven to 375°F (190°C). This ensures that it’s hot and ready for the pie as soon as you are done assembling it.
2. Prepare the Cherry Filling:
In a large mixing bowl, add your cherries (fresh or thawed if using frozen), granulated sugar, cornstarch, lemon juice, almond extract (if you like a hint of almond flavor), and a pinch of salt. Stir everything together until the cherries are well coated and the mixture is nice and thick.
3. Roll Out the First Crust:
Take one pie crust and roll it out on a lightly floured surface. Carefully fit it into a 9-inch pie dish, pressing gently into the bottom and sides. This will be your bottom crust, ready for the delicious filling!
4. Add the Cherry Filling:
Pour your cherry mixture into the prepared crust, spreading it out evenly. Dot the filling with small pieces of butter to add extra richness to the pie.
5. Add the Top Crust:
Roll out the second pie crust and lay it over the cherry filling. You can choose to make a full top crust or get creative with a lattice design—it’s up to you!
6. Seal the Pie:
Trim any excess dough from the edges of the pie. Crimp the edges with your fingers or a fork to seal the pie and keep all that yummy filling inside. If you used a full top crust, make a few slits in the top to allow steam to escape.
7. Egg Wash and Sugar Sprinkling:
Brush the top crust with the beaten egg for a lovely golden finish. A sprinkle of sugar on top adds a delightful crunch and sweetness!
8. Bake the Pie:
Place your pie on a baking sheet (to catch any drips) and bake in your preheated oven for 45-55 minutes. Keep an eye on it; you want the crust to be golden brown and the filling to be bubbling.
9. Protect Your Crust:
If the edges start to brown too quickly, feel free to cover them with some aluminum foil to prevent burning.
10. Let it Cool:
Once baked, take the pie from the oven and let it cool for at least 2 hours. This step is so important—it helps the filling set nicely!
11. Serve and Enjoy:
Once cooled, slice your cherry pie and serve it warm or at room temperature. It’s fantastic on its own or with a scoop of vanilla ice cream or whipped cream on the side. Enjoy every delicious bite!
Now, your cherry pie is ready to delight everyone at the table—happy baking!
FAQ for Easy Homemade Cherry Pie
Can I Use Frozen Cherries Instead of Fresh?
Absolutely! Frozen pitted tart cherries work perfectly in this recipe. Just be sure to thaw and drain them to avoid excess moisture in the pie filling.
How Do I Make the Crust Flakier?
For a flakier crust, make sure your butter and water (if using) are very cold. Avoid overworking the dough while mixing, and consider chilling your dough for about 30 minutes before rolling it out—it makes a significant difference!
Can I Make This Pie Ahead of Time?
Yes! You can prepare the pie and refrigerate it before baking for up to 24 hours. If you bake it first, it can be stored in the fridge for up to 3 days. Just let it cool completely before covering it. Reheat slices in the oven or microwave when ready to serve!
What’s the Best Way to Store Leftovers?
Store leftover pie in an airtight container in the refrigerator for up to 3 days. To keep the crust from getting soggy, you might consider placing parchment paper between the pie and the lid before closing it.