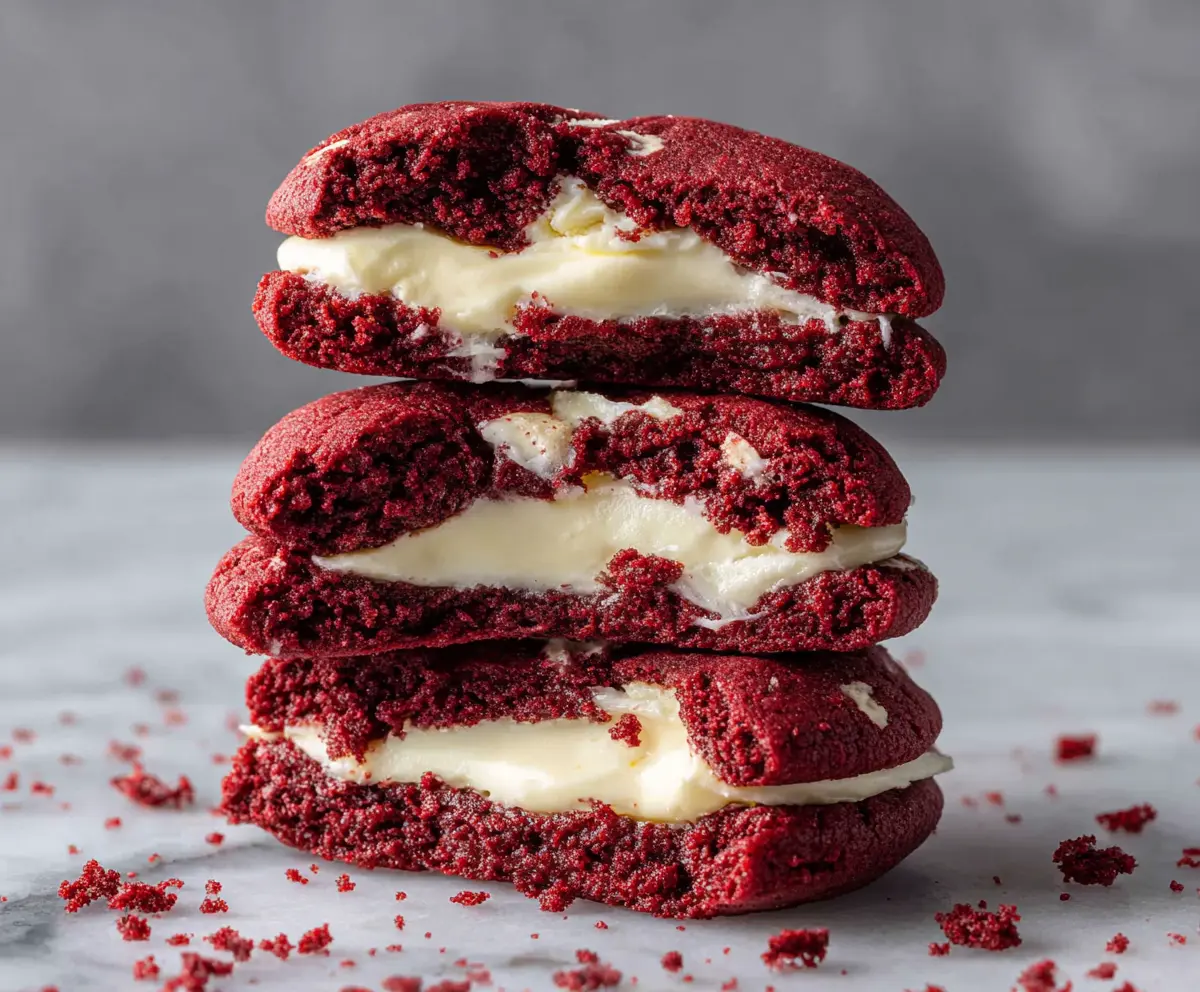
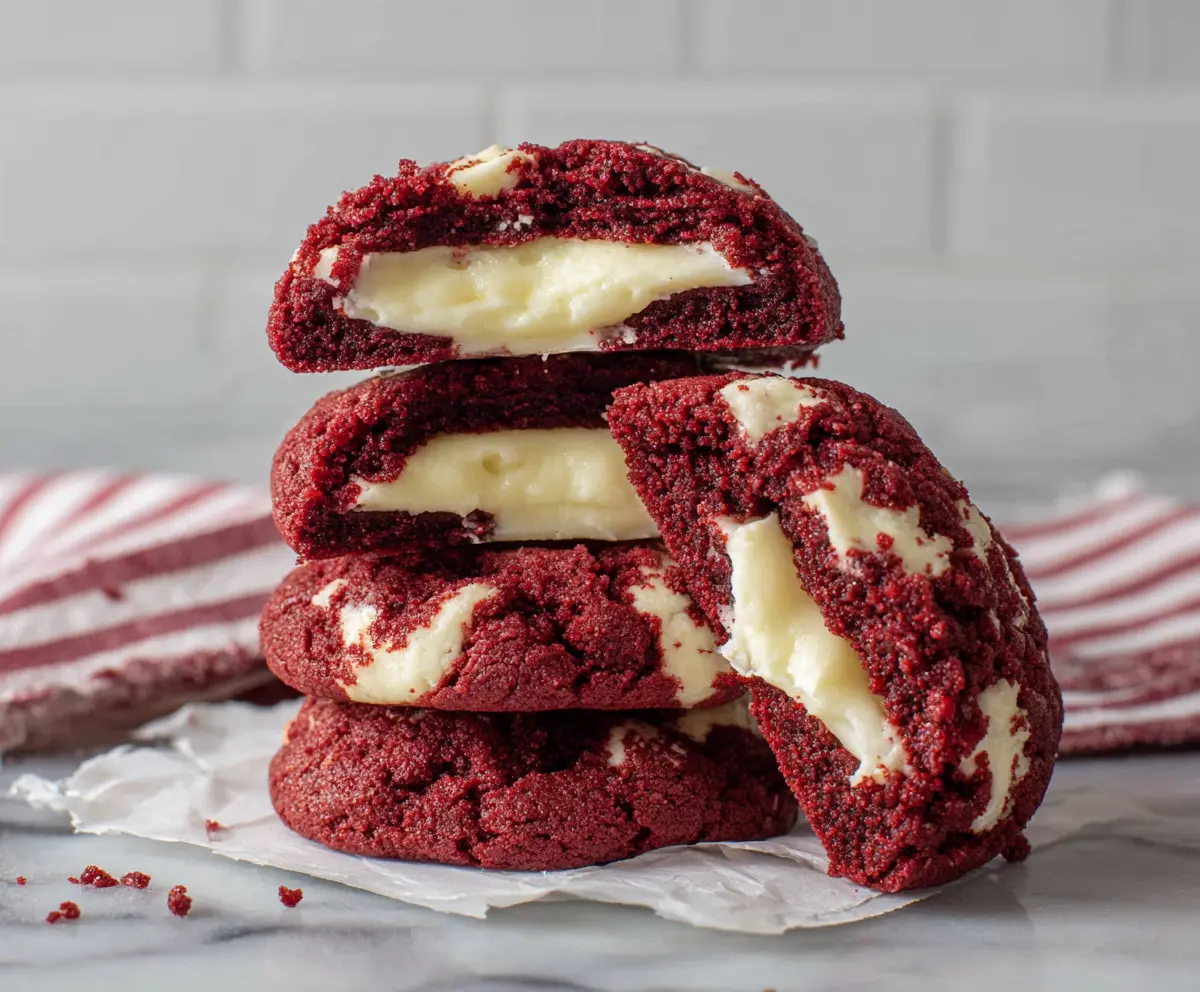
These Cream Cheese Filled Red Velvet Cookies are a sweet treat that you won’t want to miss! Soft and chewy, they have a rich red color and a delicious cream cheese surprise inside.
Honestly, who can say no to a cookie with cream cheese? It’s like a little party in your mouth! I love them fresh out of the oven with a glass of milk. 🍪🥛
Key Ingredients & Substitutions
All-Purpose Flour: This is the base for your cookies. If you need a gluten-free option, try a 1:1 gluten-free flour blend. I’ve had great results with brands like Bob’s Red Mill!
Cocoa Powder: Using unsweetened cocoa powder adds depth to the flavor without making it too sweet. You can replace it with Dutch-processed cocoa powder for a smoother taste.
Butter: Unsalted butter is preferred here, as it lets you control the saltiness. If you’re dairy-free, you can use vegan butter instead, which works surprisingly well!
Red Food Coloring: This gives the cookies their signature color. If you prefer natural options, try beet juice or natural red coloring. Just know it may affect the flavor slightly!
Cream Cheese: You can swap out regular cream cheese for a lower-fat version or even Neufchâtel cheese. For dairy-free, look for coconut cream cheese alternatives—just check the flavor!
What’s the Best Way to Stuff These Cookies Without a Mess?
Stuffing cookies can be tricky, but here’s how to do it smoothly. First, make sure your dough is cold; refrigerate it for 30 minutes if it’s too soft. This step is crucial for handling.
- Scoop and flatten one dough ball, then add a teaspoon of filling in the center.
- Carefully cover the filling with another flattened dough ball. Seal the edges tightly—this prevents the filling from oozing out!
- Roll gently to smooth out and ensure it looks nice and round.
Practice makes perfect! Keep experimenting until you feel confident with your technique. Happy baking!
Cream Cheese Filled Red Velvet Cookies
Ingredients You’ll Need:
For the Red Velvet Cookie Dough:
- 2 1/2 cups all-purpose flour
- 2 tablespoons unsweetened cocoa powder
- 1 teaspoon baking powder
- 1/2 teaspoon baking soda
- 1/2 teaspoon salt
- 1 cup unsalted butter, softened
- 1 cup granulated sugar
- 1 large egg
- 1 teaspoon vanilla extract
- 1 tablespoon red food coloring
- 1 teaspoon white vinegar
- 1/2 cup buttermilk
For the Cream Cheese Filling:
- 8 ounces cream cheese, softened
- 1/2 cup powdered sugar
- 1 teaspoon vanilla extract
How Much Time Will You Need?
This recipe will take about 20 minutes to prepare and about 12-15 minutes to bake. Make sure to allow some time for cooling afterward, about 5 minutes on the baking sheet, and then transfer to a wire rack to cool completely. In total, you can expect to spend about 45 minutes to 1 hour from start to finish.
Step-by-Step Instructions:
1. Preheat the Oven:
Start by preheating your oven to 350°F (175°C). While the oven is heating, line your baking sheets with parchment paper to prevent the cookies from sticking.
2. Prepare the Dry Ingredients:
In a medium bowl, whisk together the all-purpose flour, cocoa powder, baking powder, baking soda, and salt. This will help ensure that all the dry ingredients are well mixed. Set this bowl aside for later.
3. Cream the Butter and Sugar:
In a large mixing bowl, beat the softened butter and granulated sugar together until the mixture becomes creamy and fluffy. This should take about 2-3 minutes. It adds air to your batter, which helps make the cookies light.
4. Mix in the Wet Ingredients:
Add the egg, vanilla extract, red food coloring, and white vinegar into the butter and sugar mixture. Mix everything together until well combined. Don’t worry if it looks a little weird; the red food coloring should brighten it up!
5. Combine Wet and Dry Mixtures:
Now, you’ll want to add the flour mixture into the wet ingredients. Do this in two parts, starting and ending with the flour. So, add about half of the dry ingredients first, then the buttermilk, then the rest of the flour mixture. Mix gently until everything is just combined—don’t over mix!
6. Make the Cream Cheese Filling:
In a separate bowl, combine the softened cream cheese, powdered sugar, and vanilla extract. Beat until the mixture is smooth and creamy. This will be the delightful filling inside your cookies!
7. Stuff the Cookies:
Now comes the fun part! Scoop out the cookie dough into balls that are about 1.5 to 2 tablespoons each. Flatten one ball in your palm, add about a teaspoon of cream cheese filling in the center, and then carefully top it off with another flattened dough ball. Seal the edges well to enclose the filling.
8. Bake the Cookies:
Place the stuffed cookie dough balls on the prepared baking sheets, leaving some space between each for spreading. Bake them in the preheated oven for 12-15 minutes, or until the edges are just set but the centers still look soft. You’ll want them to be slightly firm outside but chewy inside!
9. Cool Down:
Once your cookies are done baking, take them out of the oven and let them cool on the baking sheet for about 5 minutes. This helps them firm up a bit. After that, gently transfer them to a wire rack to cool completely.
10. Enjoy!
Once cooled, serve your Cream Cheese Filled Red Velvet Cookies and enjoy every delightful bite! They’re perfect for sharing at parties or simply indulging on your own. Happy baking!
Can I Use Different Types of Food Coloring?
Yes! While traditional red food coloring gives the best results for the classic look, you can use gel food coloring for a more vibrant hue. If you’re looking for a natural alternative, beet juice or a natural red colorant can also work, but they might slightly alter the taste.
How to Store Leftover Cookies?
Store any leftover cookies in an airtight container at room temperature for up to 3 days. If you’d like to keep them fresh longer, you can refrigerate them for up to a week or freeze them for up to 3 months. Just remember to let them thaw in the fridge or at room temperature before enjoying!
Can I Make These Cookies Ahead of Time?
Absolutely! You can prepare the cookie dough and filling in advance. Roll the dough balls and fill them, then freeze them before baking. When you’re ready to bake, just pop them straight from the freezer into the oven, adding a couple of extra minutes to the baking time.
What Should I Serve with These Cookies?
These cookies are delicious on their own, but they pair wonderfully with a glass of milk or a scoop of vanilla ice cream. For a fun twist, try serving them alongside a drizzle of chocolate sauce or a dollop of whipped cream!