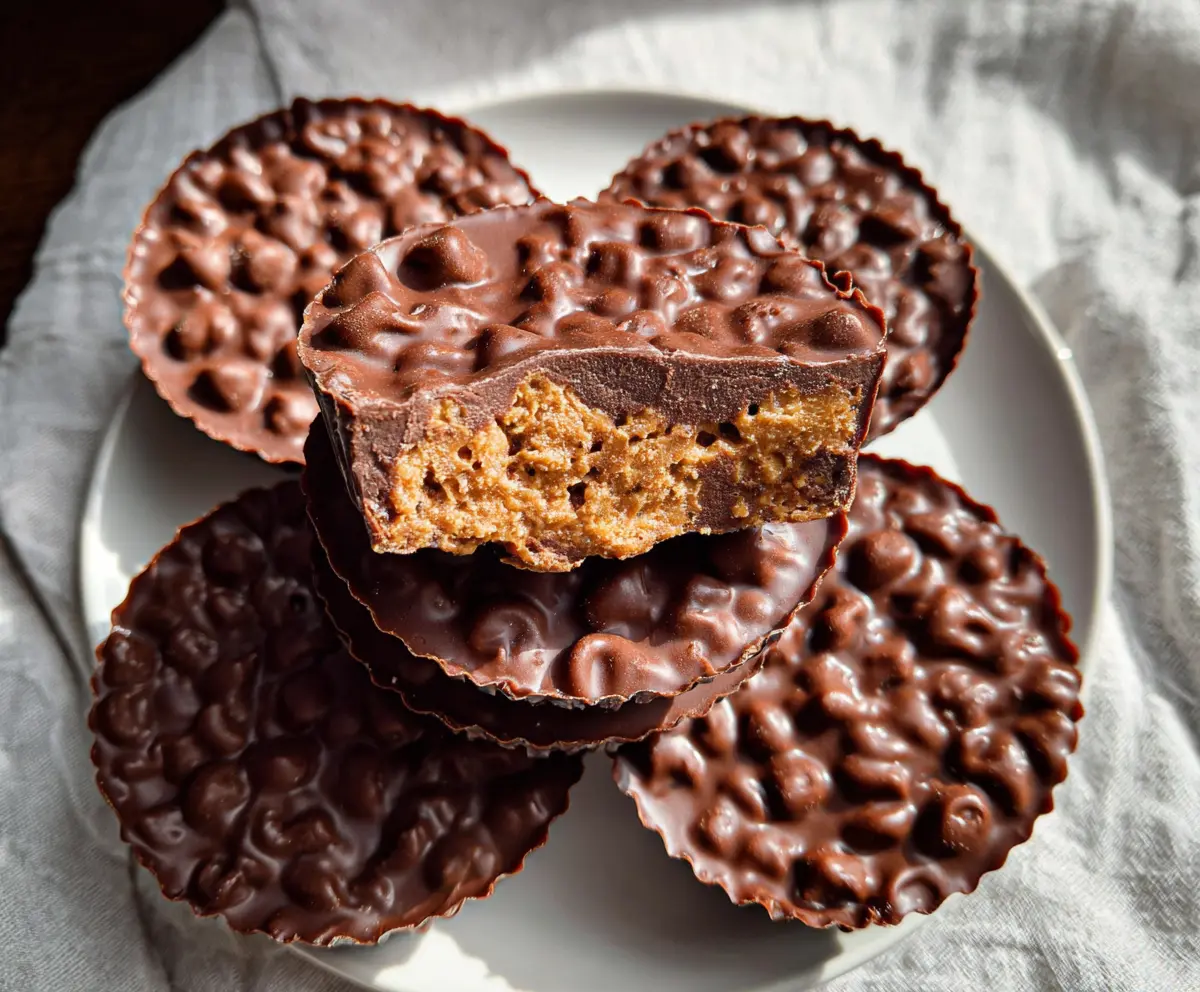
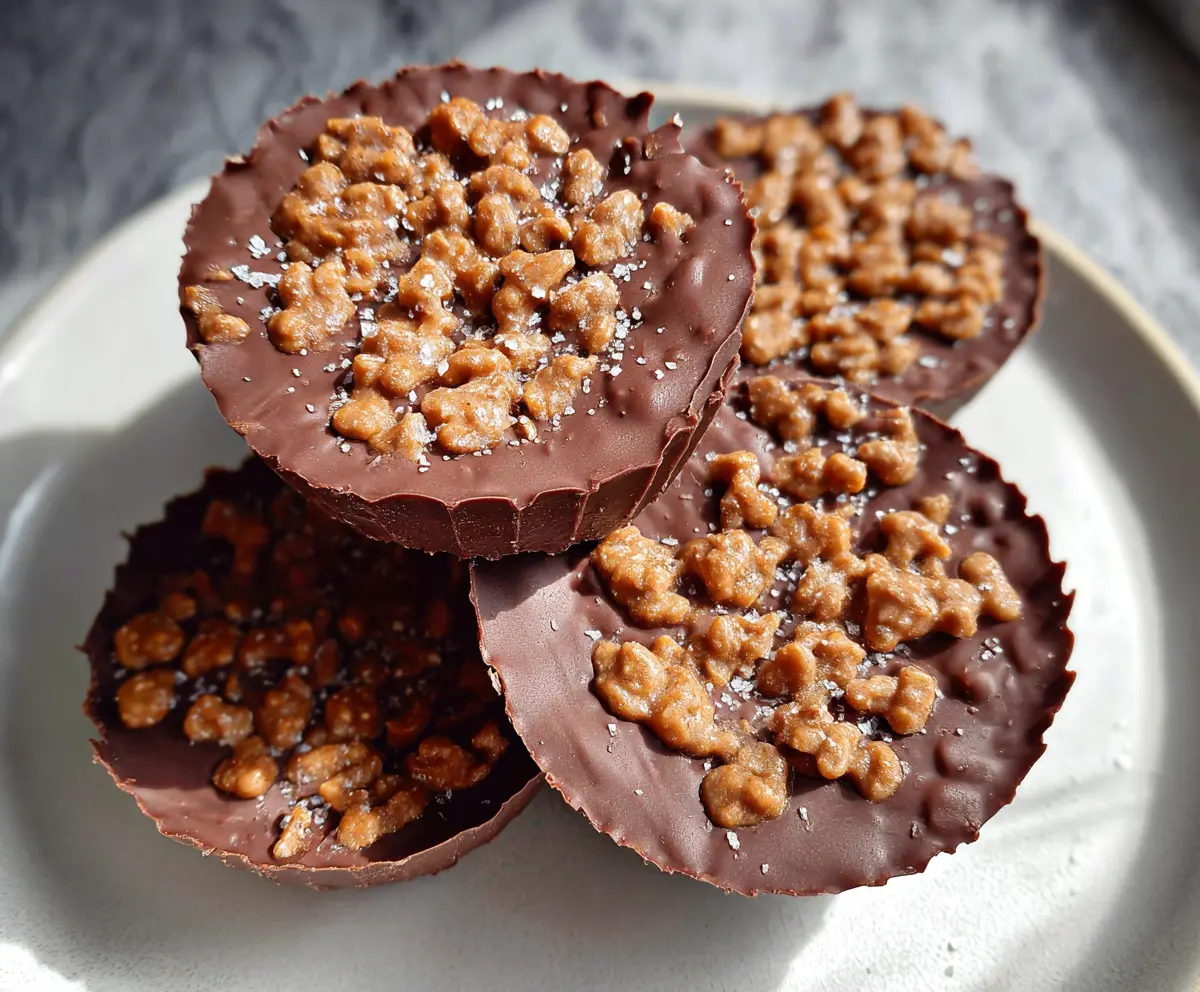
These Chocolate Peanut Butter Crunch Cups are a sweet treat that really hits the spot! With smooth peanut butter and a crunchy layer, each bite is a yummy mix of flavors and textures.
Making these cups is super easy! Just melt, mix, and pour into molds. They’re perfect for dessert or a snack—you might even want to share (but no promises, right? 😄).
Key Ingredients & Substitutions
Creamy Peanut Butter: The star of this recipe! I love using a smooth peanut butter for a consistent texture, but crunchy peanut butter adds extra texture if you’re a fan. If you’re allergic to peanuts, try almond or sunflower seed butter as great alternatives!
Unsalted Butter: This adds richness to the peanut butter layer. You can substitute it with coconut oil for a dairy-free version. Just keep in mind that it might change the flavor slightly, adding a hint of coconut.
Powdered Sugar: This gives sweetness and helps bind the mixture. If you want a less sugary option, consider using a powdered sweetener like monk fruit or erythritol, keeping in mind that sweetness levels may vary.
Crispy Rice Cereal: This gives that essential crunch. If you can’t find Rice Krispies, try using corn flakes or another crispy cereal. For a gluten-free option, check for certified gluten-free varieties!
Chocolate Chips: Semi-sweet is my go-to for balance, but if you prefer something sweeter, milk chocolate works too. For a darker taste, use dark chocolate. For dairy-free, look for vegan chocolate chips.
How Do I Melt Chocolate Smoothly?
Melted chocolate can be tricky, but it’s an important step! Here’s a simple way to do it:
- In a microwave-safe bowl, combine your chocolate chips and oil.
- Microwave the mixture for 30 seconds, then stir well to avoid any hot spots.
- Continue microwaving in 15-second intervals, stirring after each, until the chocolate is completely melted and smooth.
- If using a double boiler: Place a heatproof bowl over simmering water, ensuring the bowl doesn’t touch the water. Stir until melted.
This gentle melting technique prevents the chocolate from burning and keeps it silky. Remember to keep stirring to achieve that smooth consistency!
How to Make Chocolate Peanut Butter Crunch Cups
Ingredients You’ll Need:
- 1 cup creamy peanut butter
- 1/4 cup unsalted butter
- 1 cup powdered sugar
- 2 cups crispy rice cereal (like Rice Krispies)
- 2 cups semi-sweet chocolate chips (or milk chocolate for a sweeter option)
- 1 tablespoon vegetable oil or coconut oil (to help melt chocolate smoothly)
Time Needed:
This recipe will take about 15 minutes to prepare and then at least 1 hour in the fridge to set up properly. It’s a quick treat that requires minimal effort!
Step-by-Step Instructions:
1. Melt the Peanut Butter and Butter:
In a medium saucepan over low heat, add the creamy peanut butter and unsalted butter. Stir together until everything is melted and smoothly combined. Remove from heat once it’s ready.
2. Add the Sugar:
Now, stir in the powdered sugar gradually. Mix until it’s fully incorporated and has a nice, thick consistency.
3. Mix in the Crispy Cereal:
Gently fold in the crispy rice cereal. Be careful to coat all the cereal evenly without crushing it. This will give your cups that delightful crunch!
4. Melt the Chocolate:
In a microwave-safe bowl, combine the chocolate chips with the oil. Microwave in 30-second intervals, stirring after each time, until the chocolate is completely smooth and melted.
5. Prepare the Molds:
Line a muffin tin with paper liners or use silicone molds, which make it easier to remove the cups later.
6. Coat the Molds:
Spoon about 1 tablespoon of the melted chocolate into each cup, tilting the tin as needed to coat the bottom and sides evenly. This creates a lovely chocolate shell!
7. Add the Peanut Butter Mixture:
Take a heaping tablespoon of your peanut butter cereal mixture and add it to each chocolate-lined cup. Gently press down to pack it in nice and tight.
8. Top with Chocolate:
Pour another tablespoon of melted chocolate over the top of each cup, ensuring the peanut butter layer is fully covered. Smooth it out with the back of a spoon if needed.
9. Chill the Cups:
Put the muffin tin in the fridge and let the cups chill for at least 1 hour, or until they are firm and set. This step is important for achieving the right texture!
10. Enjoy Your Treats:
Once the cups are firm, carefully remove them from the molds or liners. Store any leftovers in an airtight container in the fridge, but they likely won’t last long!
These Chocolate Peanut Butter Crunch Cups are a delightful treat that balances creamy and crunchy textures in every bite. Perfect for sharing or enjoying all by yourself!
Can I Use Natural Peanut Butter Instead of Creamy Peanut Butter?
Yes, you can use natural peanut butter! Keep in mind that it may result in a slightly different texture, as natural peanut butter can be more oily and less creamy. Stir well before using to combine the oils back with the peanut butter.
What Can I Use Instead of Crispy Rice Cereal?
If you don’t have crispy rice cereal, feel free to use corn flakes or even small-sized pretzels for an extra crunch. Just make sure they are crispy to maintain the texture of the cups. For a gluten-free option, check for gluten-free varieties!
How Should I Store Leftovers?
Store your Chocolate Peanut Butter Crunch Cups in an airtight container in the fridge. They will keep well for up to one week, but I bet they won’t last that long!
Can I Freeze These Cups?
Absolutely! These cups freeze well. Just wrap them individually in plastic wrap or place them in a freezer-safe container. They can be frozen for up to 2 months. Thaw them in the fridge before enjoying!