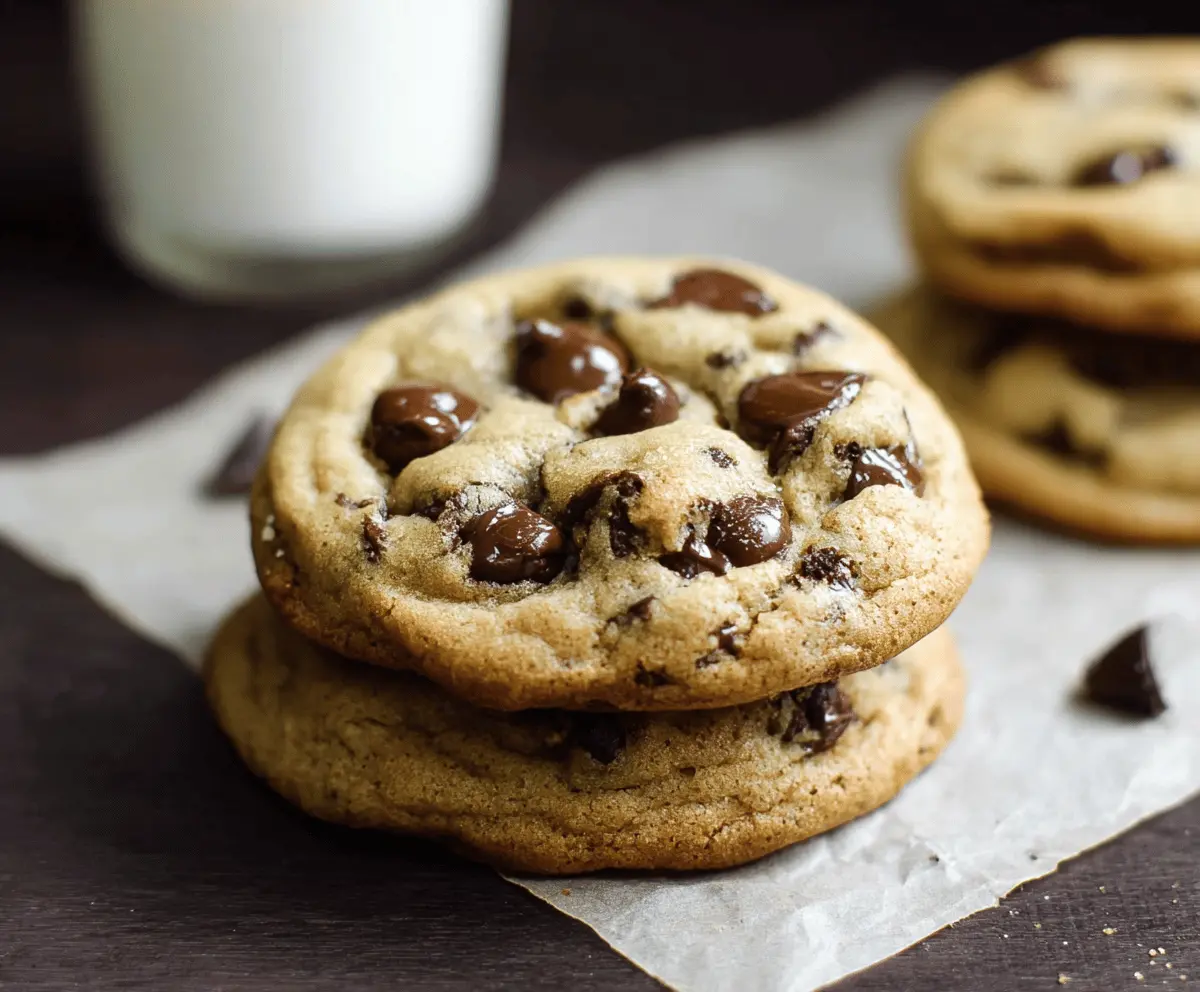
These chocolate chip cookies are warm, gooey, and just the right amount of sweet! With chunks of chocolate melting in every bite, they’ll brighten anyone’s day!
Whenever I bake these, the sweet smell fills the house and everyone rushes to the kitchen. Every cookie is a hug, and who can say no to that? 🍪❤️
Ingredients & Substitutions
Unsalted Butter: Softened butter is crucial for creamy dough. If you’re out of butter, you can use an equal amount of coconut oil or margarine. Just remember, margarine might change the taste a little.
Granulated Sugar & Brown Sugar: Using both sugars gives a nice balance of sweetness and chewiness. If you want to cut down on sugar, you can replace half of the granulated sugar with a sugar substitute, like erythritol, for a lower-calorie option.
Eggs: Eggs provide structure and moisture. If you need an egg substitute, try using 1/4 cup of unsweetened applesauce or a flax egg (1 tablespoon of ground flaxseed mixed with 2.5 tablespoons of water) for each egg.
All-Purpose Flour: This is your main ingredient for structure. If you’re gluten-free, a 1:1 gluten-free flour blend works well instead. I’ve had great success with almond flour, but this may affect the cookie’s texture.
Semisweet Chocolate Chips: My favorite! If you prefer a different flavor, try dark chocolate or milk chocolate chips. For a healthier twist, you could even use chopped nuts or dried fruit as a substitute.
How Do I Cream Butter and Sugar Properly?
Creaming butter and sugar is essential for a light and fluffy cookie texture. Here’s how to do it right:
- Start with room temperature butter. This helps it blend smoothly with sugar.
- Using either a hand mixer or stand mixer, beat the butter until it’s light in color and fluffy. This should take about 2-3 minutes.
- Gradually add in the granulated and brown sugars while mixing. Make sure to scrape down the sides of the bowl to combine everything well.
- The mixture should look creamy and smooth, with no lumps of butter remaining. This creates air pockets that will help the cookies rise and stay soft.
Remember, don’t rush this step—it really makes a difference!
How to Make Chocolate Chip Cookies
Ingredients You’ll Need:
- 1 cup (227g) unsalted butter, softened
- 3/4 cup (150g) granulated sugar
- 3/4 cup (165g) packed brown sugar
- 2 large eggs
- 1 teaspoon vanilla extract
- 2 1/4 cups (280g) all-purpose flour
- 1 teaspoon baking soda
- 1/2 teaspoon salt
- 2 cups (340g) semisweet chocolate chips
How Much Time Will You Need?
This delicious recipe takes about 15 minutes to prepare, plus 9 to 11 minutes for baking. After baking, let the cookies rest for about 5 minutes before moving them to a cooling rack. In total, you can have freshly baked cookies ready in about 30 minutes!
Step-by-Step Instructions:
1. Preheat Your Oven:
Start by preheating your oven to 375°F (190°C). This ensures the cookies bake evenly. While your oven is heating, line two baking sheets with parchment paper or silicone baking mats to prevent the cookies from sticking.
2. Cream the Butter and Sugars:
In a large mixing bowl, combine the softened butter, granulated sugar, and brown sugar. Using a hand mixer or standing mixer, beat them together on medium speed until the mixture is light and fluffy. This usually takes about 2-3 minutes. It helps to incorporate air, making your cookies soft!
3. Add Eggs and Vanilla:
Next, beat in the eggs one at a time until fully combined. Then stir in the vanilla extract, mixing just until everything is smooth and creamy.
4. Combine Dry Ingredients:
In a separate bowl, whisk together the all-purpose flour, baking soda, and salt. This step ensures that the baking soda and salt are evenly distributed.
5. Mix Dry into Wet Ingredients:
Gradually add the dry mixture to the bowl of wet ingredients. Mix gently until just combined—don’t over-mix, or the cookies can become tough!
6. Fold in the Chocolate Chips:
Now it’s time to add the chocolate chips! Fold them into the dough with a spatula, ensuring they are evenly spread throughout.
7. Prepare for Baking:
Using a tablespoon or cookie scoop, drop rounded balls of dough onto the prepared baking sheets, spacing them about 2 inches apart. This allows room for spreading as they bake.
8. Bake the Cookies:
Place the baking sheets in the oven and bake for 9 to 11 minutes. You want the edges to be golden brown while the centers still look soft. They will continue to cook as they cool!
9. Cool and Enjoy:
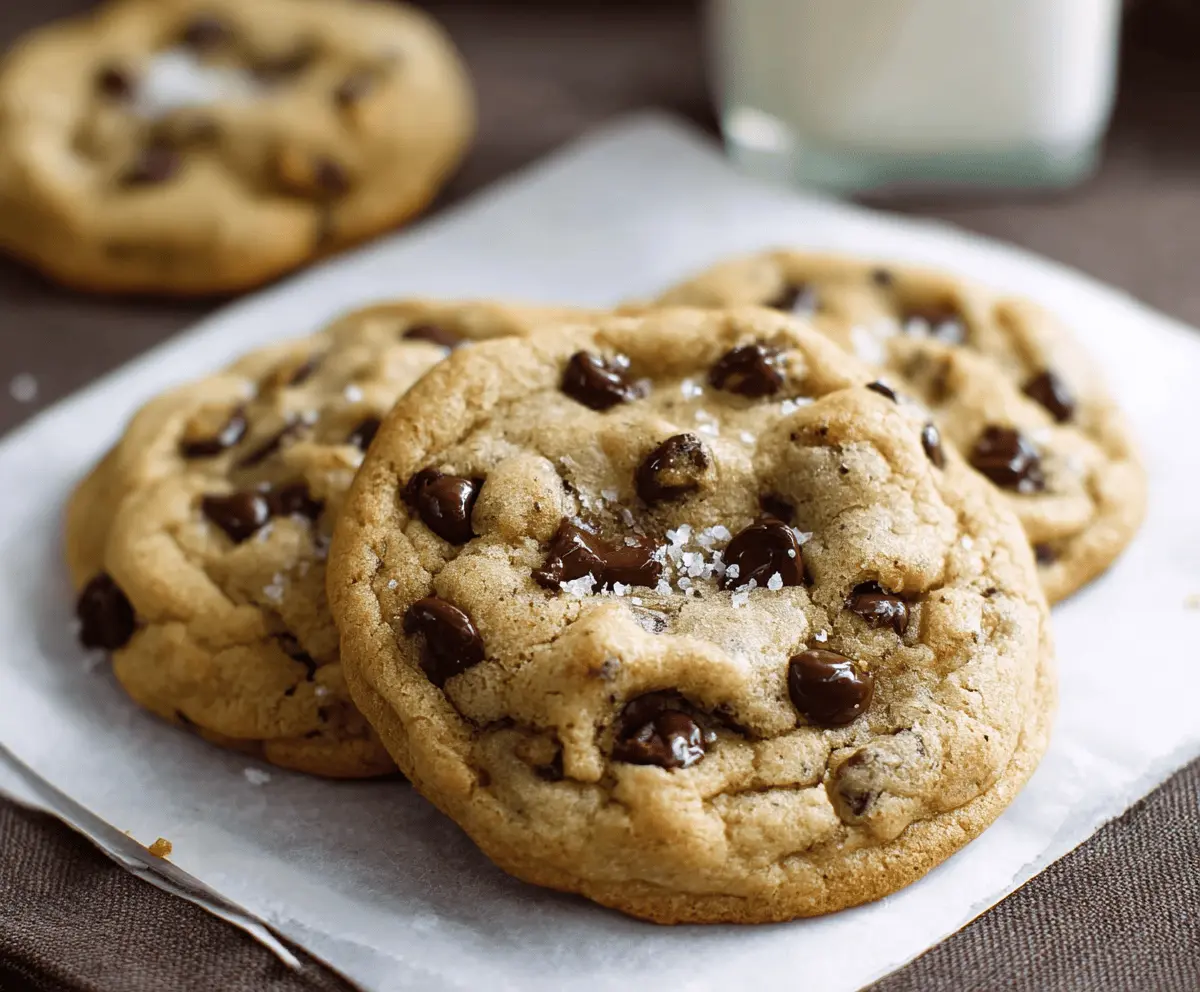
After baking, let the cookies cool on the baking sheets for about 5 minutes. This helps them set. Then transfer them to a wire rack to cool completely. They’re perfect served warm with a glass of milk!
Final Touch:
Your cookies should come out soft, chewy, and filled with melty chocolate chips—just like the delicious photo! Enjoy each bite!
Can I Use Margarine Instead of Butter?
Yes, you can use margarine as a substitute for butter. However, keep in mind that it may alter the flavor slightly. Make sure it’s softened the same way you would with butter to achieve the right texture.
How Should I Store Leftover Cookies?
To keep your cookies fresh, store them in an airtight container at room temperature for up to a week. For longer storage, you can freeze them in a freezer bag for up to three months. Just thaw them at room temperature before enjoying!
Can I Make the Dough Ahead of Time?
Absolutely! You can prepare the dough and refrigerate it for up to 3 days. Just make sure to cover it tightly. When ready to bake, let it sit at room temperature for about 10-15 minutes before scooping and baking for best results.
What Can I Substitute for Eggs?
If you need an egg substitute, you can use 1/4 cup of unsweetened applesauce or make a flax egg by mixing 1 tablespoon of ground flaxseed with 2.5 tablespoons of water. Let it sit for a few minutes until it thickens!