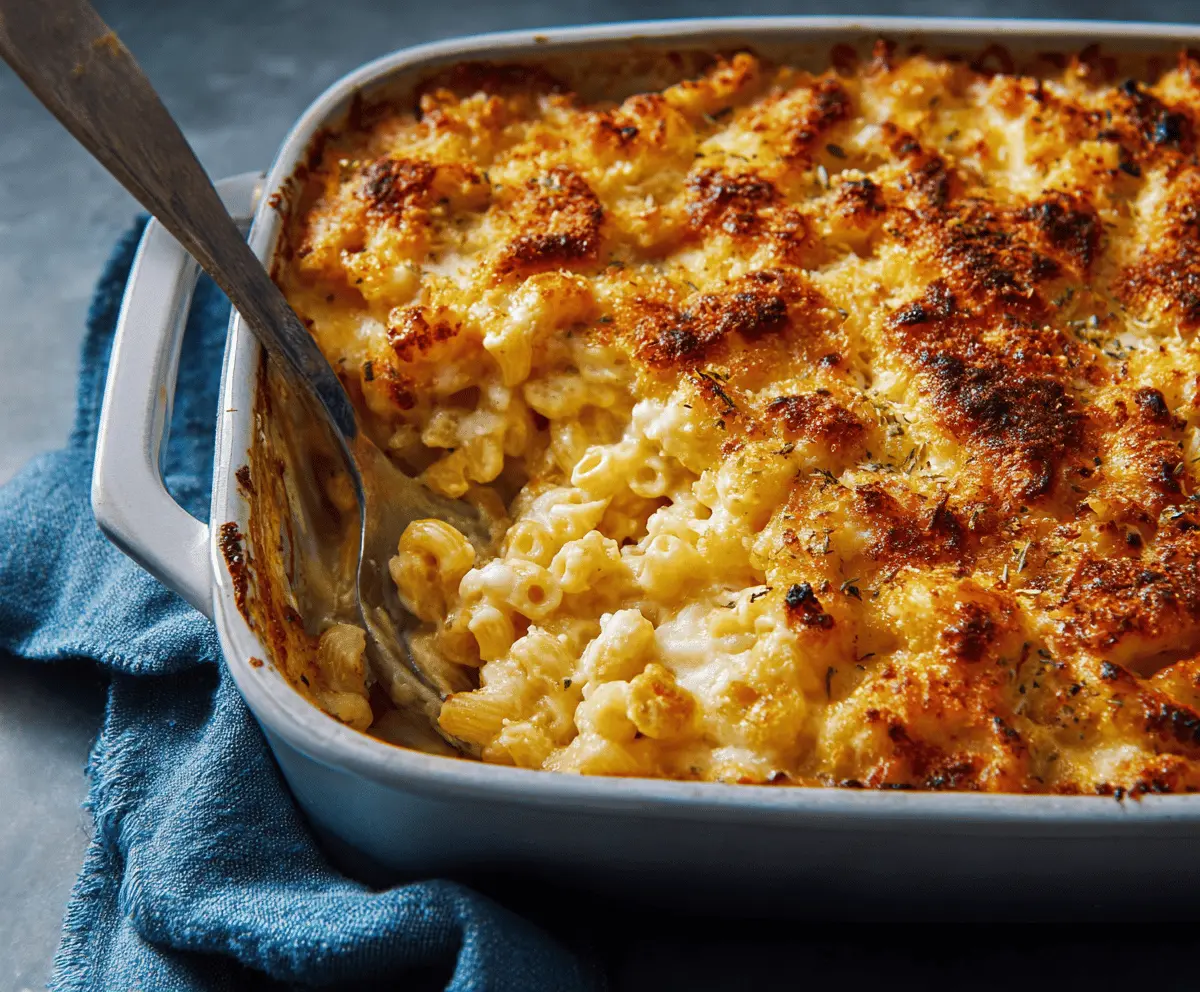
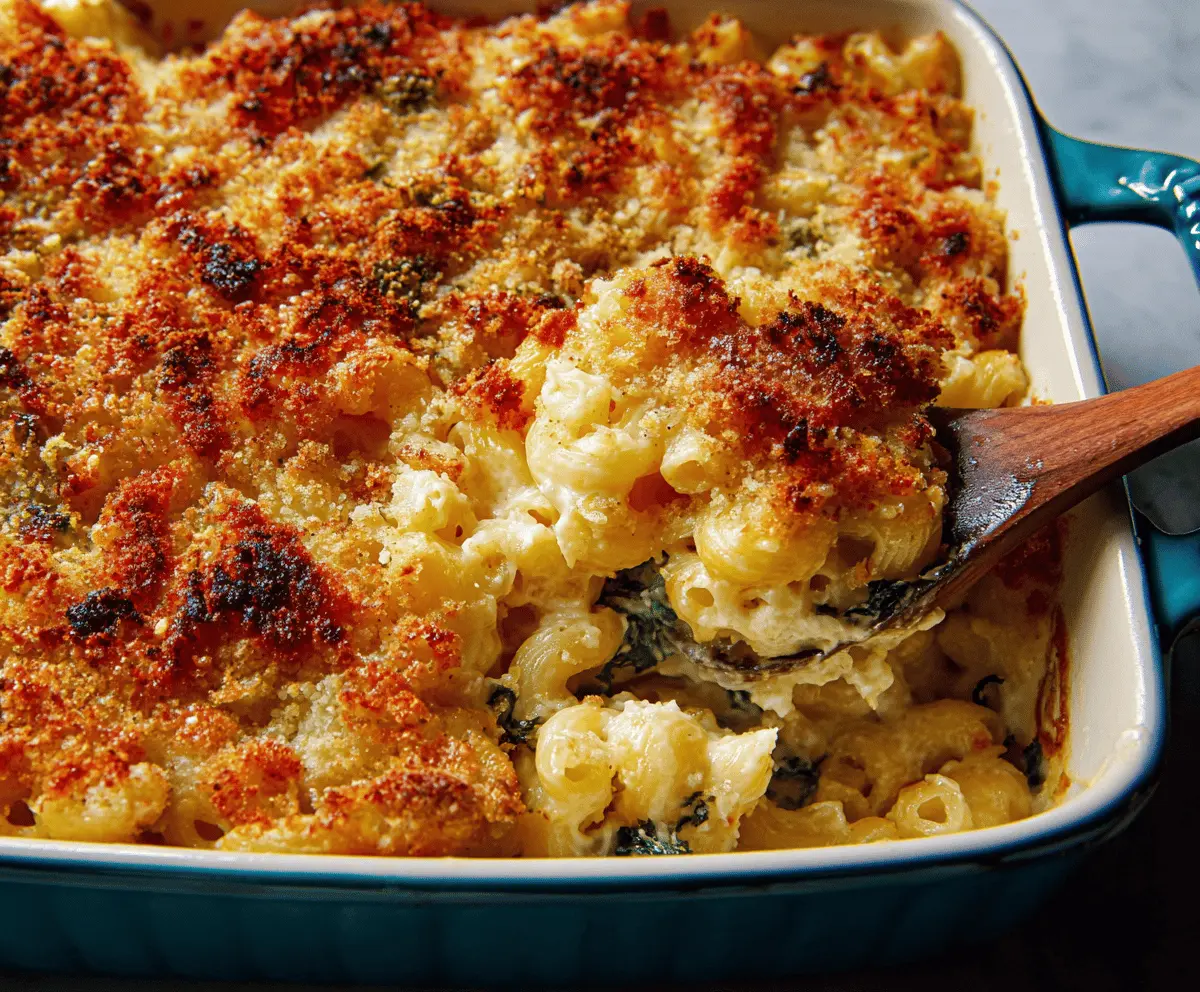
Baked Mac and Cheese is the ultimate comfort food, with creamy cheese mixed with soft pasta and a crunchy topping. It’s cheesy, gooey, and absolutely delightful!
This recipe is super simple: just mix, bake, and enjoy! It’s perfect for cozy family dinners or any time you want a tasty treat at home.
Key Ingredients & Substitutions
Macaroni: Elbow macaroni is classic, but I love using cavatappi for its fun twist and texture. If you need a gluten-free option, try gluten-free pasta which works great!
Cheddar Cheese: Sharp cheddar is key for that bold flavor. You can mix it up and use a blend of cheeses like Monterey Jack or gouda for something extra special!
Gruyère Cheese: If Gruyère is unavailable, mozzarella gives a nice stretchiness, while Monterey Jack provides creaminess. Feel free to experiment with different cheese combinations!
Milk and Heavy Cream: Whole milk and heavy cream create that rich creaminess. For a lighter version, you can use 2% milk, but the sauce may not be as thick.
Panko Breadcrumbs: I use panko for a crunchy topping, but regular breadcrumbs also work if that’s what you have. Try adding some parmesan cheese to the breadcrumb mix for extra flavor!
What’s the Best Way to Make a Creamy Cheese Sauce?
The cheese sauce is the heart of baked mac and cheese, and getting it just right can be tricky! Here’s how to ensure it’s creamy and smooth:
- Make a Roux: Melt butter in a saucepan and whisk in flour. Cook for a minute or two until it’s lightly golden—this is your roux, which thickens the sauce.
- Gradual Liquid Addition: Slowly whisk in milk and cream. This helps prevent lumps. Keep whisking until the sauce thickens—this should take about 5-7 minutes.
- Low Heat for Cheese: Once thick, reduce heat to low before adding the cheese so it melts without clumping. Stir until completely smooth.
Taking your time during these steps will lead to a perfect cheesy sauce that coats the pasta beautifully! Enjoy making and sharing your baked mac and cheese! 🧀
How to Make Baked Mac And Cheese
Ingredients You’ll Need:
For the Pasta:
- 8 ounces elbow macaroni (or cavatappi pasta)
For the Cheeses:
- 3 cups shredded sharp cheddar cheese, divided
- 2 cups shredded Gruyère cheese (or substitute with mozzarella or Monterey Jack)
For the Creamy Sauce:
- 3 cups whole milk
- 1/2 cup heavy cream
- 1/4 cup (1/2 stick) unsalted butter
- 1/4 cup all-purpose flour
Seasonings:
- 1 teaspoon salt
- 1/2 teaspoon black pepper
- 1/2 teaspoon smoked paprika or dry mustard powder (optional, for flavor)
For the Topping:
- 1/2 cup panko breadcrumbs
- 1/4 teaspoon dried thyme or Italian herbs (optional, for topping)
How Much Time Will You Need?
This recipe takes about 15 minutes of prep time and around 30 minutes of baking time. You’ll need a total of about 45 minutes to enjoy your delicious baked mac and cheese from start to finish!
Step-by-Step Instructions:
1. Preheat the Oven:
Begin by preheating your oven to 350°F (175°C). Grab a medium baking dish (around 8×8 inches works well) and give it a light greasing with butter or cooking spray to prevent sticking.
2. Cook the Pasta:
Next, take a large pot and fill it with salted boiling water. Add in the elbow macaroni and cook until just al dente, which usually is about 1-2 minutes less than what the package says. Once cooked, drain the pasta and set it aside for later.
3. Make the Cheese Sauce:
In a large saucepan over medium heat, melt the unsalted butter. Once melted, whisk in the flour and cook for about 1-2 minutes until the mixture is light golden—this is called a roux. Then, gradually whisk in the whole milk and heavy cream. Keep stirring to avoid any lumps! Continue cooking until the sauce thickens and bubbles, about 5-7 minutes.
4. Add the Cheese:
Reduce the heat to low, and slowly stir in 2 1/2 cups of shredded cheddar cheese along with all the Gruyère cheese. Stir until everything is melted and smooth. Now, season your sauce with salt, black pepper, and smoked paprika or dry mustard if you wish!
5. Combine Pasta and Sauce:
Toss the cooked pasta in the cheesy sauce, mixing well until everything is evenly coated.
6. Assemble and Top:
Pour the cheesy pasta mixture into the prepared baking dish, spreading it out evenly. In a small bowl, mix the remaining 1/2 cup of cheddar cheese with the panko breadcrumbs. Sprinkle this mixture evenly over the top of the pasta. If you’re feeling a little fancy, add some dried thyme for extra flavor!
7. Bake It Up:
Place your baking dish in the oven and bake for 25-30 minutes. You want the top to be golden brown and crispy. If you like an extra crunchy top, you can pop it under the broiler for 2-3 minutes—just keep an eye on it to prevent burning.
8. Serve and Enjoy:
Once out of the oven, let your baked mac and cheese cool for a few minutes before serving. Enjoy this creamy, cheesy delight with family and friends!
This recipe will give you that perfect golden-brown crust and creamy interior just like in the picture! 🌟
Can I Use Different Types of Pasta?
Absolutely! While elbow macaroni is traditional, you can use cavatappi, shells, or even penne for a fun twist. Just make sure to adjust cooking times based on the pasta type!
What Cheese Can I Substitute?
If you don’t have Gruyère, other cheeses work well too! Mozzarella offers great meltiness, while Monterey Jack adds a creamy texture. Feel free to mix and match your favorite cheeses!
Can I Make This Ahead of Time?
Yes! You can prepare the dish up to the baking stage. Just cover and refrigerate it for up to 24 hours. When you’re ready to bake, let it sit at room temperature for about 30 minutes before putting it in the oven.
How Should I Store Leftovers?
Store leftover baked mac and cheese in an airtight container in the fridge for up to 3-4 days. Reheat in the microwave or oven until warmed through. You can add a splash of milk to refresh the creamy texture!