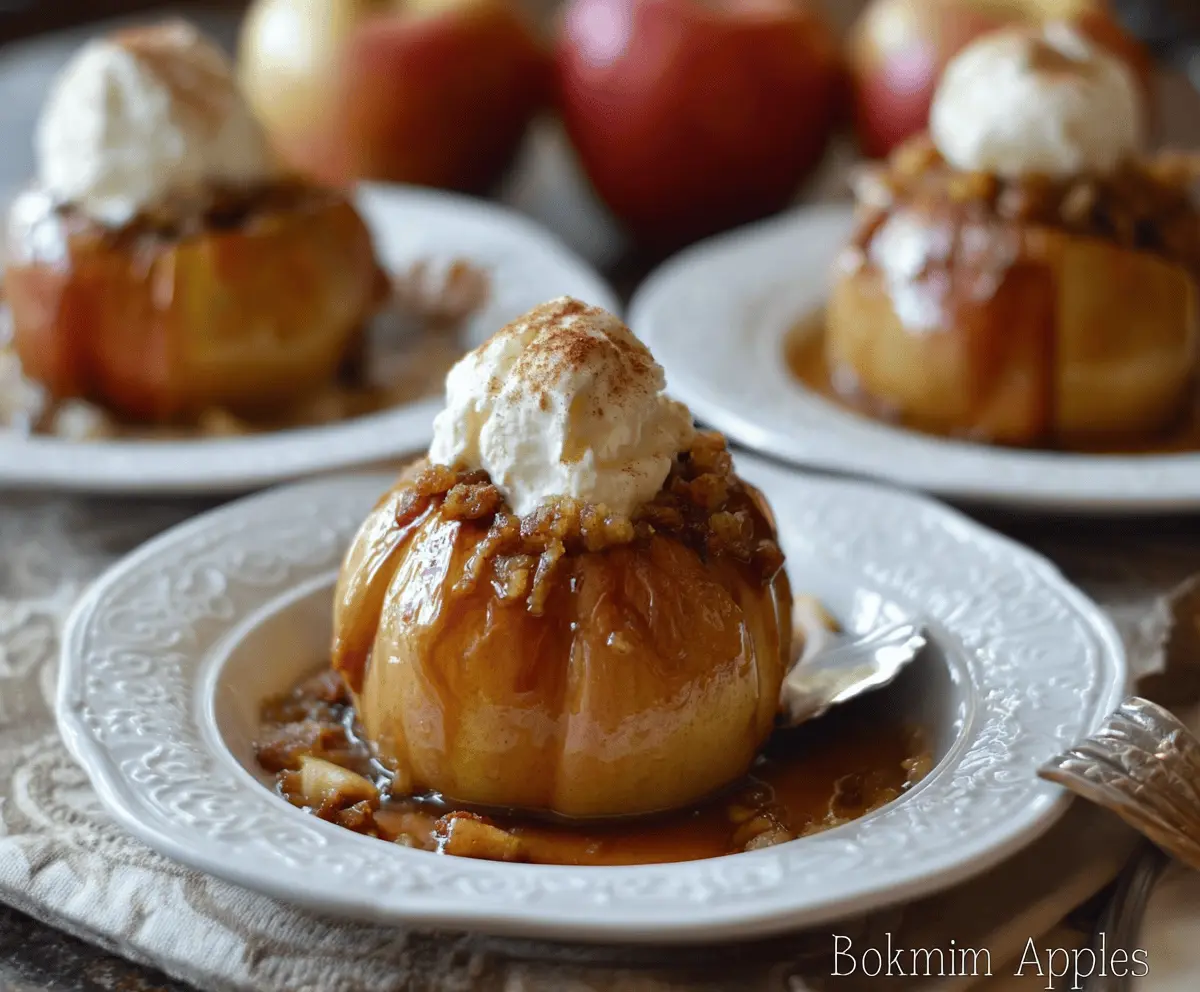
These Baked Bloomin’ Apples are a fun and tasty treat! They’re stuffed with sweet fillings, spiced up with cinnamon, and baked until soft. Your kitchen will smell amazing!
Watching the apples bloom open when they bake is just magical! I love to serve them with a scoop of ice cream on top. It’s like a warm hug in dessert form! 🍏❤️
Key Ingredients & Substitutions
Apples: Choose medium apples like Gala, Honeycrisp, or Fuji for a sweet and slightly tart flavor. If these aren’t available, you can use Granny Smith for a more tart bite or any other baking apple you enjoy!
Nuts: I love using walnuts for their rich flavor, but pecans work just as well! If you have nut allergies, try using oats, breadcrumbs, or a seed mix for the filling instead.
Brown Sugar: It adds a great caramel flavor. If you’re looking to cut down on sugar, use coconut sugar or a sugar substitute like stevia, measuring appropriately based on the product’s sweetness level.
Maple Syrup or Honey: Both sweeten the dish beautifully. You can also replace them with agave syrup or a sugar-free syrup if you prefer a lower-calorie option.
How Do I Cut Apples to Achieve That Beautiful Bloom?
Cutting the apples can be tricky, but here’s how to create that lovely blooming effect. Start with a sharp knife to make clean cuts:
- Rinse and dry the apples. Place them upright on a cutting board.
- Slice down vertically from the top to about 1/2 inch above the base. Aim for 6 to 8 equally spaced cuts around the apple, but don’t cut all the way through.
- Gently press the apple from the bottom so the slices fan out like a flower. This will make it easier to stuff and present nicely.
With a little care, you’ll have perfectly cut apples that bloom beautifully in the oven!
How to Make Baked Bloomin’ Apples
Ingredients You’ll Need:
For the Apples:
- 4 medium apples (such as Gala, Honeycrisp, or Fuji)
For the Filling:
- 1/2 cup chopped walnuts or pecans
- 1/4 cup brown sugar
- 1 teaspoon ground cinnamon
- 1/4 teaspoon ground nutmeg (optional)
For Topping:
- 2 tablespoons unsalted butter, cut into small pieces
- 1/4 cup maple syrup or honey
- Whipped cream or vanilla ice cream, for serving
How Much Time Will You Need?
This delicious dessert will take about 15 minutes to prepare and 25 to 30 minutes to bake. All in all, you can have them ready in under an hour for a delightful treat after dinner!
Step-by-Step Instructions:
1. Preheat the Oven:
Start by preheating your oven to 350°F (175°C). This is an important step to ensure your apples bake evenly!
2. Prepare the Apples:
Wash your apples thoroughly and pat them dry with a towel. Using a sharp knife, carefully cut each apple into 6 to 8 vertical slices, making sure to stop about 1/2 inch from the bottom. This keeps the apple whole while allowing it to bloom open when baked!
3. Make the Filling:
In a small bowl, mix together the chopped nuts, brown sugar, ground cinnamon, and optional nutmeg. This mixture will add a lovely flavor to your apples.
4. Stuff the Apples:
Gently open the apple slices to create the bloomin’ effect, and stuff the nut and brown sugar mixture generously between the slices. Make sure to get it in there, as it will add all the delicious flavor!
5. Arrange in Baking Dish:
Place the stuffed apples in a baking dish, standing upright. Dot each apple with small pieces of butter to further enhance the flavor.
6. Drizzle with Sweetness:
Now, drizzle each apple with maple syrup or honey. This will help create a beautiful glaze while baking.
7. Bake the Apples:
Cover the baking dish loosely with aluminum foil to prevent over-browning and bake for 25 to 30 minutes, or until the apples are tender but still hold their shape. Check them around the 25-minute mark!
8. Cool and Serve:
Once they’re out of the oven, let them cool for a few moments. Then, top each baked bloomin’ apple with a generous dollop of whipped cream or a scoop of vanilla ice cream for that perfect finishing touch.
9. Garnish and Enjoy:
Sprinkle a little extra chopped nuts and a pinch of cinnamon on top for a lovely garnish, if desired. Serve warm and enjoy the delightful, comforting goodness of your baked bloomin’ apples!
This warm dessert combines the natural sweetness and tartness of baked apples with a crunchy, spiced nut filling and creamy topping—perfect for cozy fall evenings or a comforting treat any time.

Can I Use Different Types of Apples for This Recipe?
Absolutely! While Gala, Honeycrisp, and Fuji are great choices for their sweetness, you can also use Granny Smith for a tart flavor or other baking apples like Braeburn or McIntosh. Just choose apples that hold their shape well when baked!
What Can I Substitute for Nuts in the Filling?
If you have nut allergies or prefer not to use nuts, you can substitute them with oats, breadcrumbs, or even a seed mix like sunflower or pumpkin seeds for added crunch and flavor!
How Can I Make This Recipe Dairy-Free?
To make it dairy-free, simply replace the unsalted butter with a dairy-free alternative like coconut oil or vegan butter. Your baked apples will still taste delicious!
How Should I Store Leftovers?
Store any leftover baked bloomin’ apples in an airtight container in the refrigerator for up to 3 days. To reheat, warm them in the microwave for a quick treat, or pop them in the oven at 350°F (175°C) for a few minutes until heated through.