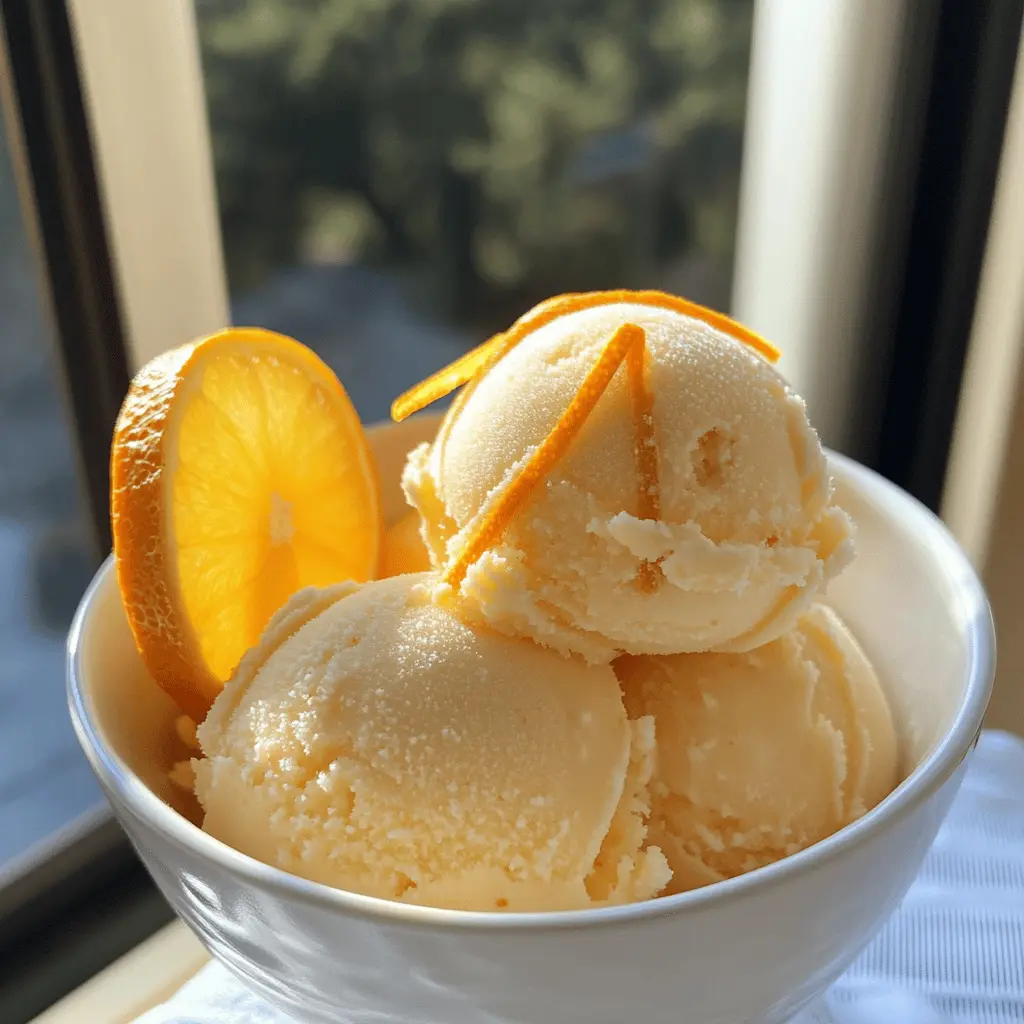
This refreshing orange sherbet is a sweet treat that’s super easy to make at home! With bright orange flavor and a creamy texture, it’s perfect for hot days or any time you need a cool pick-me-up.
You really can’t go wrong with this recipe! I love how it brightens up a summer evening. Plus, it’s a fun way to get the kids involved in the kitchen. Everyone loves scooping it out! 🍊
Key Ingredients & Substitutions
Whole Milk: This brings a creamy texture to the sherbet. You can substitute with 2% milk for a lighter option, or use almond milk for a dairy-free version, though it may slightly change the texture.
Granulated Sugar: Essential for sweetness, but if you’re cutting back on sugar, you could use a sugar substitute like Stevia or agave syrup. Adjust quantities based on sweetness preference.
Freshly Squeezed Orange Juice: Fresh oranges give the best flavor! If you’re short on time, store-bought orange juice works too, but try to select one with no added sugars or preservatives for a more natural taste.
Grated Orange Zest: This adds an extra citrus punch. If you don’t have fresh oranges, lemon zest can also work for a different twist!
Heavy Cream: The key to that creamy mouthfeel. For a lighter version, you can swap it out with half-and-half, or coconut cream for a dairy-free and richer flavor.
How Do I Ensure My Sherbet is Light and Creamy?
The secret to a light and airy sherbet lies in the technique of mixing. Here’s how you do it:
- First, heat the milk and sugar mixture gently to dissolve the sugar completely. Cooling it to room temperature is crucial before adding the juice and zest.
- When whipping the cream, watch for soft peaks. Over-whipping will make it grainy.
- Gently fold the whipped cream into the orange mixture using a spatula. Be careful not to deflate the cream—this keeps it fluffy!
- Churning in an ice cream maker incorporates air, enhancing the texture. If you don’t have one, you can manually mix it every 30 minutes while it freezes to break up ice crystals.
Finally, allow the sherbet to stay out for a few minutes before scooping. This helps it soften just enough for perfect scoops!
How to Make Easy Homemade Orange Sherbet by Alton Brown
Ingredients You’ll Need:
- 1 cup whole milk
- 1 cup granulated sugar
- 1 cup freshly squeezed orange juice (about 3-4 oranges)
- 1 tbsp grated orange zest (from about 1 orange)
- 2 cups heavy cream, chilled
How Much Time Will You Need?
This delightful orange sherbet will take about 20 minutes of active prep time plus 2-3 hours to freeze. After preparing the mixture, it’s just a wait until it becomes a cold, creamy treat!
Step-by-Step Instructions:
1. Prepare the Milk and Sugar Mixture:
In a medium saucepan, combine the whole milk and granulated sugar. Heat over medium, stirring occasionally, until the sugar dissolves completely and the mixture is smooth. Once it’s ready, remove it from the heat and let it cool to room temperature. This step is key to getting the right consistency!
2. Mix in the Orange Ingredients:
Once the milk mixture has cooled, stir in the freshly squeezed orange juice and the grated orange zest. This is where the bright flavor of the oranges shines through!
3. Whip the Heavy Cream:
In a separate bowl, whip the chilled heavy cream until soft peaks form. This means that when you lift the whisk out, the cream will hold a peak without collapsing. Be careful not to overwhip it, as you want to keep it light.
4. Combine the Mixtures:
Gently fold the whipped cream into the cooled orange mixture with a spatula. Use a light touch to keep the mixture airy and fluffy. You want to combine them without losing all that wonderful air you worked hard to whip in!
5. Churn Into Sherbet:
Transfer the creamy orange mixture into an ice cream maker. Churn according to the manufacturer’s instructions until you achieve a soft-serve consistency. If you don’t have an ice cream maker, don’t worry! You can place the mixture in a shallow container and stir every 30 minutes until it gets a lovely texture, about 2-3 hours.
6. Freeze to Firm Up:
Once churned, transfer your sherbet into a freezer-safe container. Cover it well and place it in the freezer for at least 2-3 hours until it’s fully firm.
7. Ready to Serve:
Before enjoying your orange sherbet, let it sit at room temperature for a few minutes. This will soften it slightly and make scooping much easier. Now you’re ready to dish it out!
8. Enjoying Your Treat:
Scoop your delicious orange sherbet into bowls or cones, and if you’re feeling fancy, garnish with extra orange zest or thin strips of orange peel for a beautiful presentation.
Now sit back, relax, and enjoy your homemade orange sherbet—it’s bright, creamy, and absolutely perfect for any occasion!

FAQ About Easy Homemade Orange Sherbet
Can I Use Different Types of Milk?
Yes, you can substitute whole milk with 2% milk for a lighter option, or almond milk if you’re looking for a dairy-free version. Keep in mind that different milk types may affect the creaminess slightly.
How Can I Make This Recipe Ahead of Time?
You can prepare the mixture a day in advance and store it in the fridge until you’re ready to churn it. This makes it easy to enjoy freshly made sherbet whenever you’re in the mood!
What’s the Best Way to Store Leftover Sherbet?
To store any leftover sherbet, keep it in an airtight container in the freezer. It should be good for up to 2-3 weeks, but for the best texture, consume it within a week. Remember to let it sit out for a few minutes to soften before scooping!
Can I Add Other Flavors to This Sherbet?
Absolutely! Feel free to mix in other fruit juices, like lemon or lime, for a different twist, or even add a splash of vanilla extract for added flavor depth. Just be mindful of balancing sweetness with any added juices.